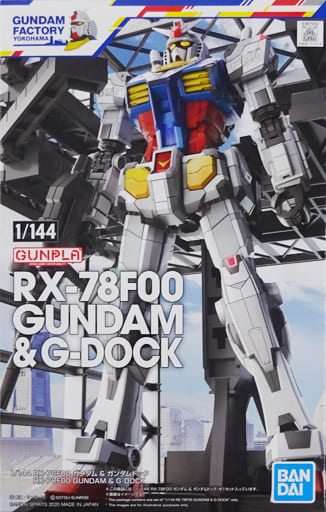
今回は、1/144 RX-78F00 ガンダム&ガンダムドッグの製作をしていきます。
開封
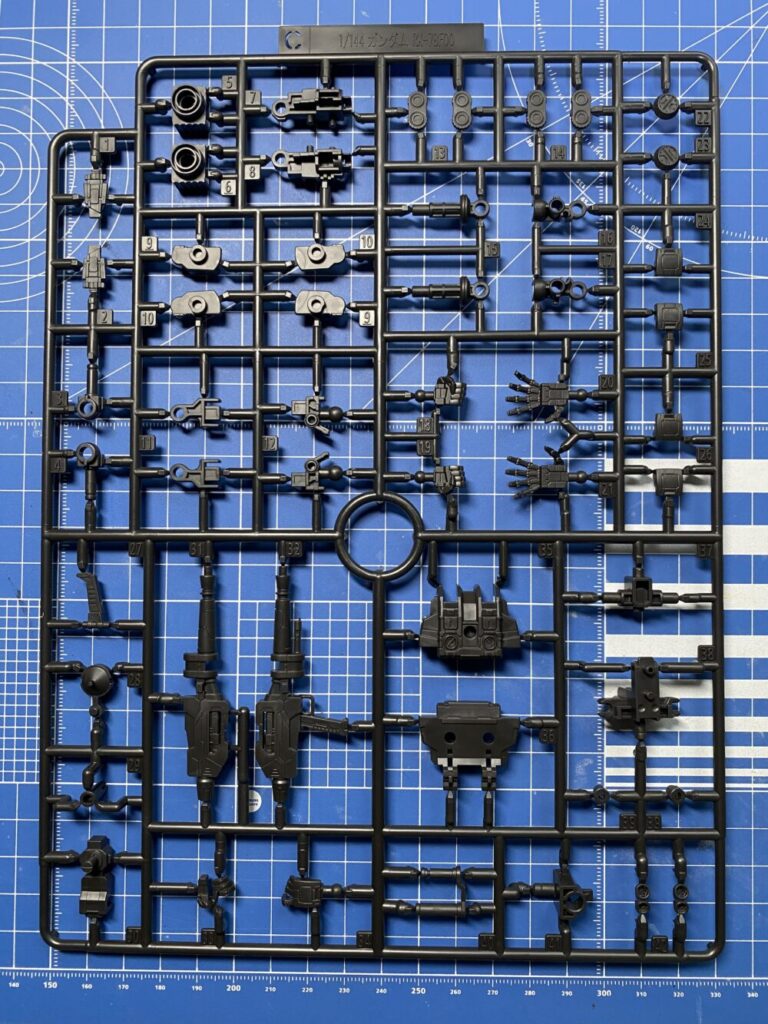
A〜Cパーツまではガンダム本体のパーツとなっています。
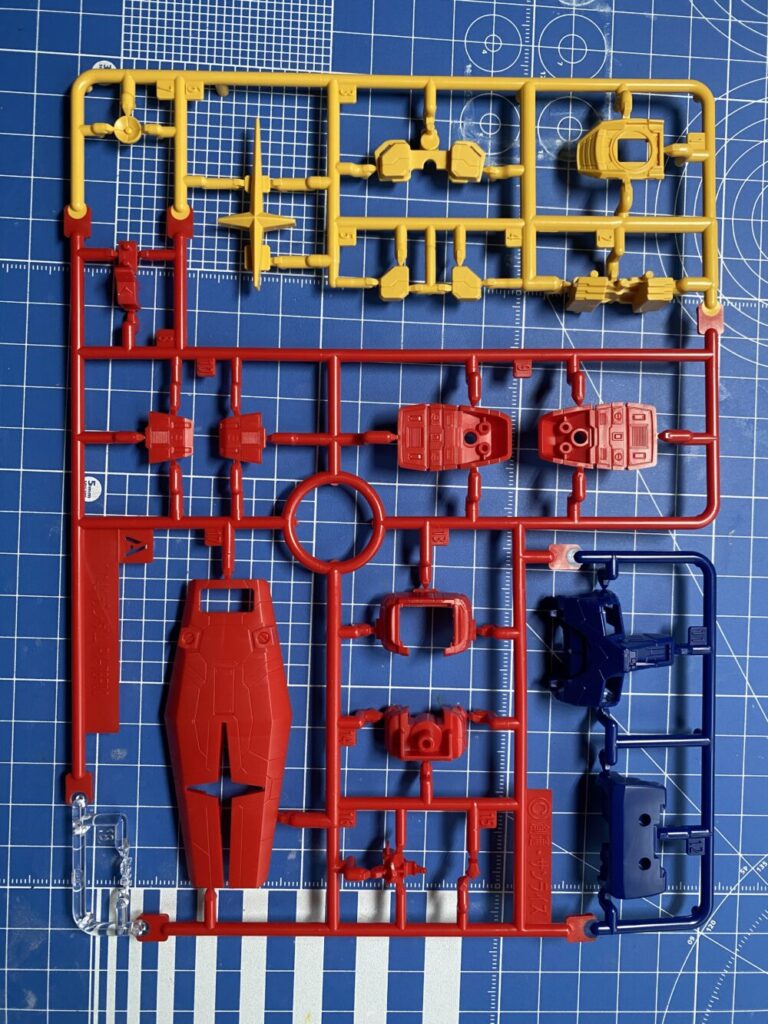
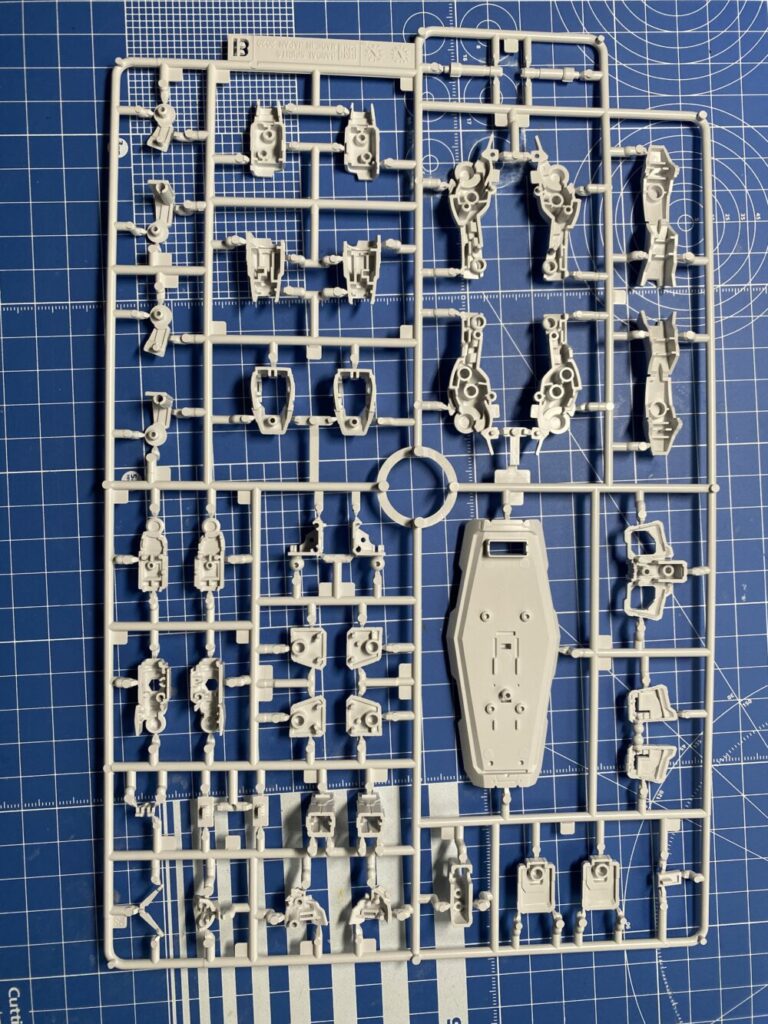
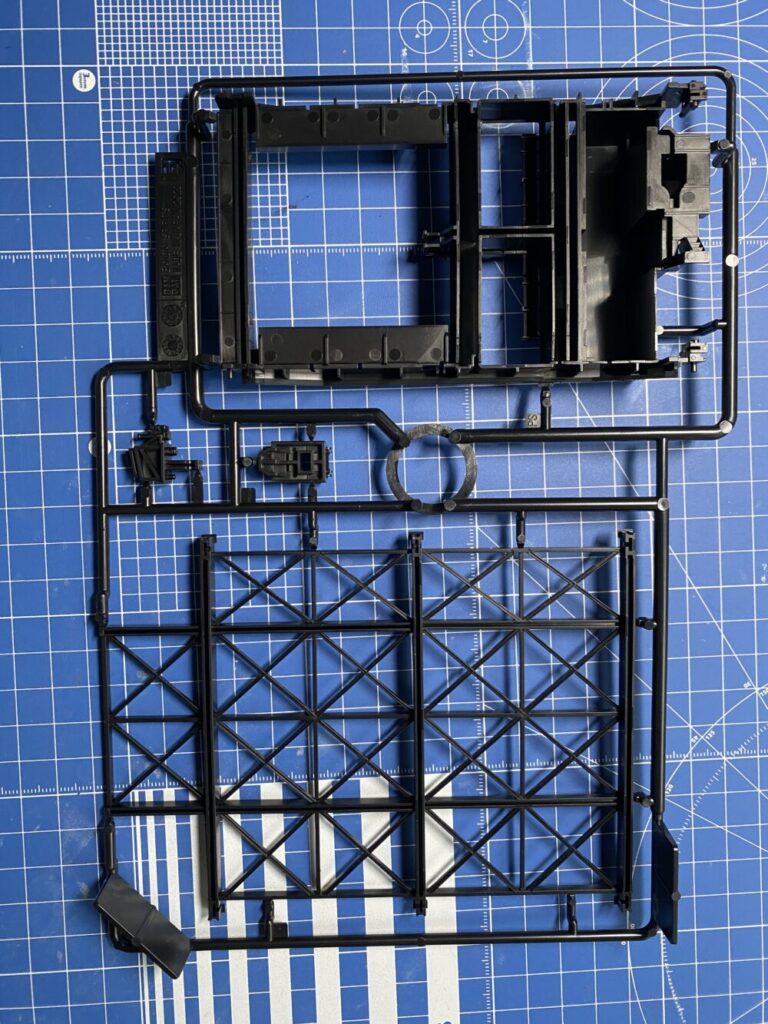
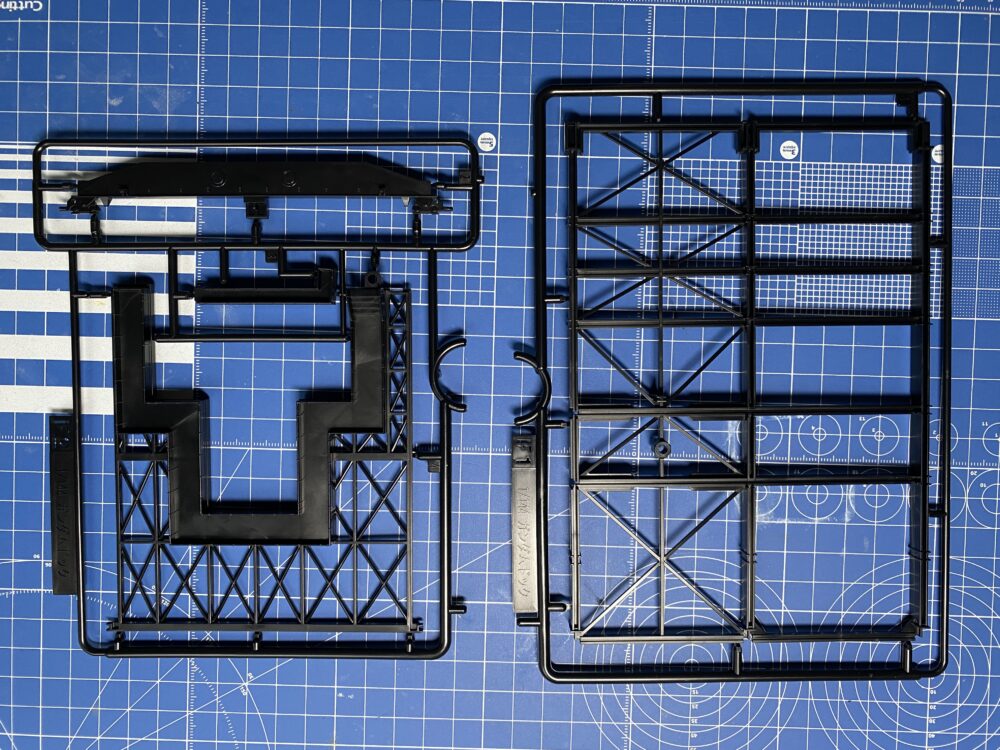
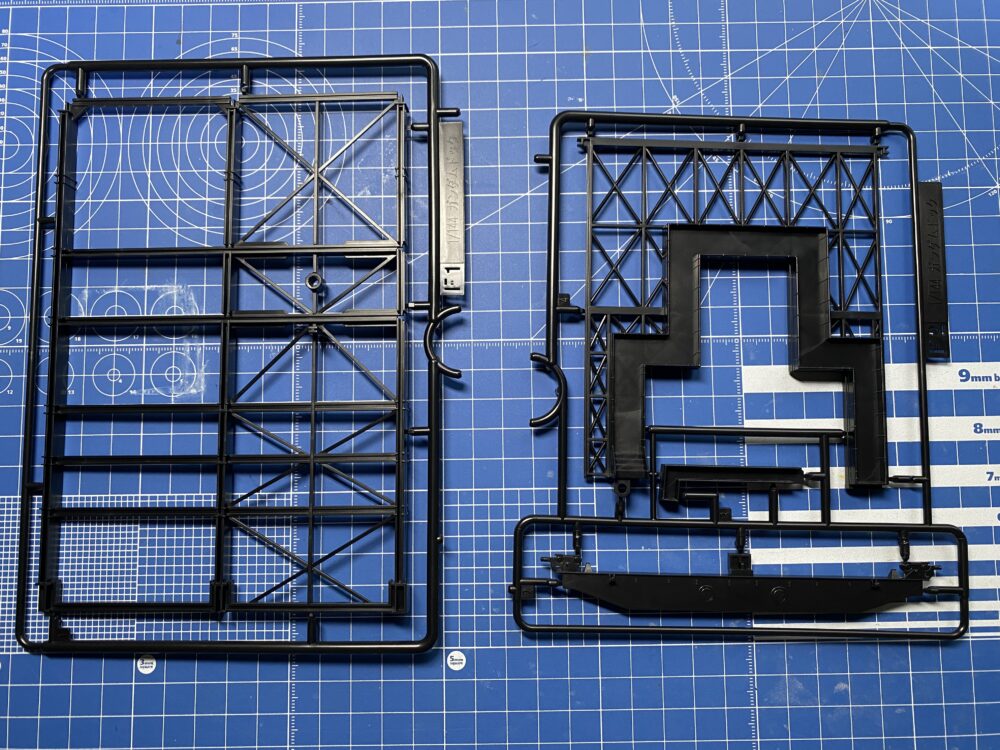
D~Fパーツはガンダムドック用となっています。
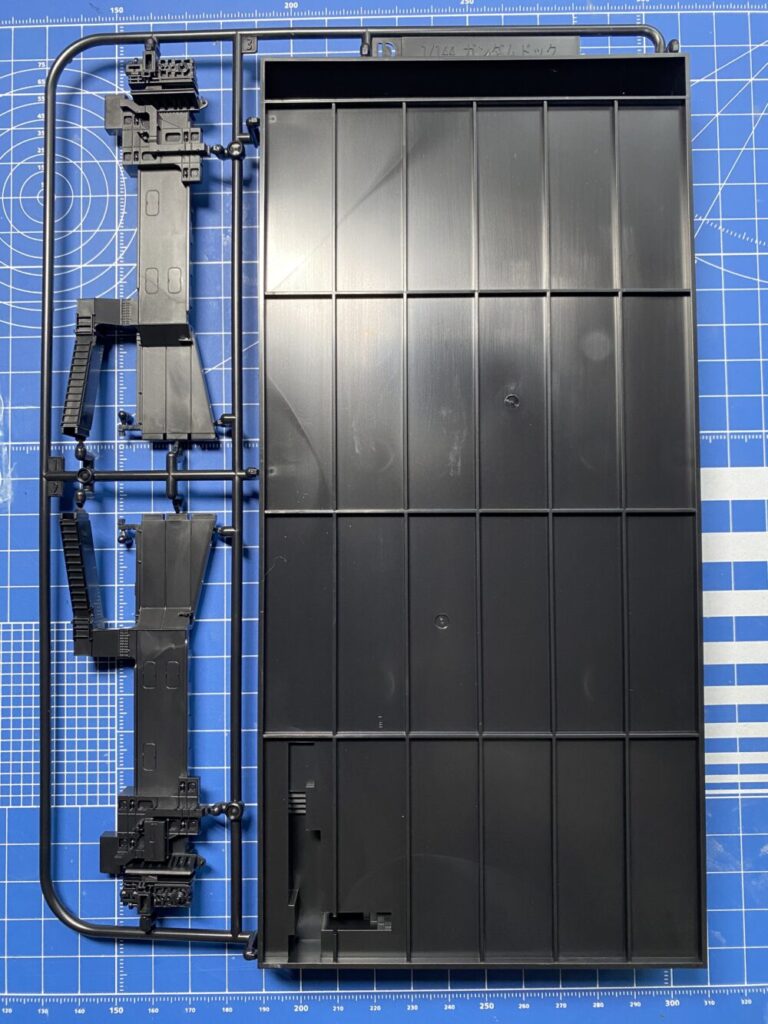
FパーツはF1、F2と2枚ずつあります。
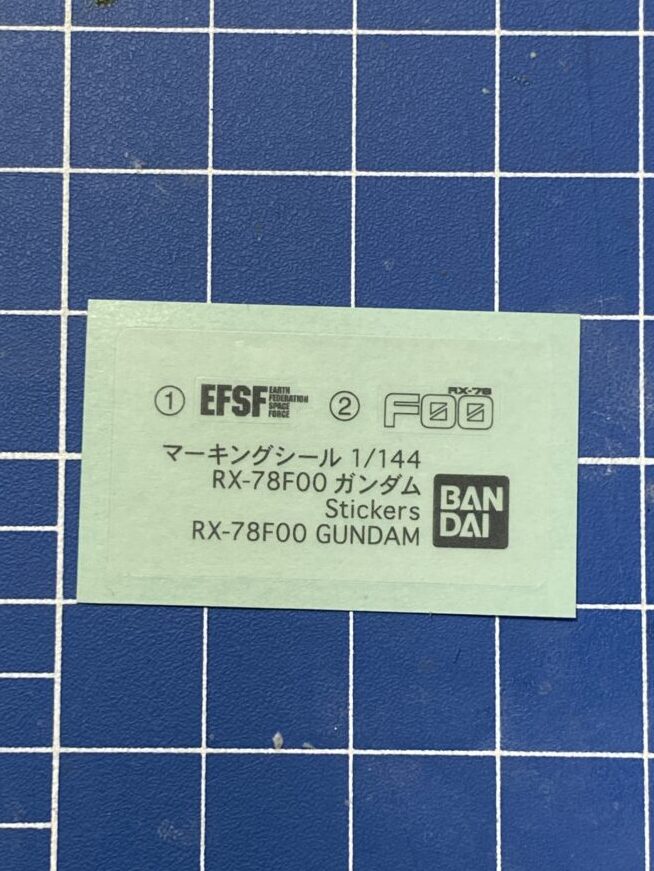
ポリキャップ、サーベルエフェクト、マーキングシールがあります。
ガンダムドックに貼るマーキングシールもあります。
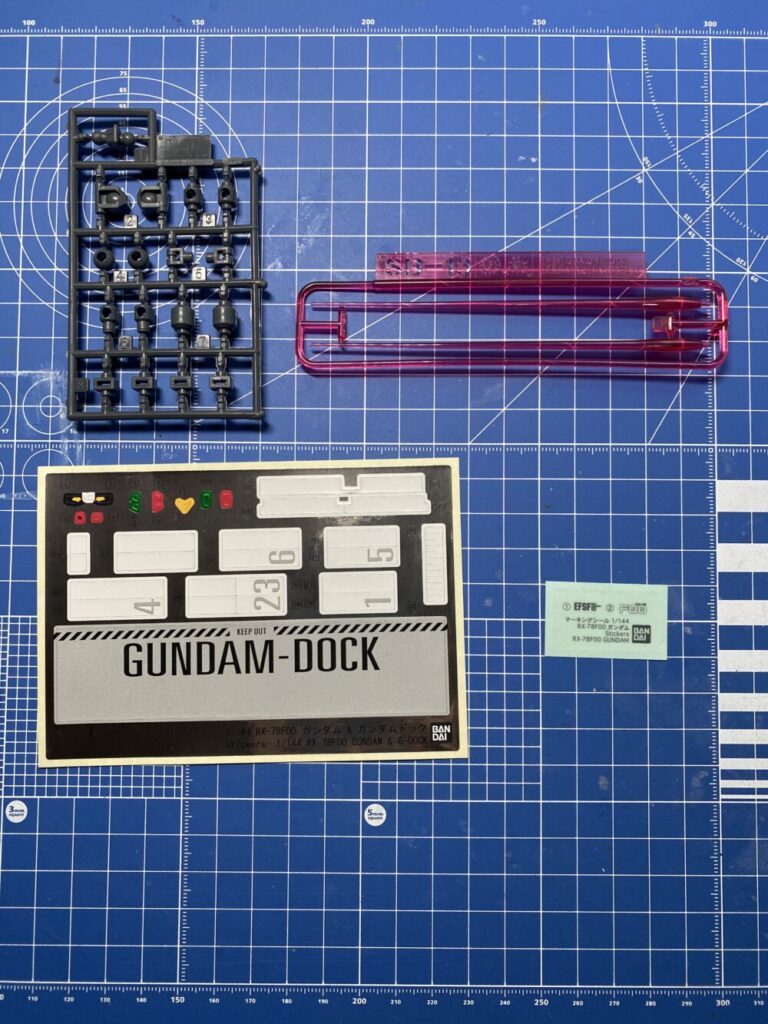
RX-78F00のマーキングシールがあるのはうれしいです。
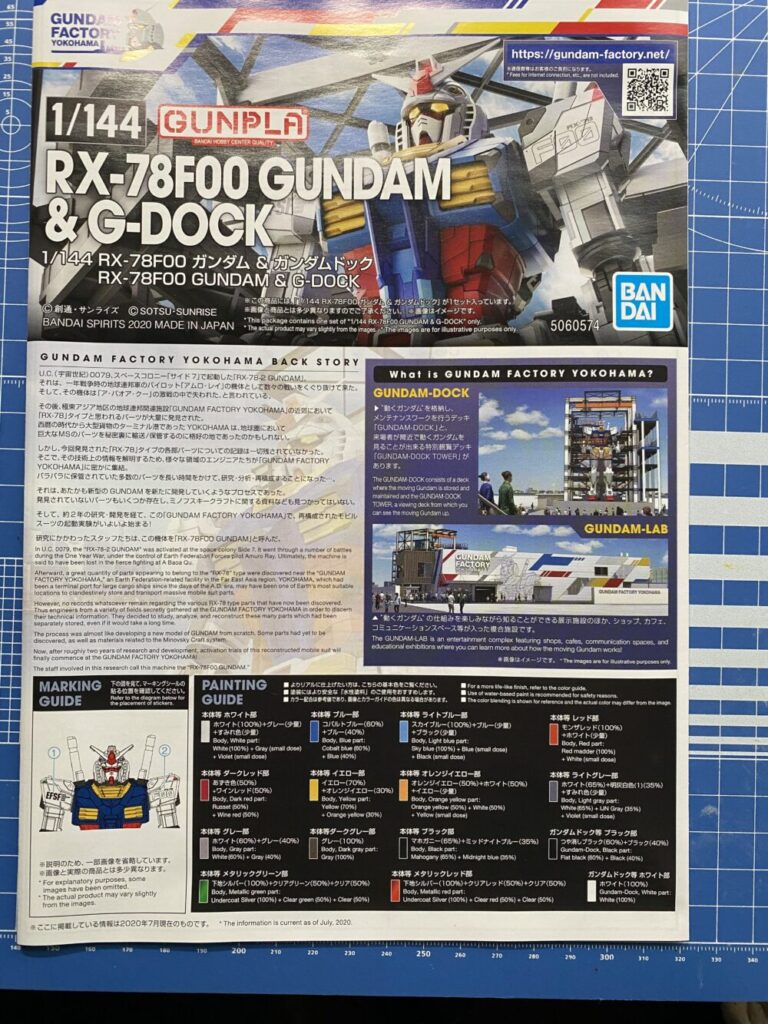
取説にはGUNDAM FACTORY YOKOHAMAの解説も書いてあり楽しめます。
パーツがそれほど多くないので割と早く組み立てることができると思います。
仮組み
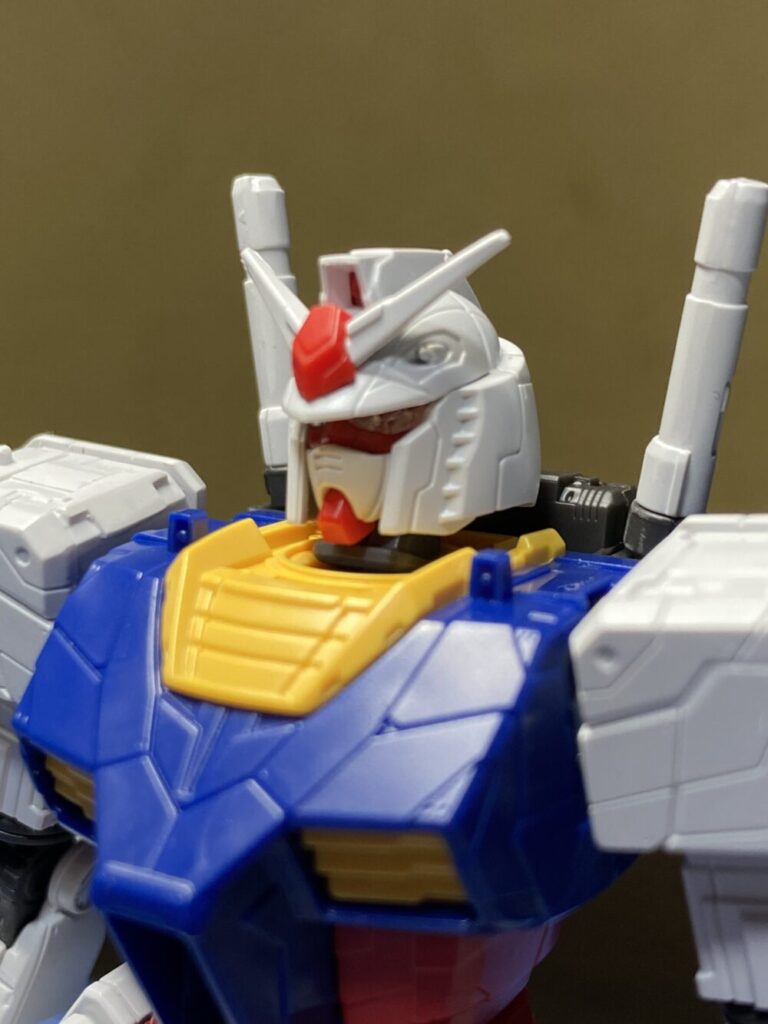
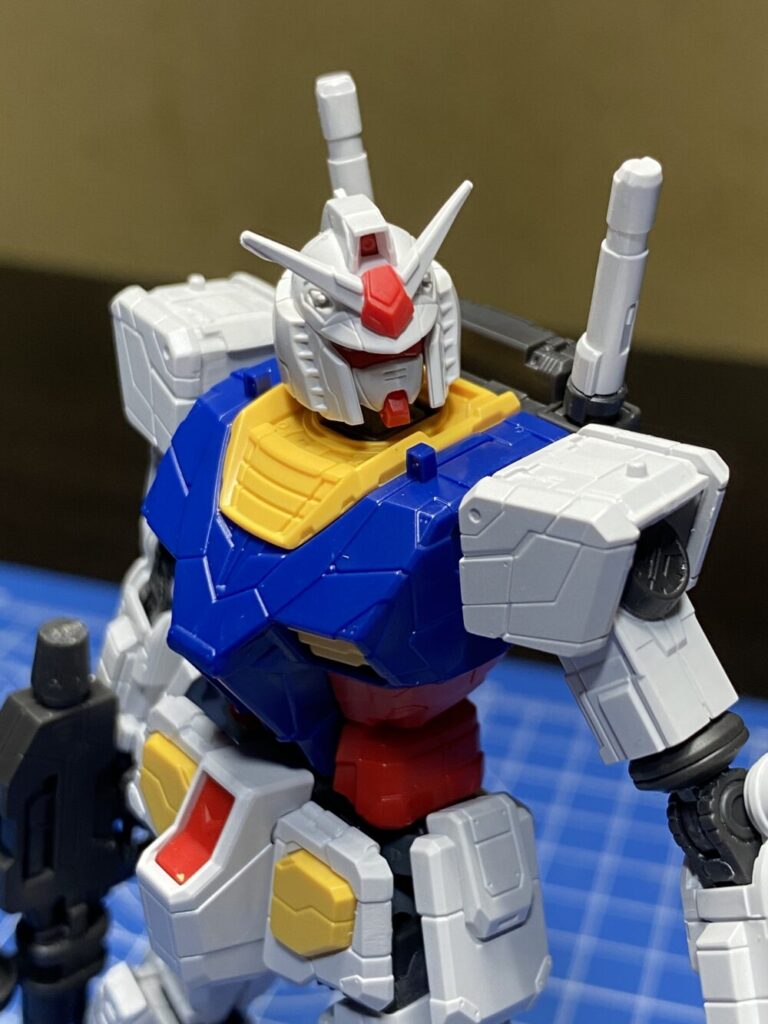
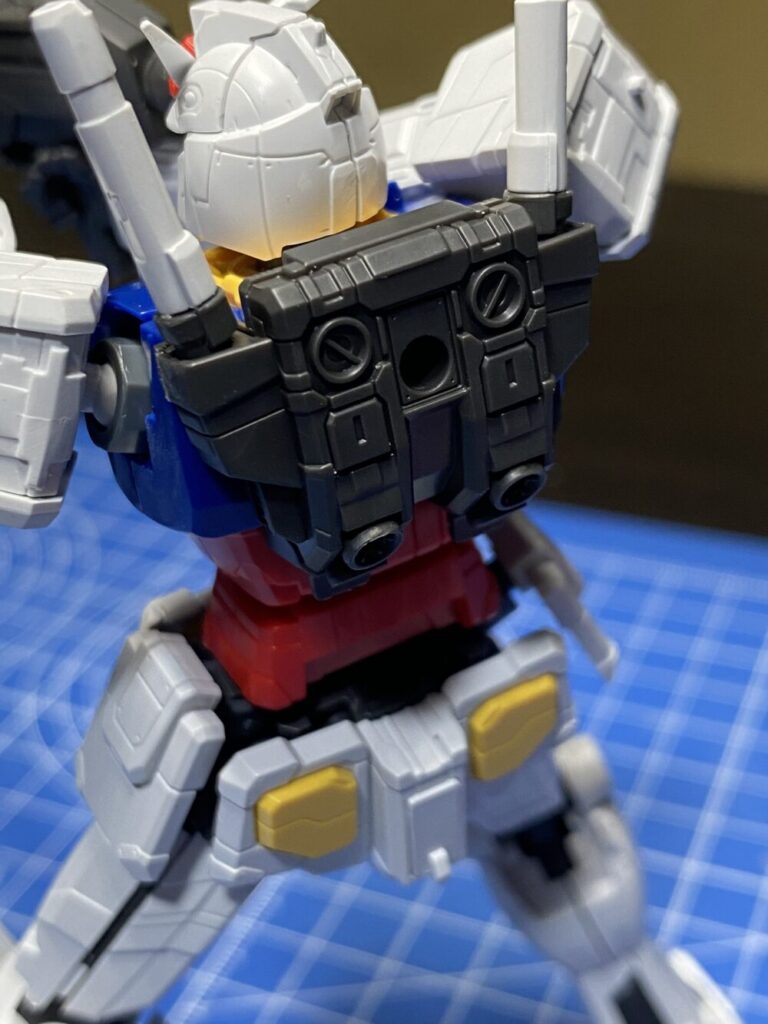
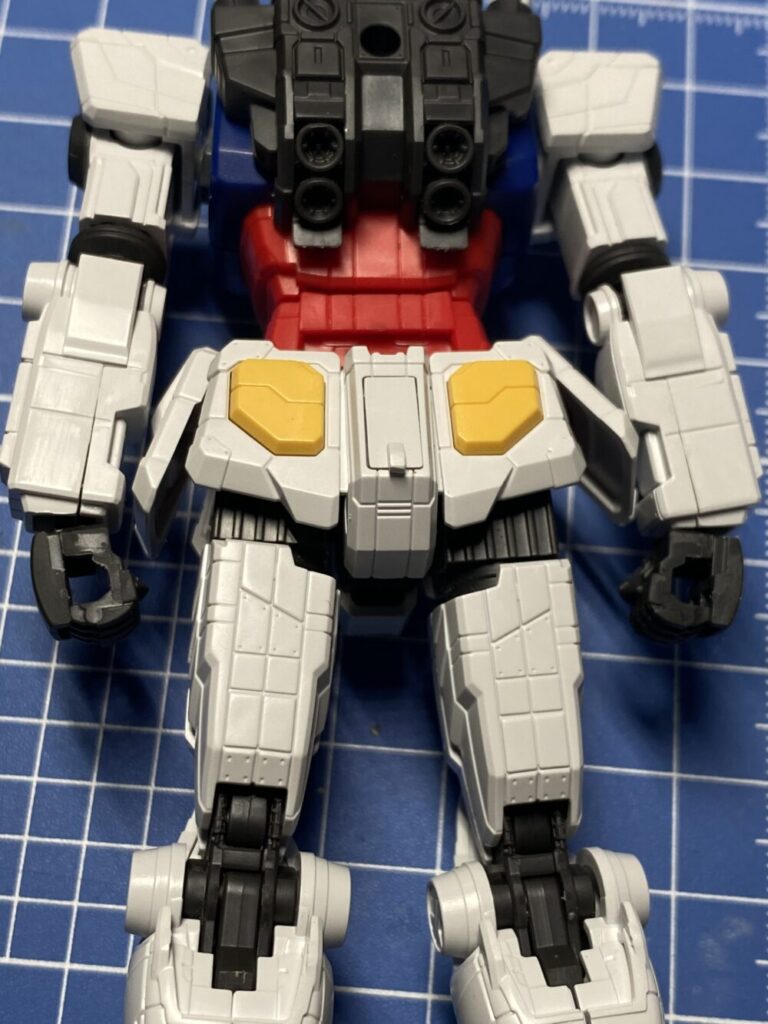
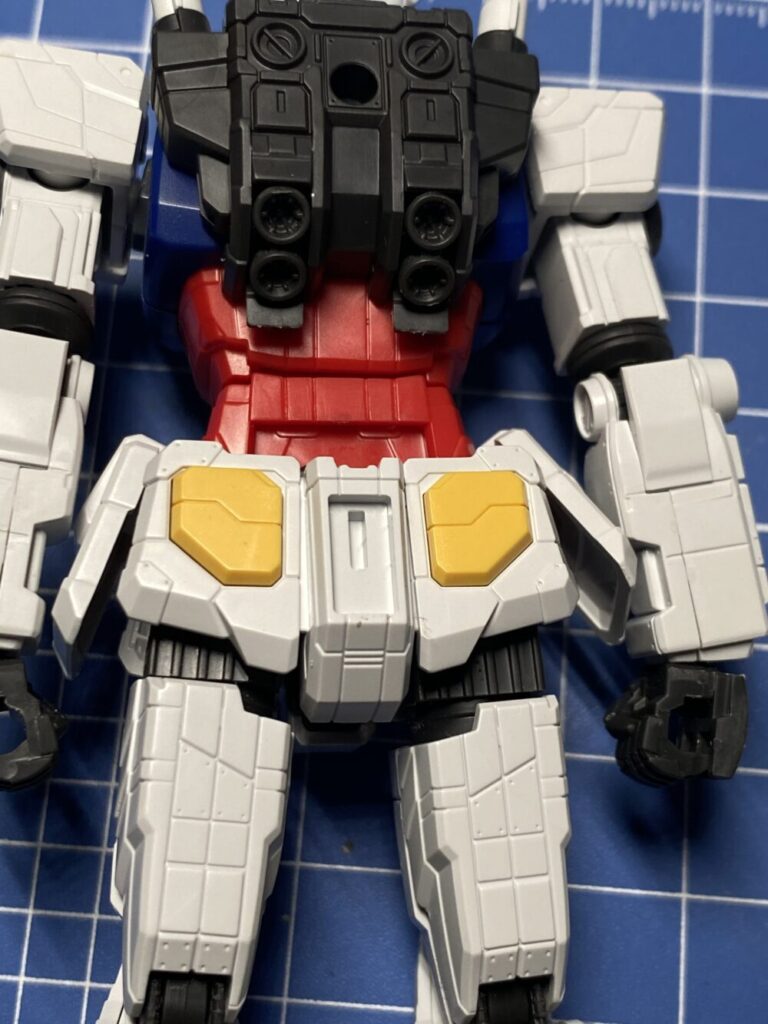
かなりディティールが細かく入っていて素組みの状態でもリアルな感じが出ていてとても良いです。
色分けもよくできています。
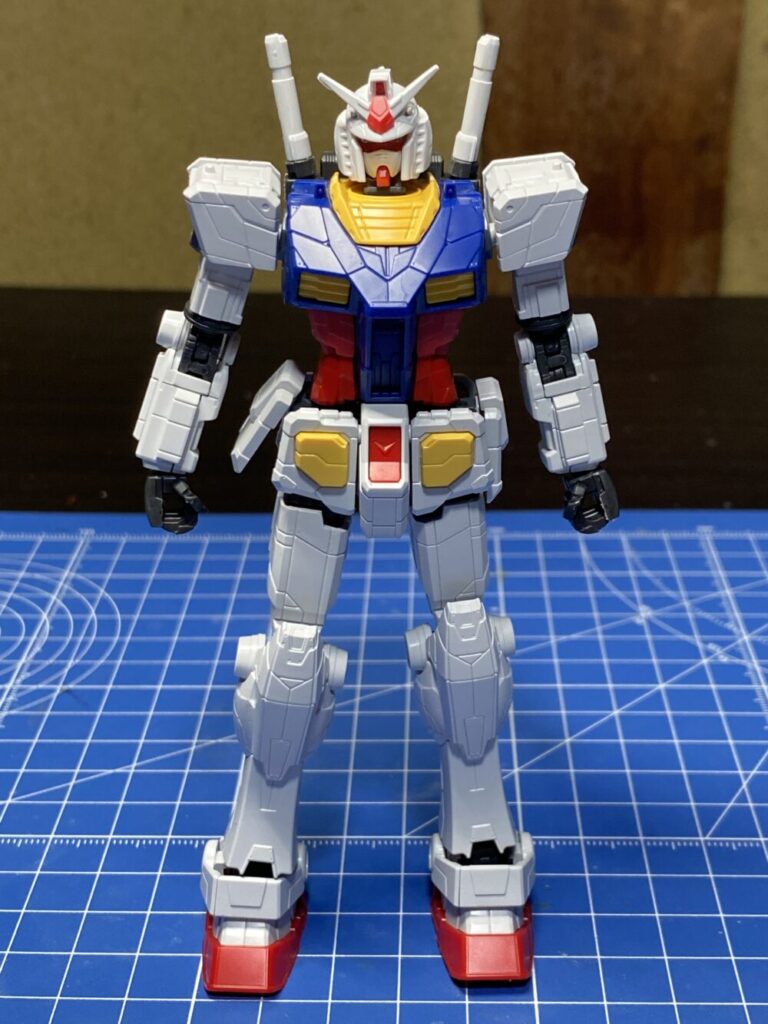
さすがにバルカン部までは色分けできていないです。
センサー部はマーキングシールで色分けできるようになっています。
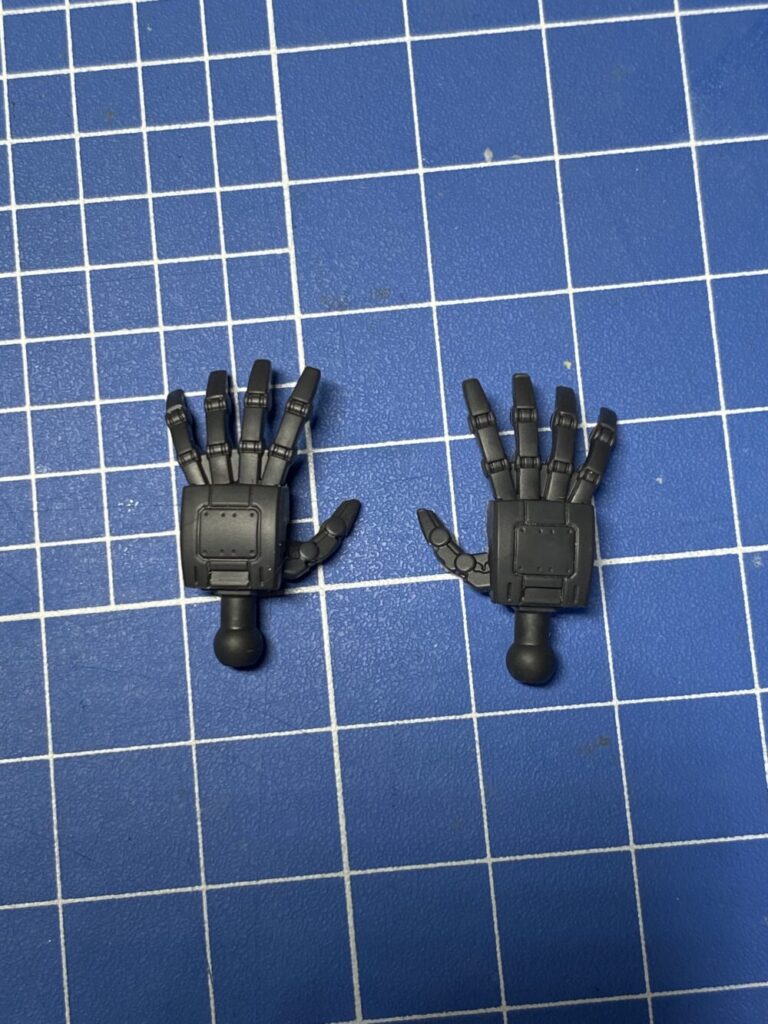
ライフル用と平手が別であります。

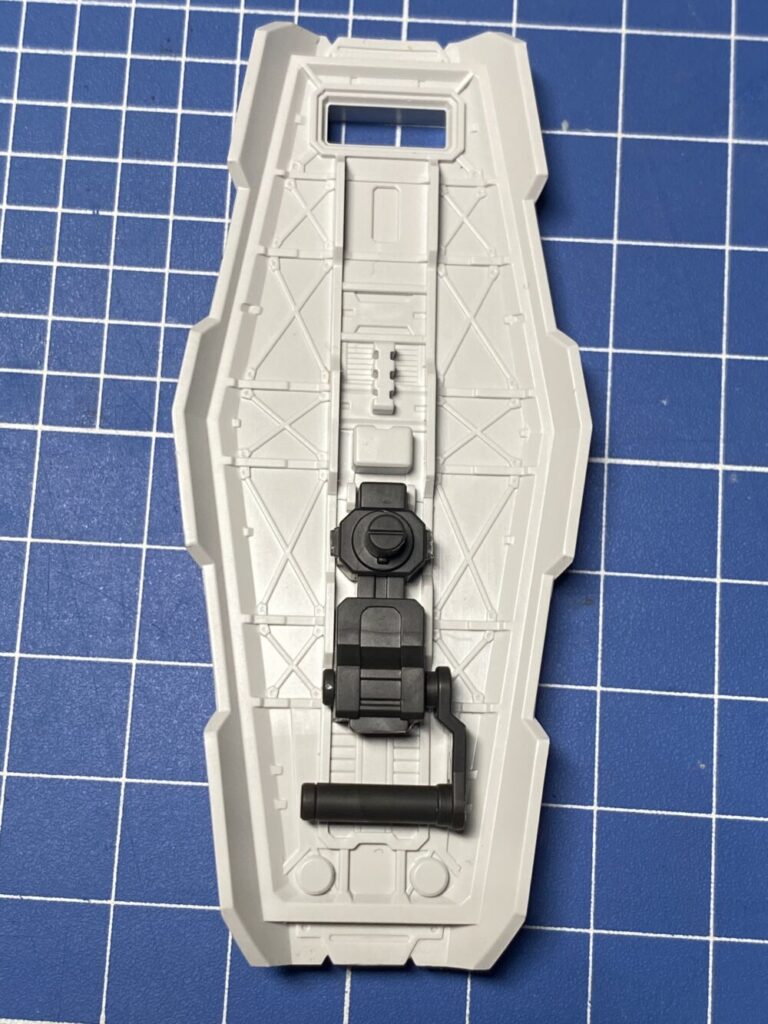
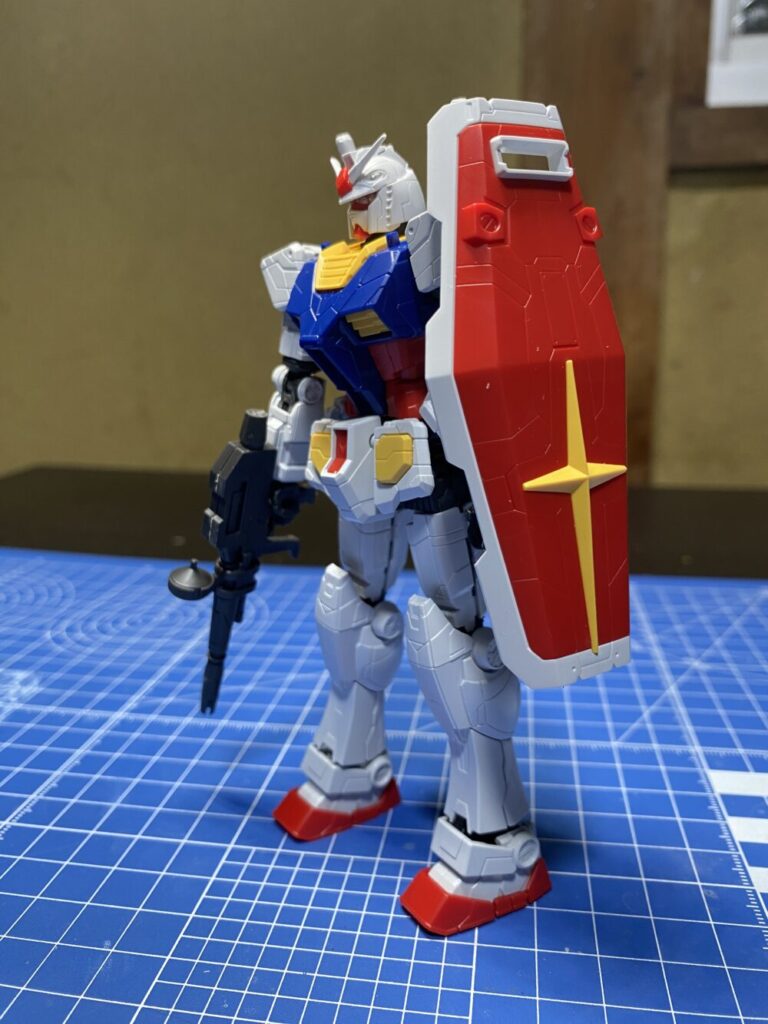
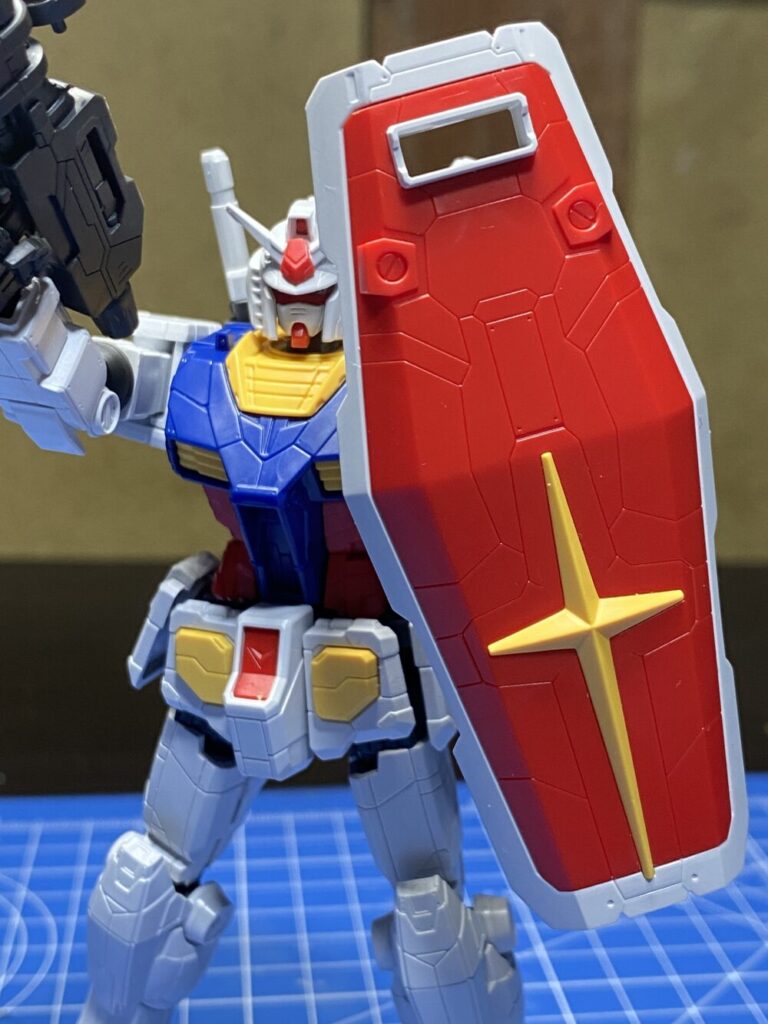
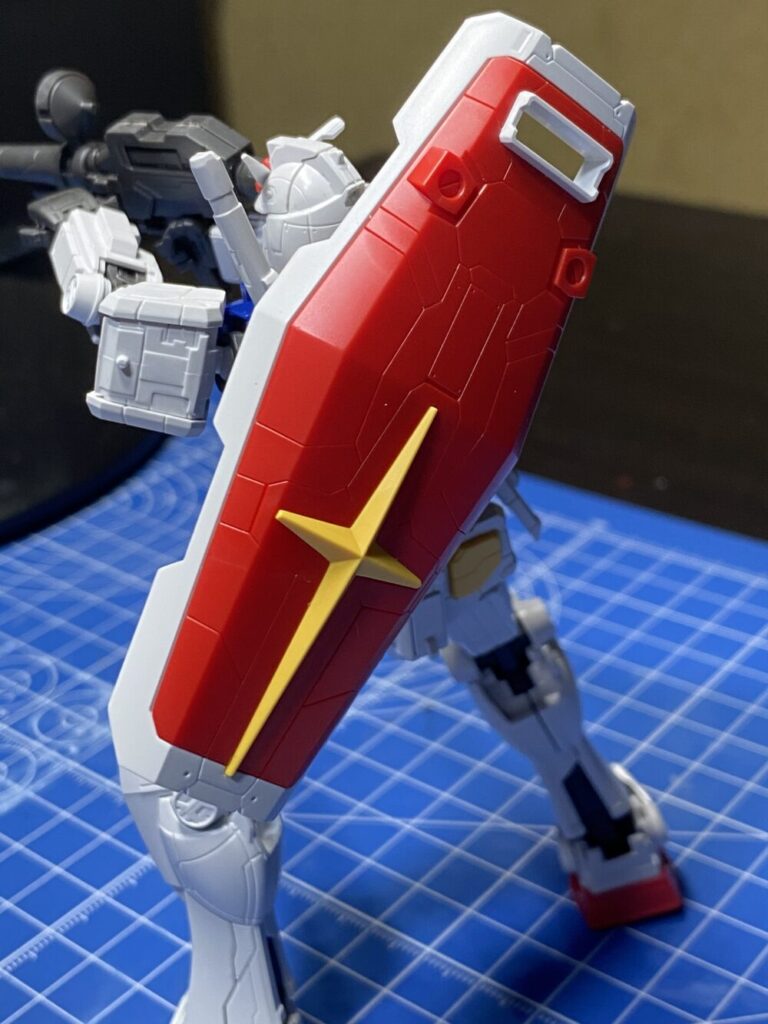
シールドはパーツでしっかり色分けできています。

ディティールも細かいです
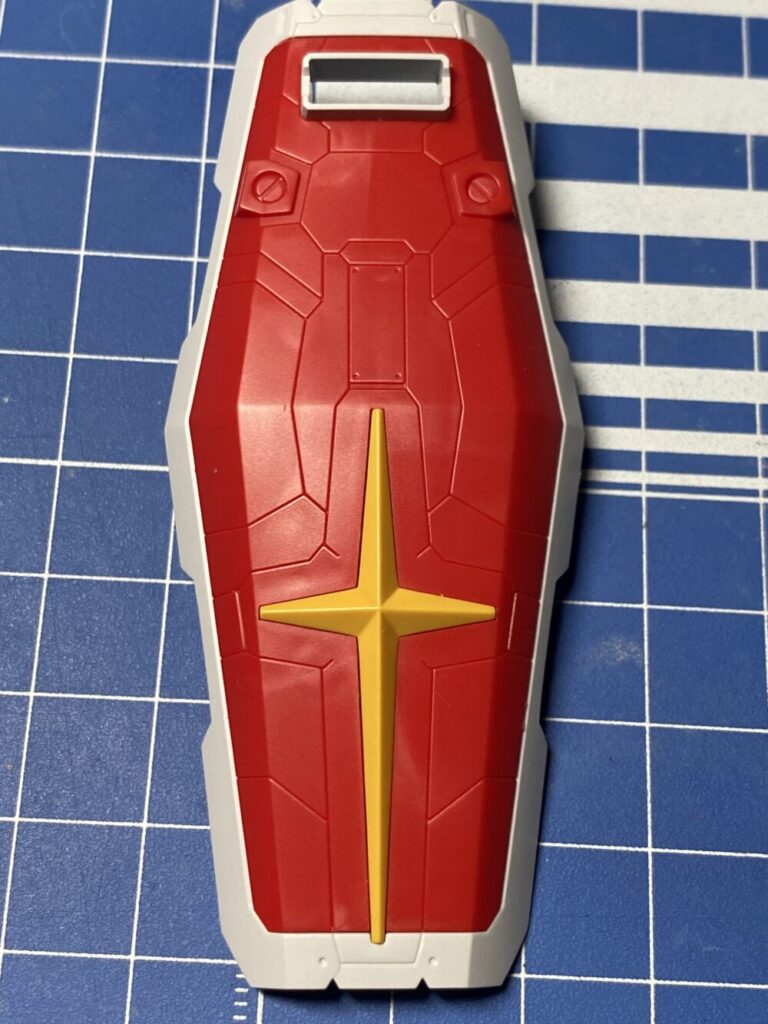
裏は白です。色分けするとさらにリアルさが増してくると思います。
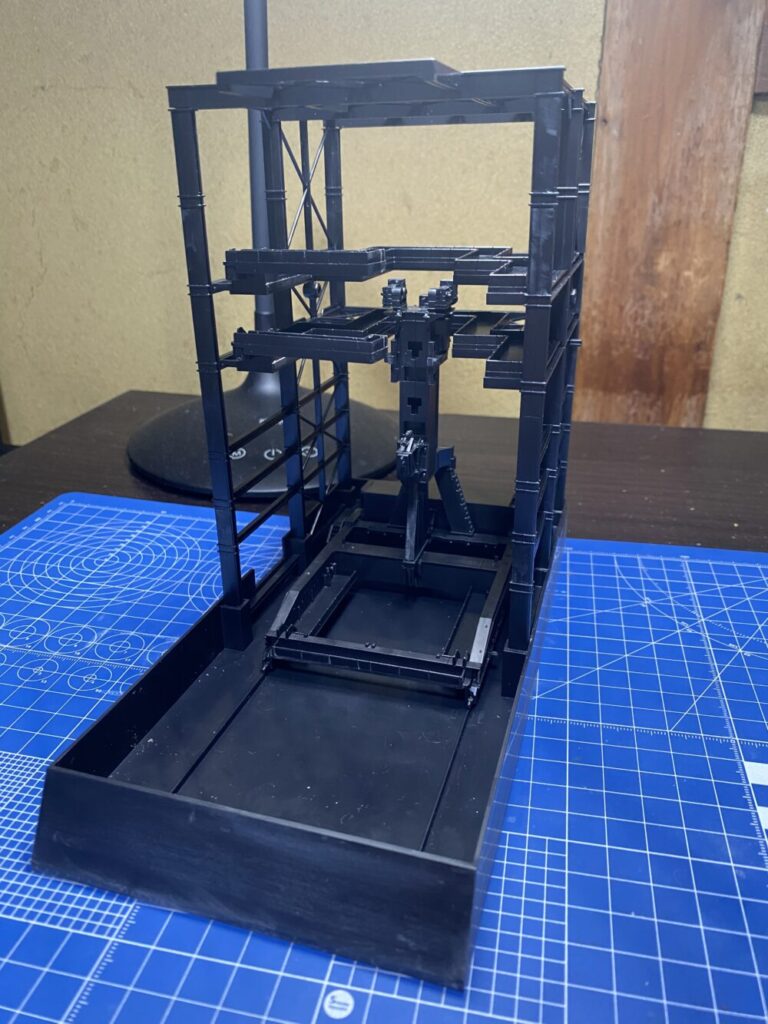
ガンダムドッグも結構細かく再現されています。


合わせ目
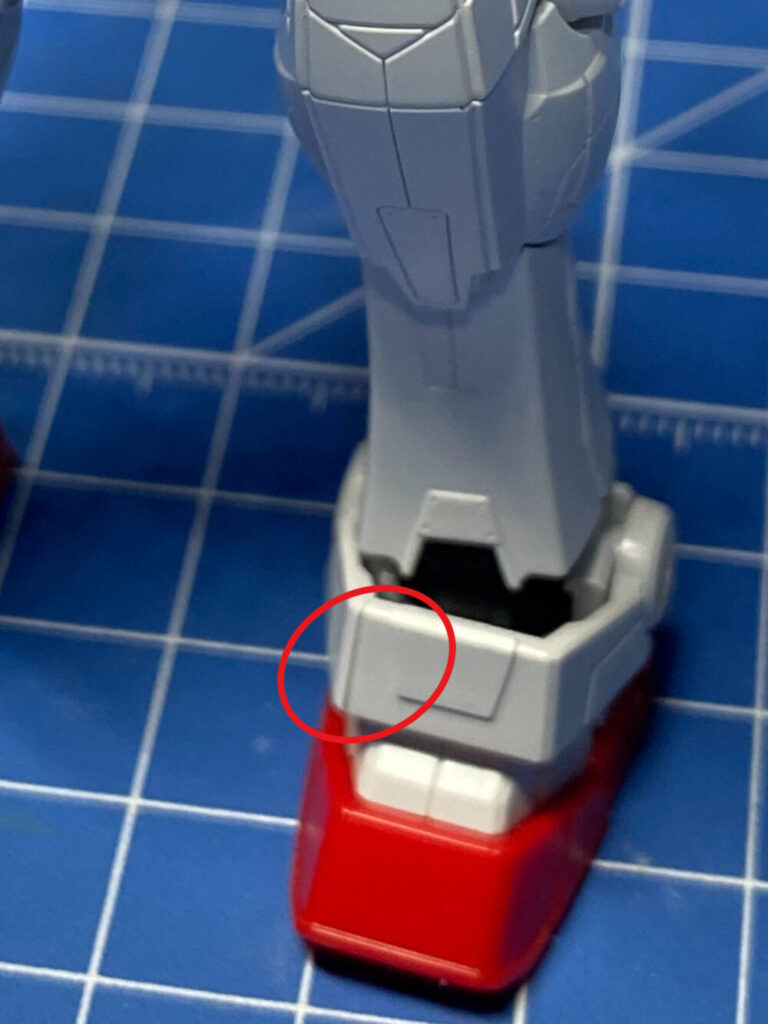
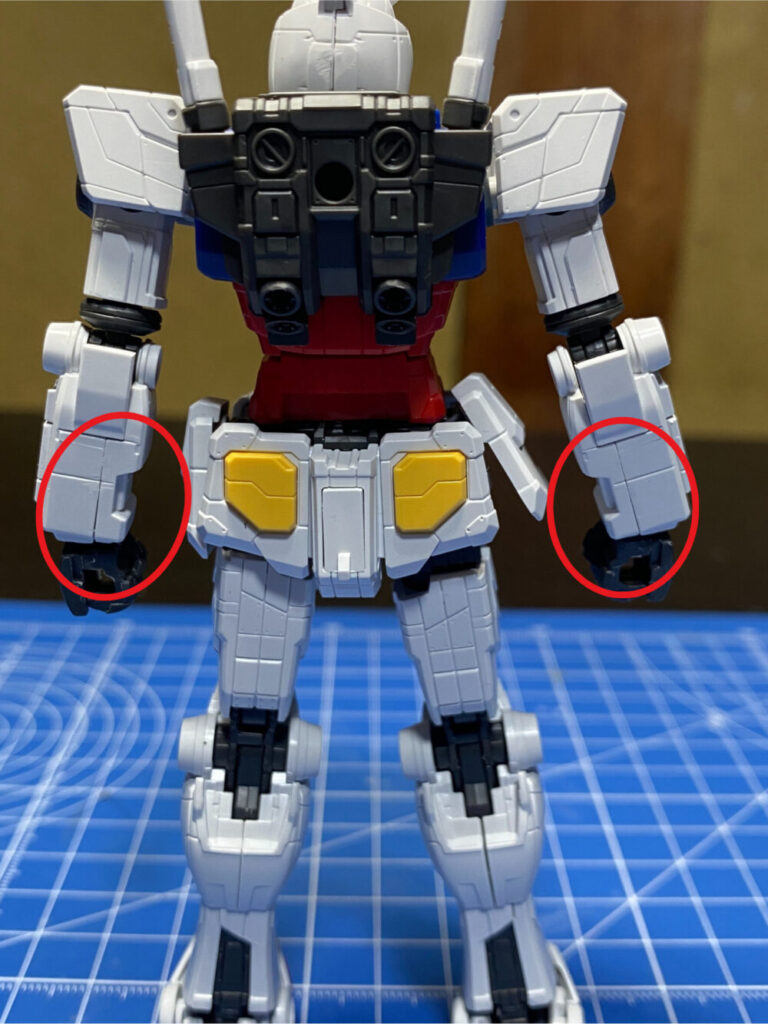
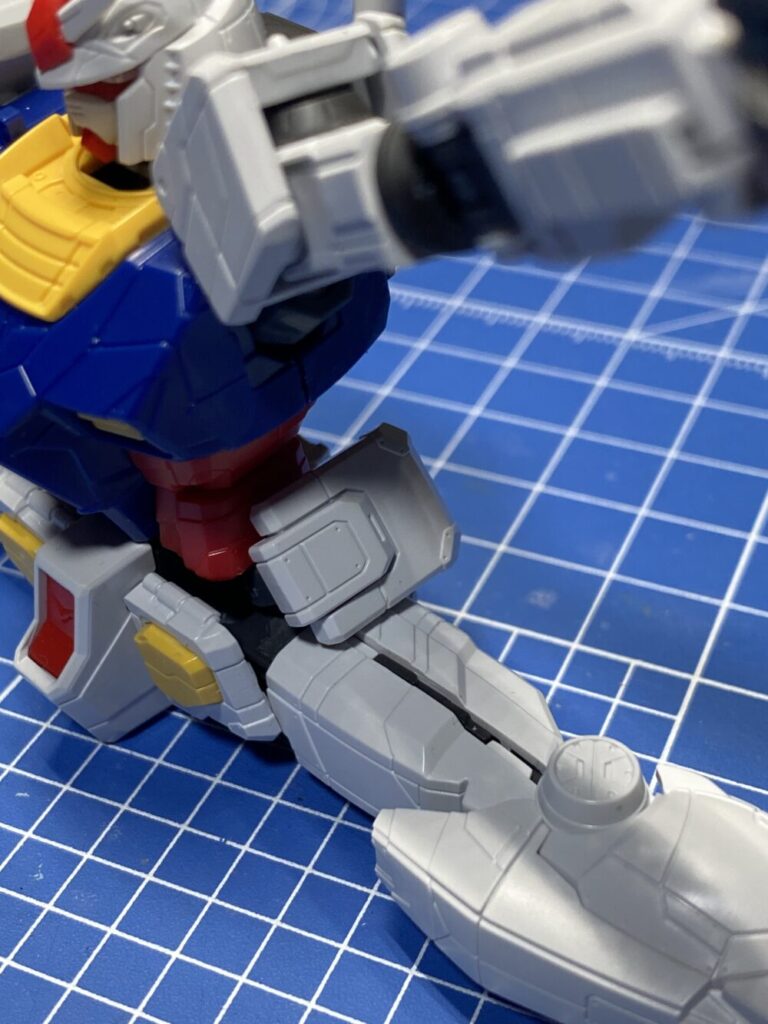
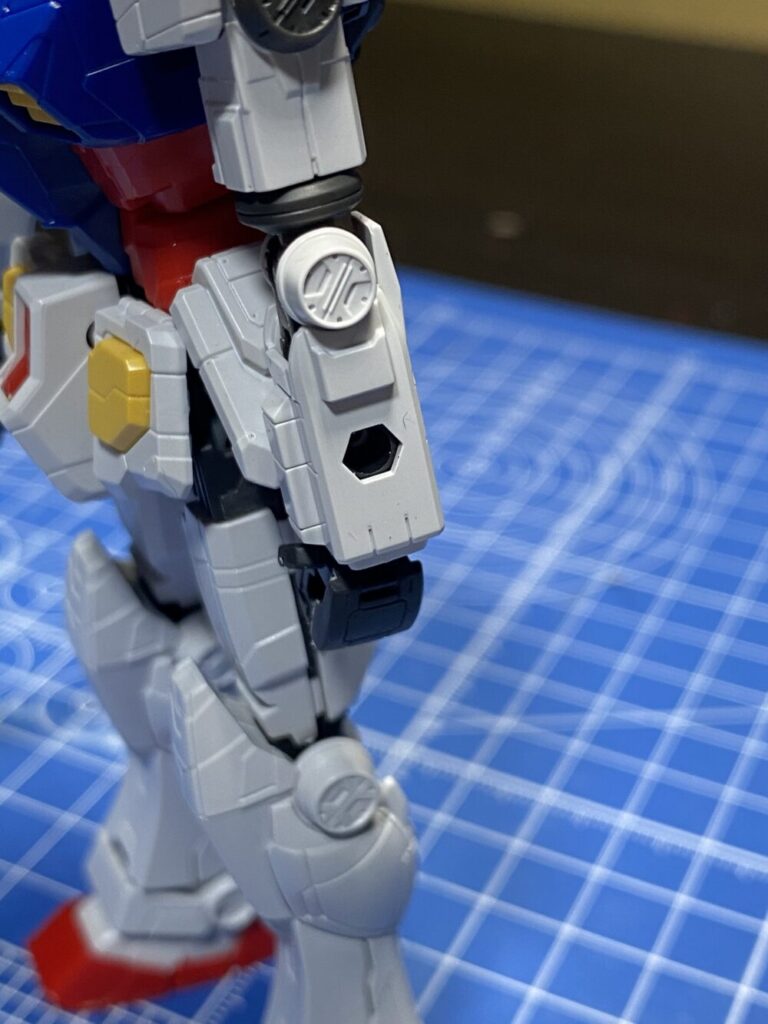
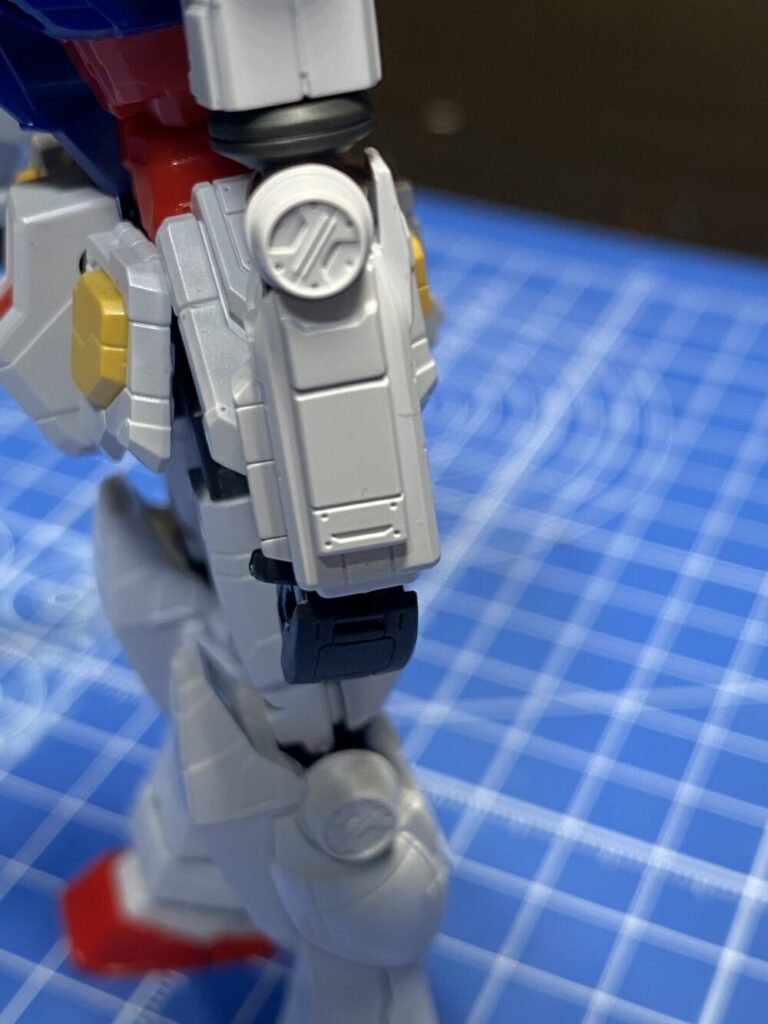
足部と腕部裏に気になる合わせ目があります。
その他は、段落になっていてあまり分からないようになっています。
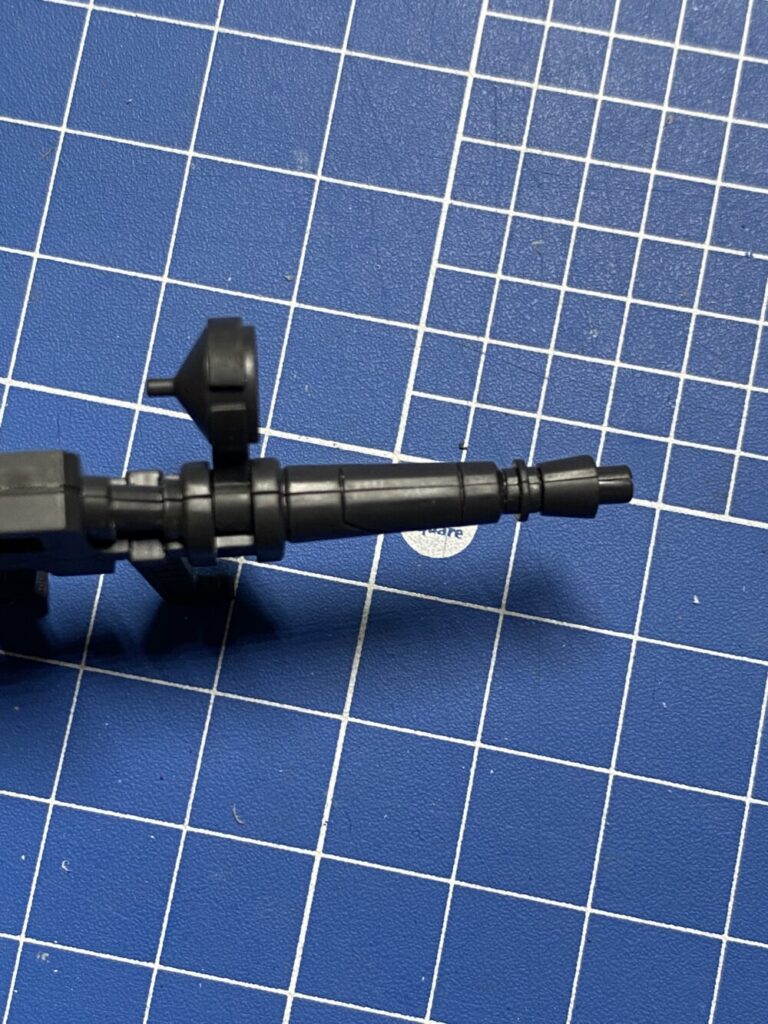
ビームライフルにも気になる合わせ目がありました。
可動チェック
腕はここまで上がります。ここまで上がれば色々ポージングもできると思います。
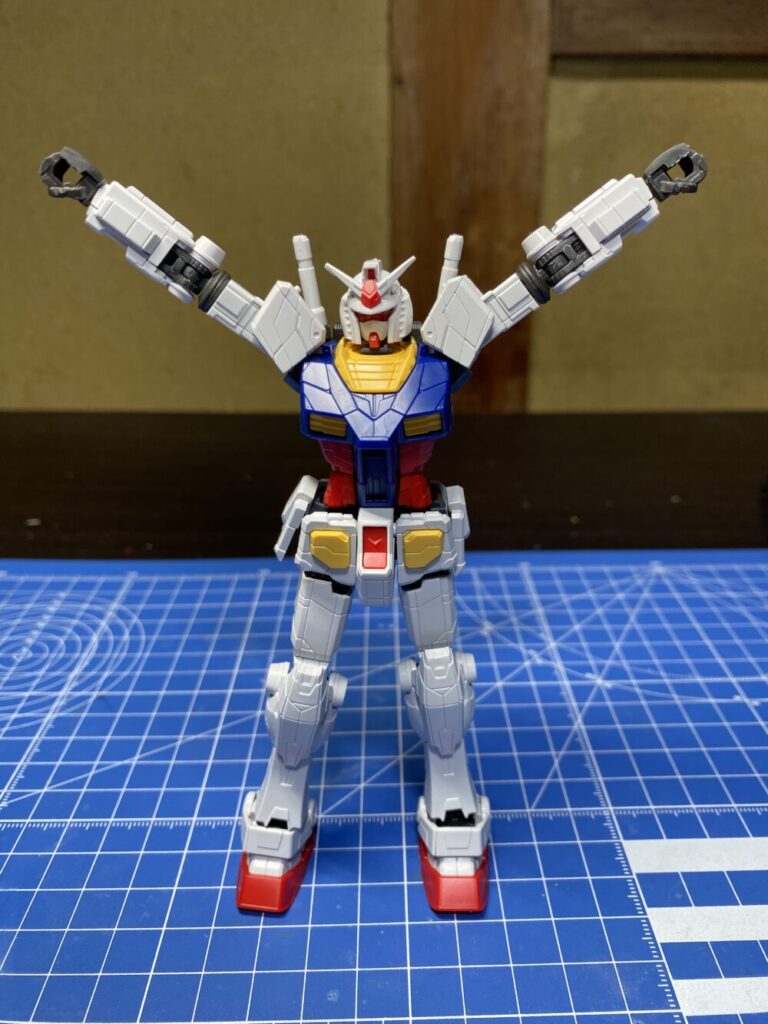
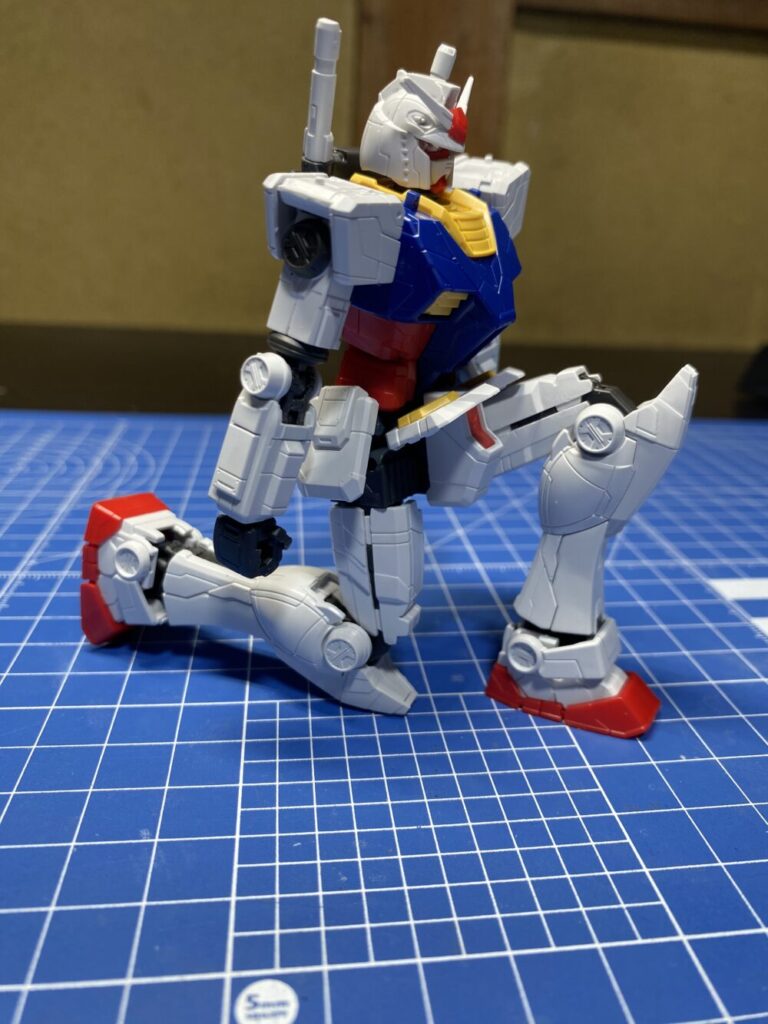
関節部も90度以上曲がります。
脚部もここまで開きます。
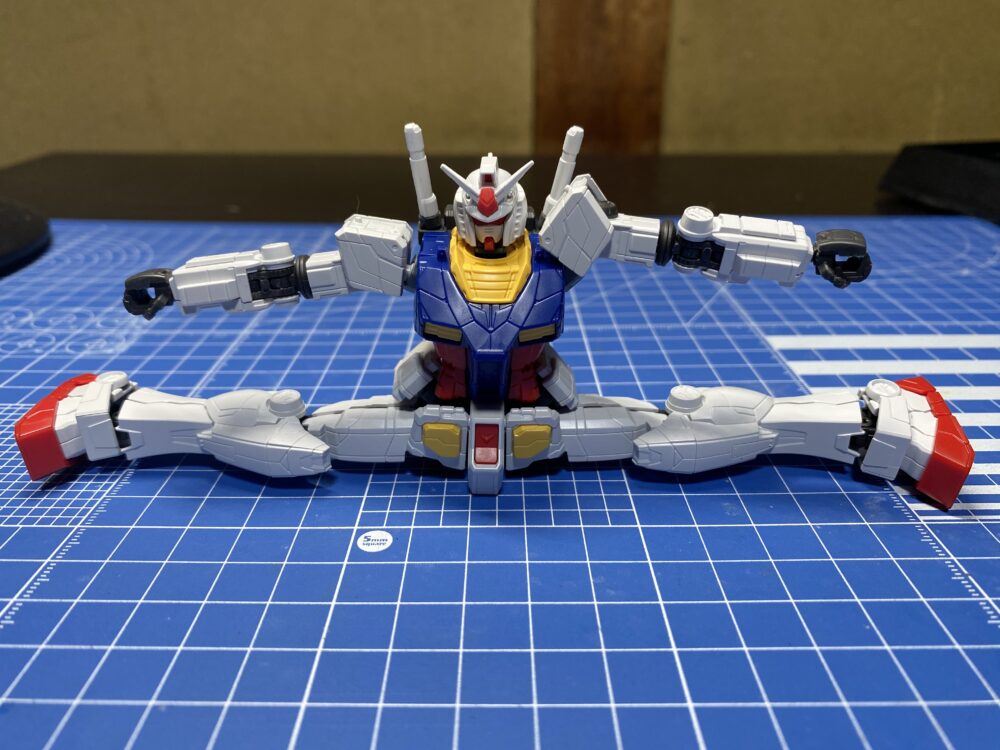
ただし、腰部の装甲をずらす必要があります。
実際ここまで開いてポージングさせることはないと思うので気にしなくていいと思います。
頭部も特に邪魔をする物もなく1回転させることができました。
膝立ちも余裕です。
ポージング
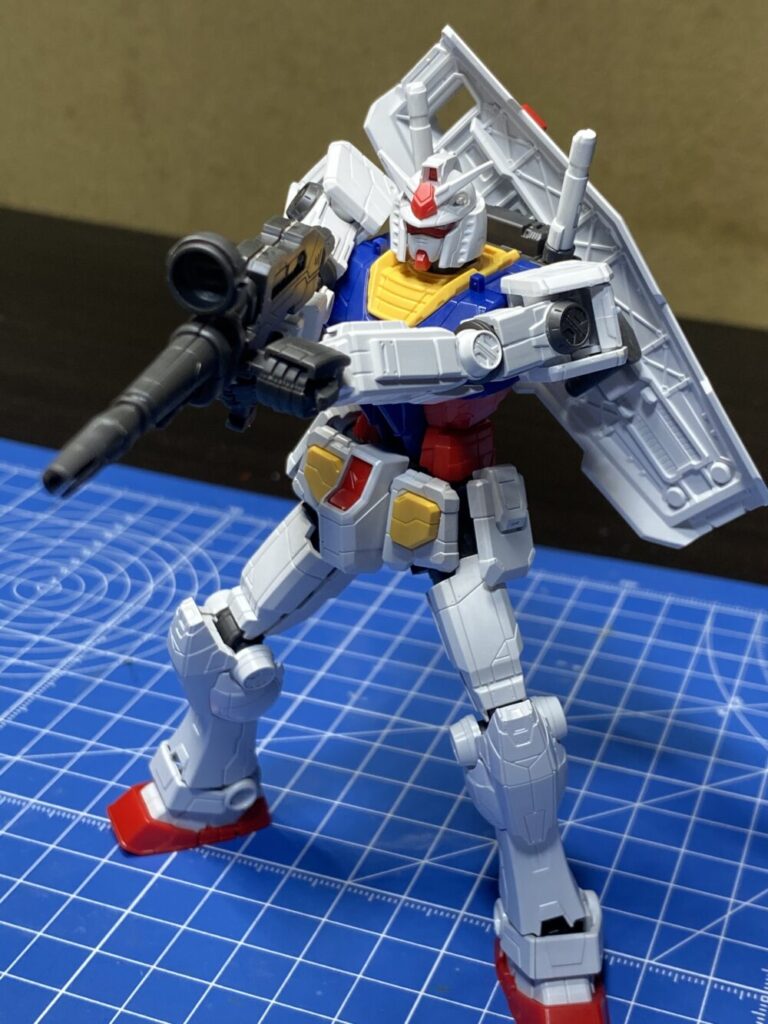
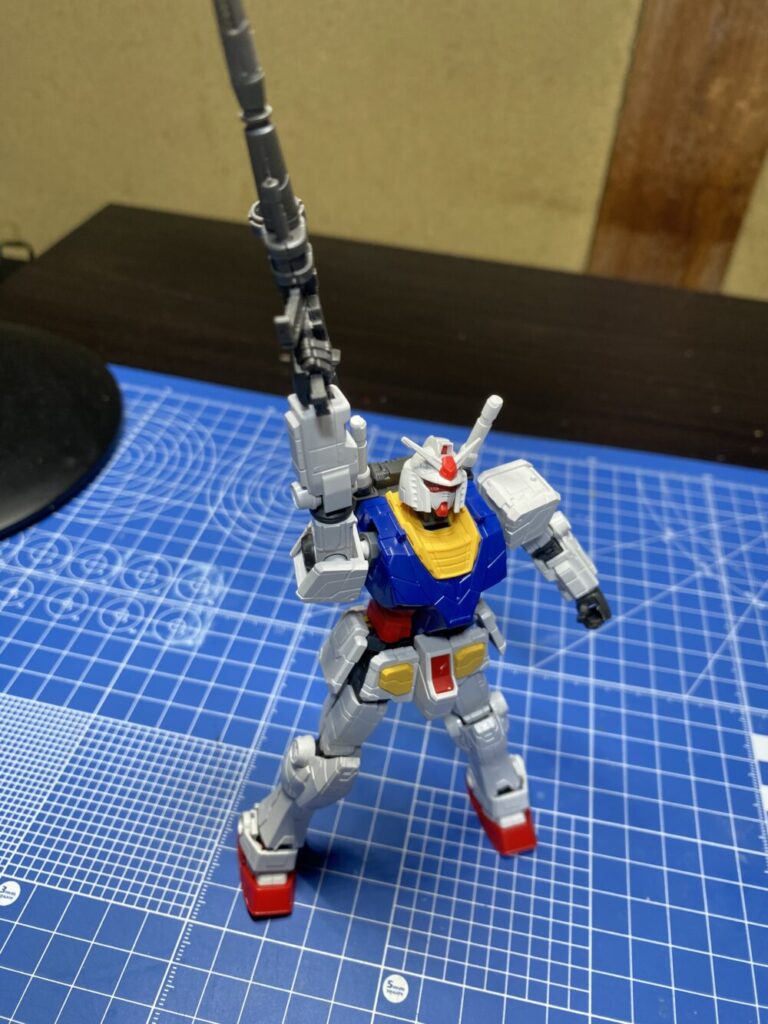
ライフル用の持ち手があるおかげでしっかりライフルを持つことができます。
ライフルのセンサーは後で外すのが大変そうだったので、取り付けていないです。
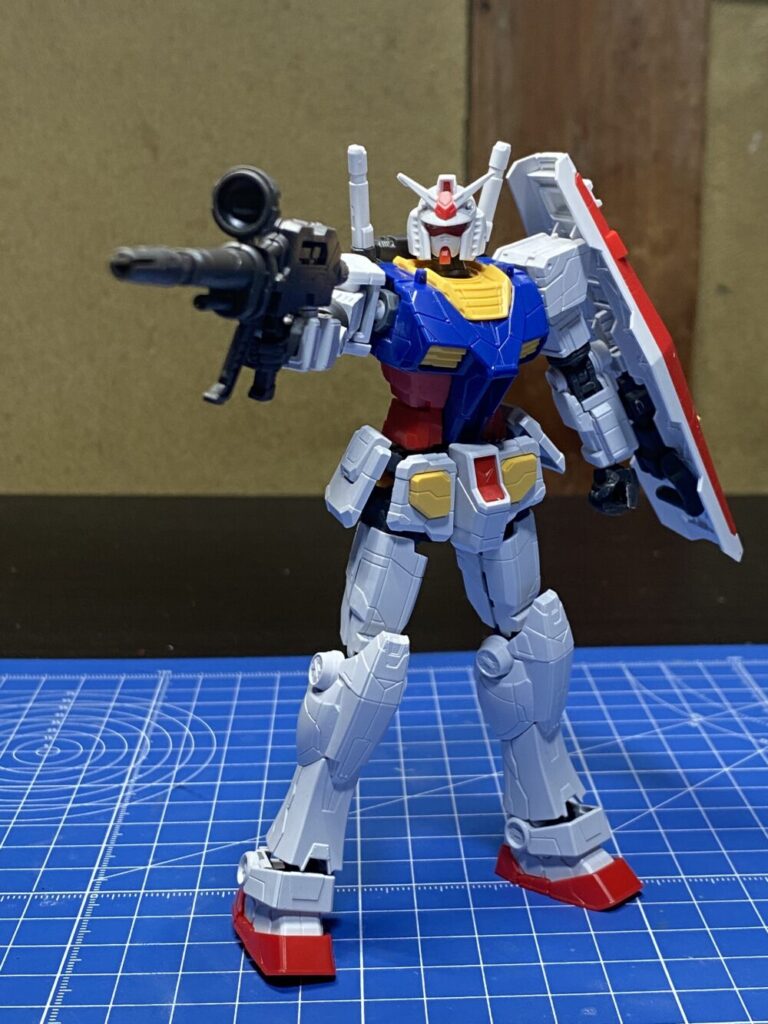
シールドは手に持たせて腕にも取り付けるのでかなり安定してます。
パーツが外せるようになっていてシールドを取り付けれます。
持ち手だけでシールドを持たせることも可能ですが、安定感はかなり落ちます。
ビームライフルの両手持ちも余裕です。
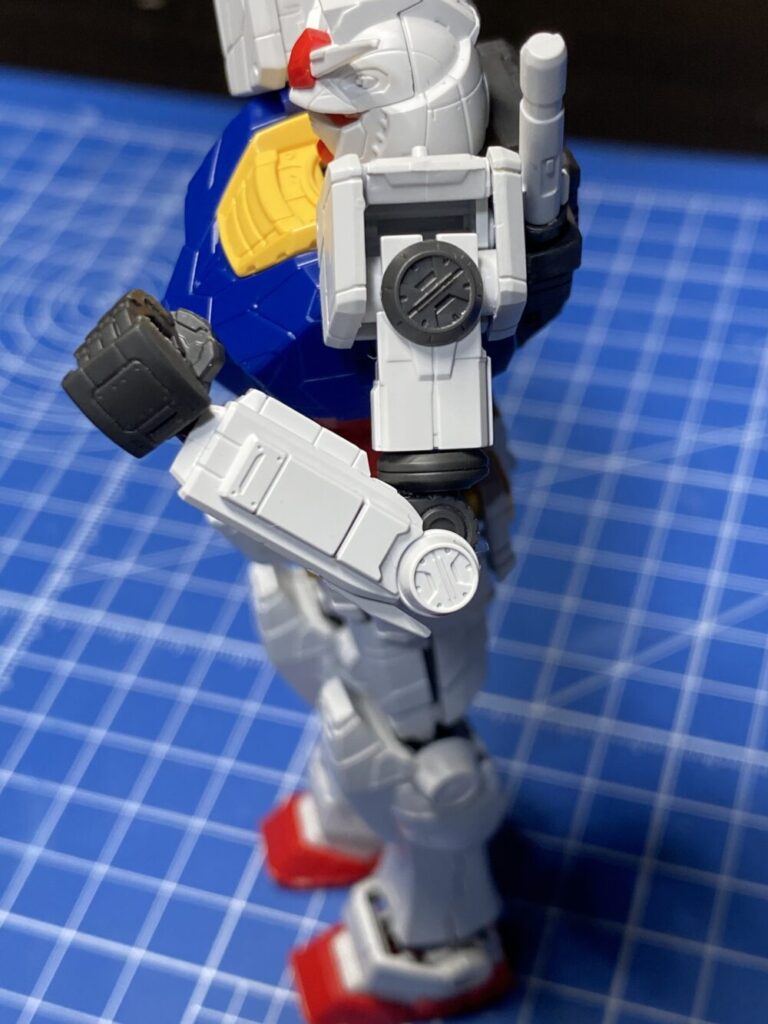
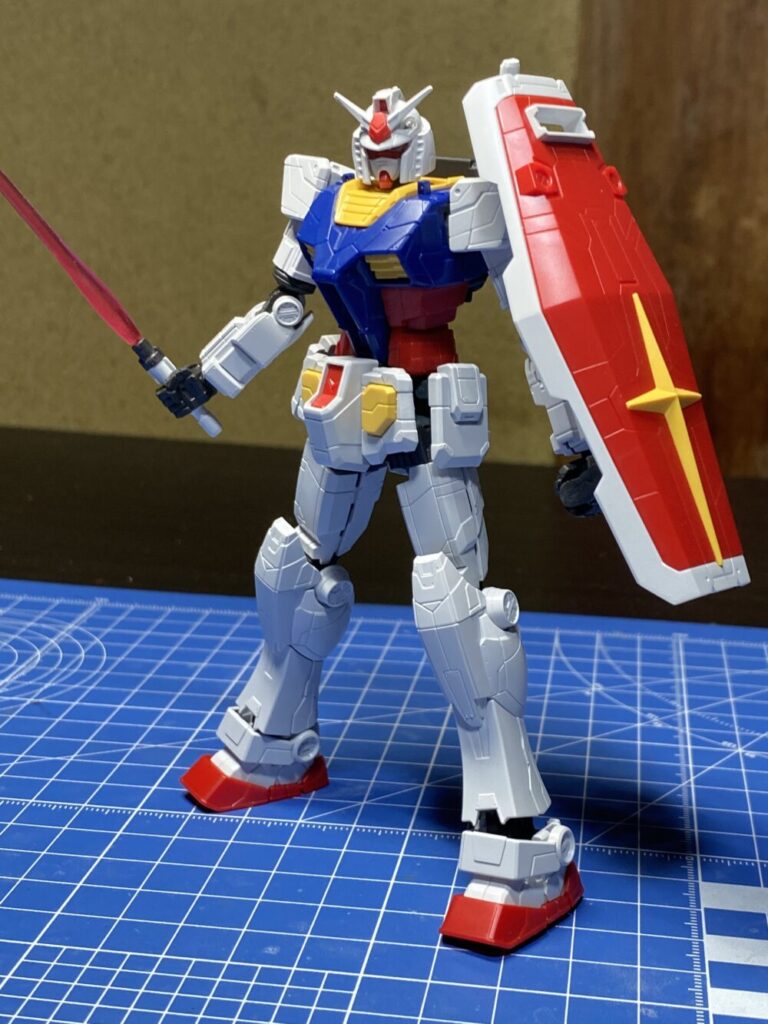
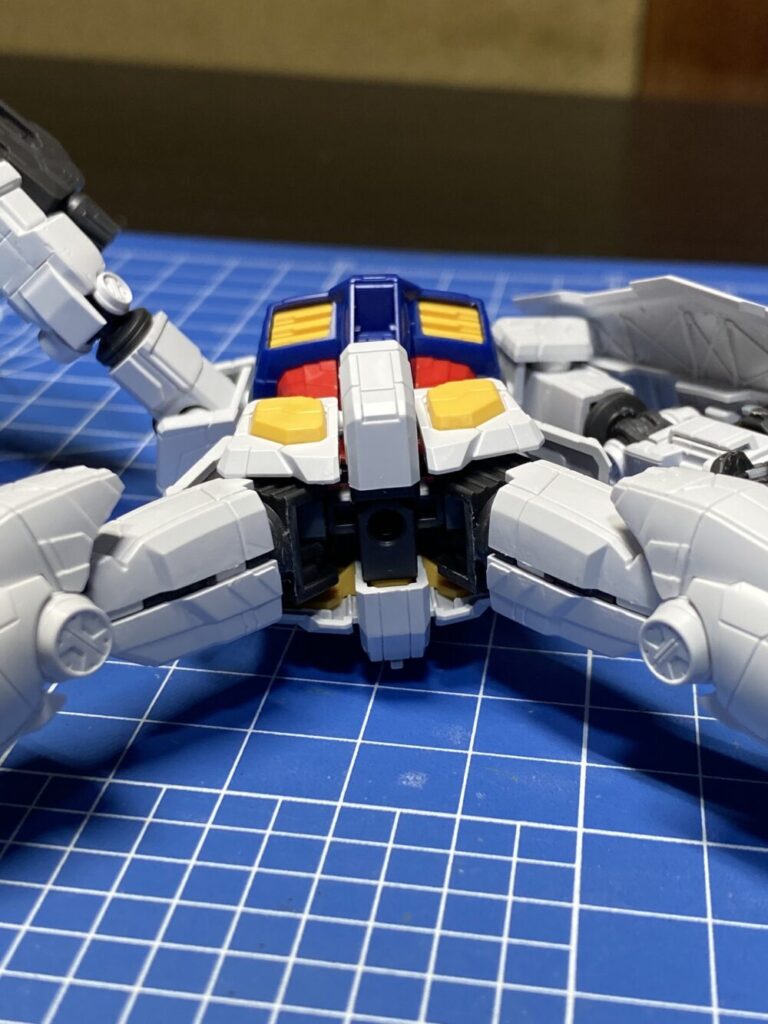
シールドはバックパックにマウントできます。
サーベルを持たせてもバッチリ決まります
ラストシューティング風もできます
穴があるのでアクションベースに取り付けることもできます。
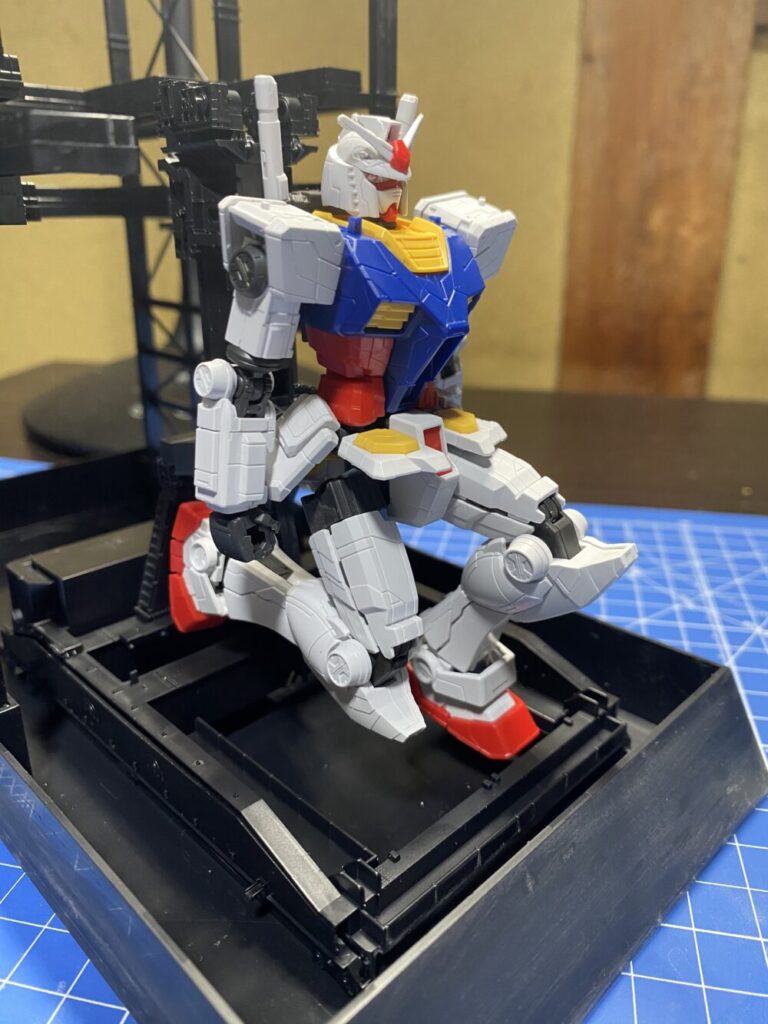
ガンダム&ガンダムドック
GUNDAM FACTORY YOKOHAMAのガンダムの再現ができます。
足は中に浮いています。
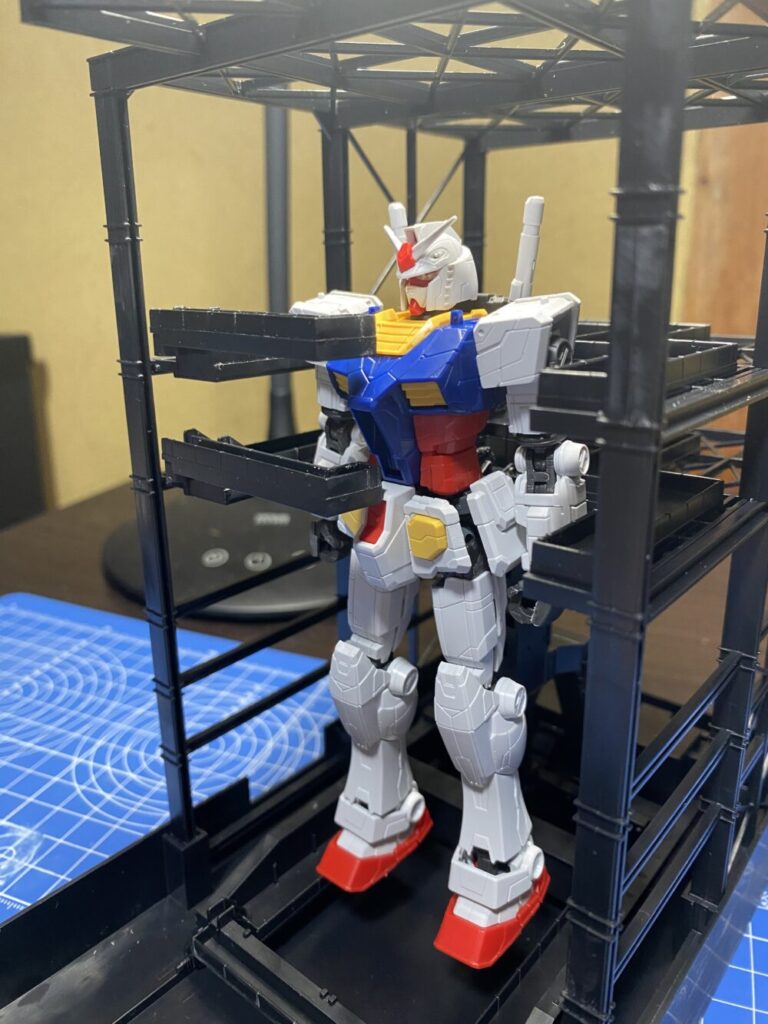
腰部にマウントさせます。
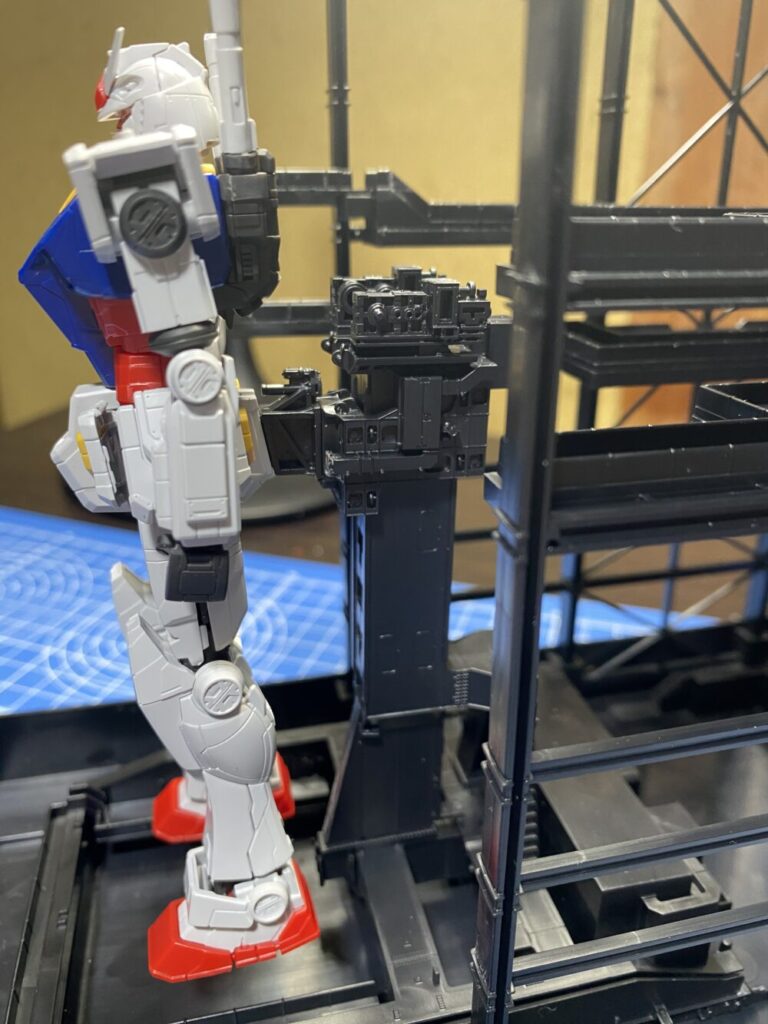
腰部後ろのパーツが取り外しできるようになっていて取り付けできます。
膝立ちも可能です。
まとめ
GUNDAM FACTORY YOKOHAMAのガンダムの再現がよくできているガンプラです。
色分けやディティールもしっかりとできていて素組み派の方でも満足できるガンプラだと思います。
少し塗装して色分けするだけでもリアルさがより増してくると思います。
ガンダムドックに取り付けた時に足が宙に浮いているのが少し残念です。
ポージングも色々できそうなので、これから作っていくのが楽しみです。
それでは良いガンプラライフを!