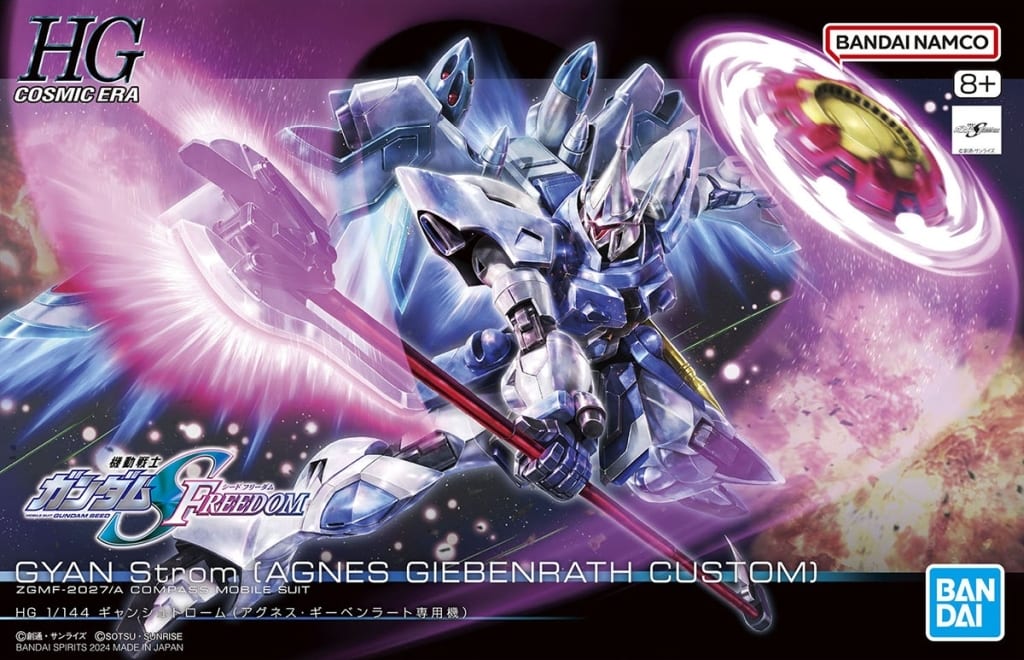
今回は、HGCE ギャンシュトロームのガンプラ製作工程を紹介します。部分塗装をして、最終的にはつや消し仕上げで製作です。

部分塗装で簡単に仕上げます。
今回の内容
- 組立て
- 部分塗装
- 完成 ポージング
それでは作っていきましょう!
目次
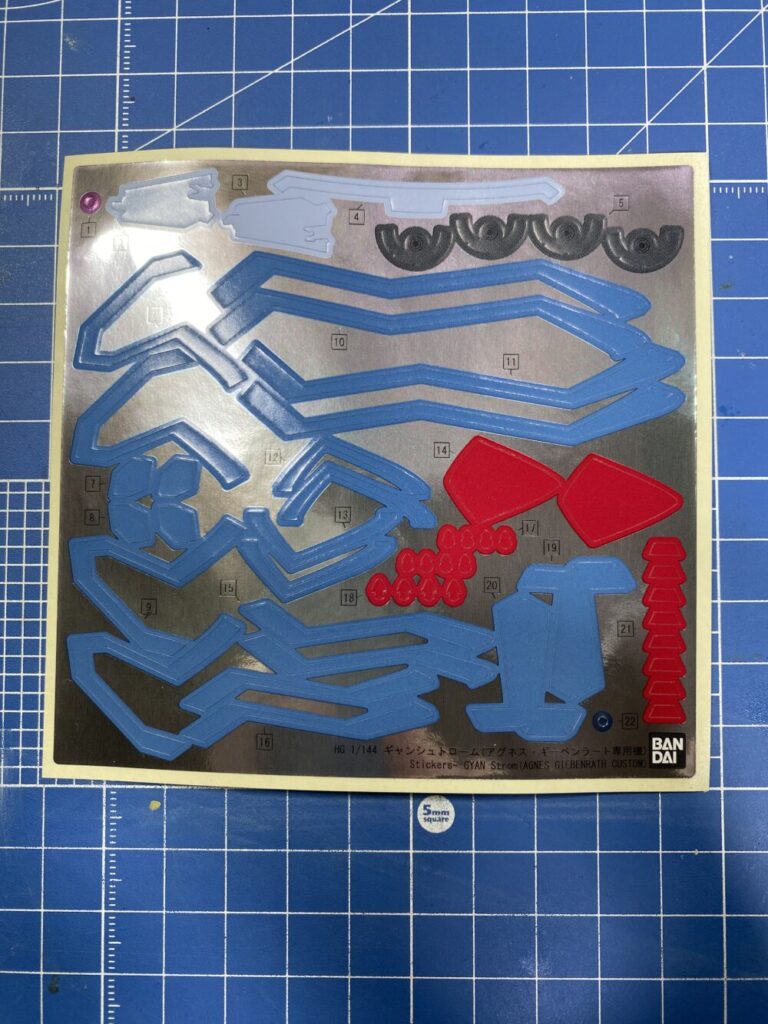
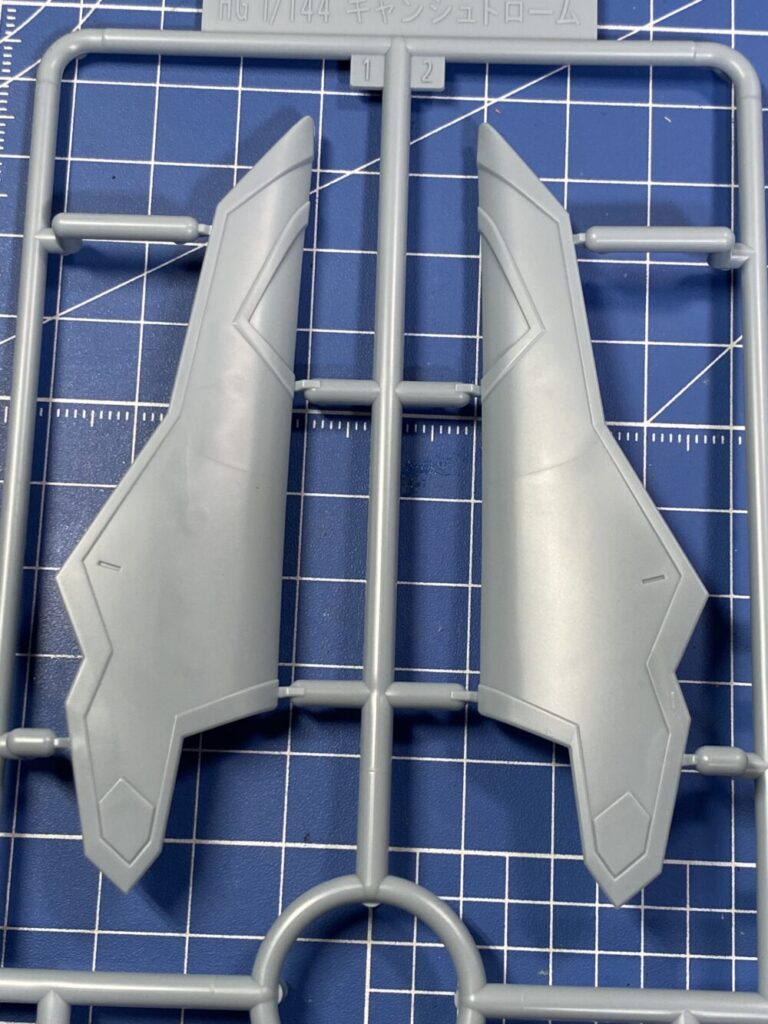
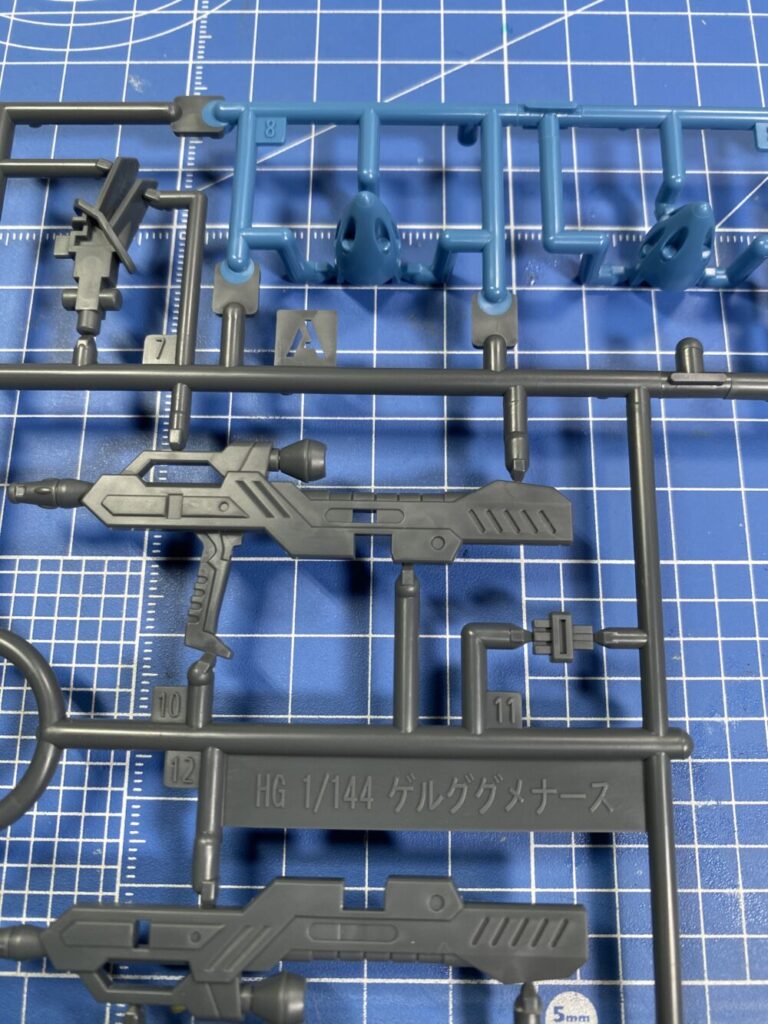
パーツチェック
色分けをシールで行う箇所が多くあります。
主にバックパック部です
武装のパーツはゲルググメナースと同じパーツもあります。
組立て
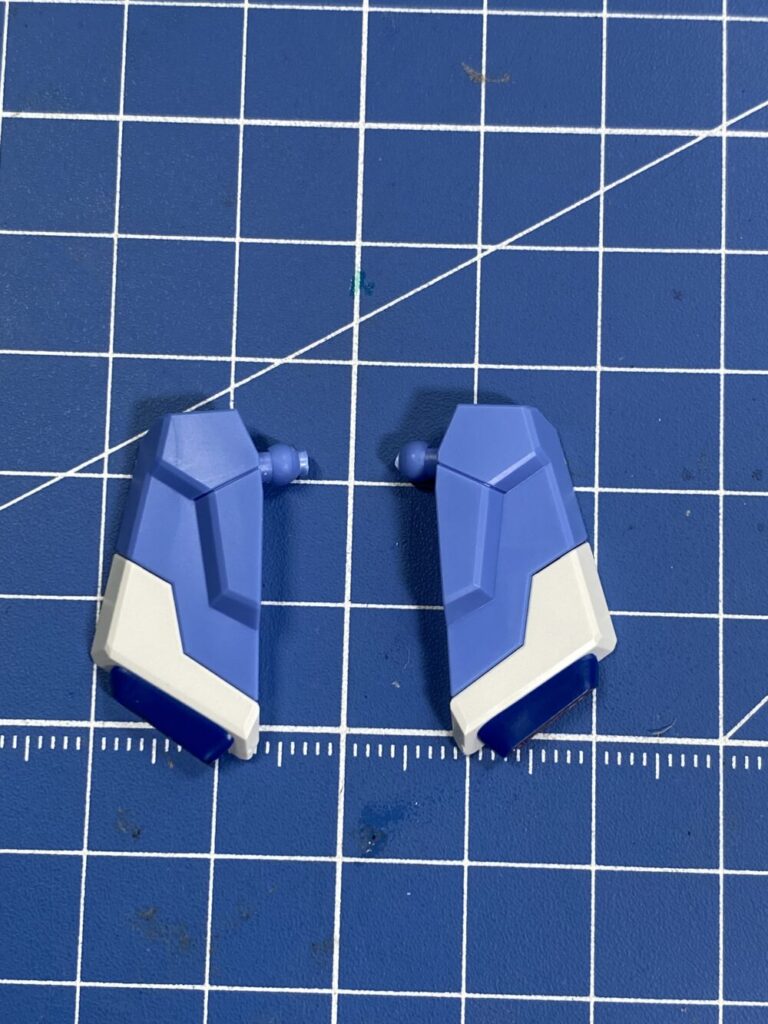
改修
フロントスカートは片方ずつ可動するようにしておきます。
パーツを切り離すだけでできます
部分塗装
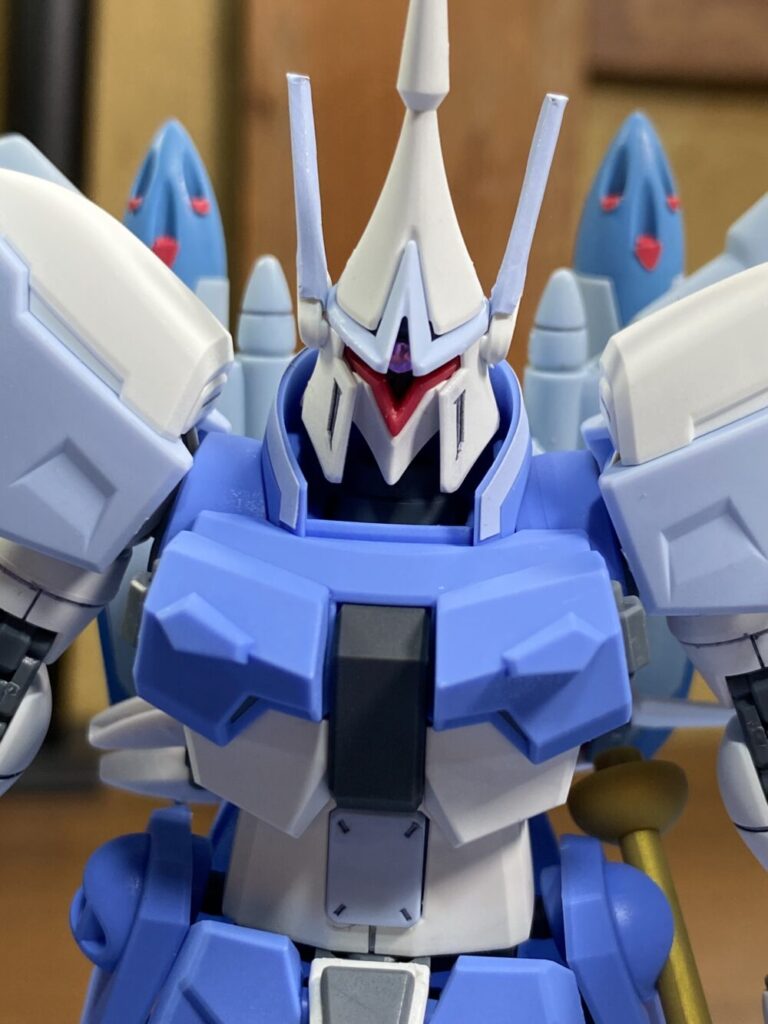
バーニア部はシールで色分けできますが、シールだといまいちな気がしたので筆塗りで塗装しました。
使用した塗料
- 水性ホビーカラー 焼鉄色
- タミヤエナメル フラットレッド
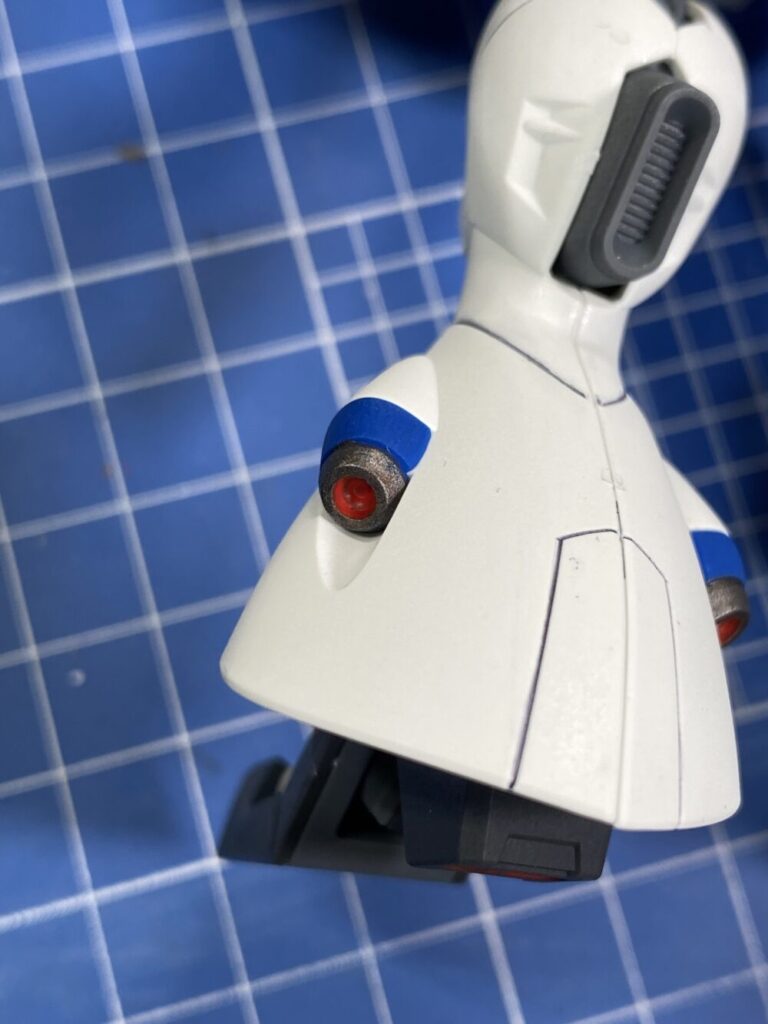

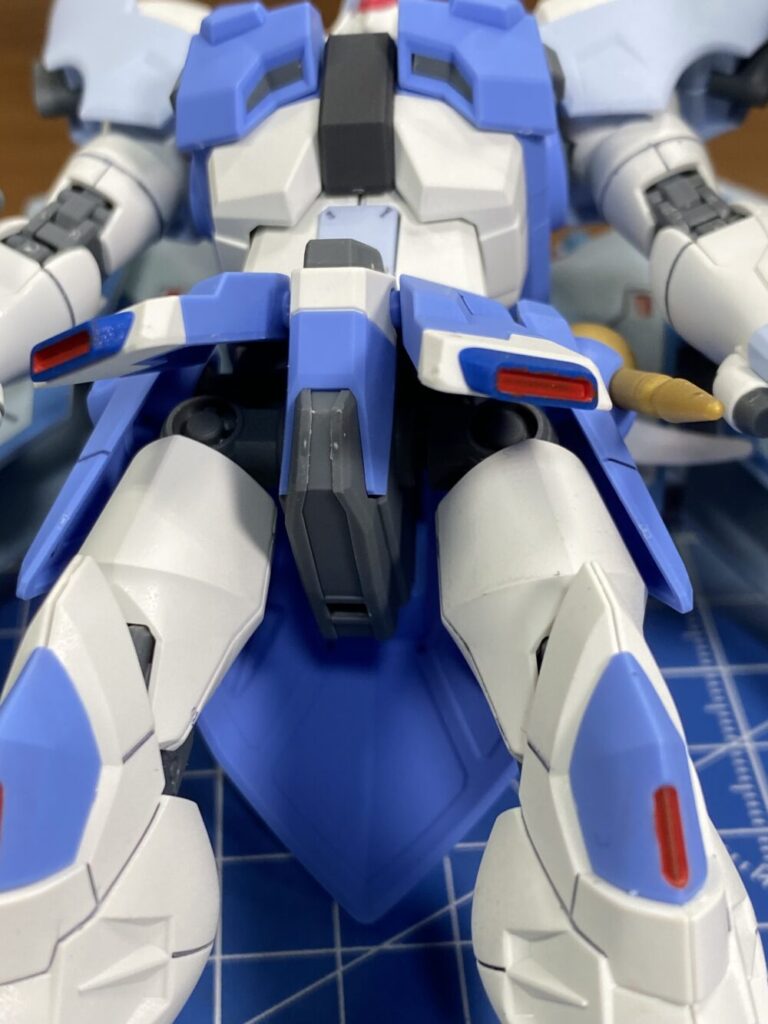
スミ入れはガンダムマーカースミ入れペンでスミ入れしています。

¥200 (2024/05/28 19:50時点 | Amazon調べ)
あわせて読みたい


【初心者向け】 ガンプラの完成度をワンランク上げるテクニック スミ入れ編 【ガンダムマーカー】
今回の完成度をワンランク上げるテクニックはガンダムマーカーでのスミ入れです。 ガンダムマーカースミ入れペンは素組み専用となります 塗装した後やメッキパーツ使用…
スミ入れだけでもかなりカッコよくなります!
仕上げ
最後に水性プレミアムトップコート UVカットつや消しでトップコートをしました。
水性の缶スプレーが手軽でニオイも少なくおすすめです。

¥1,073 (2024/05/28 19:55時点 | Amazon調べ)
完成 ポージング
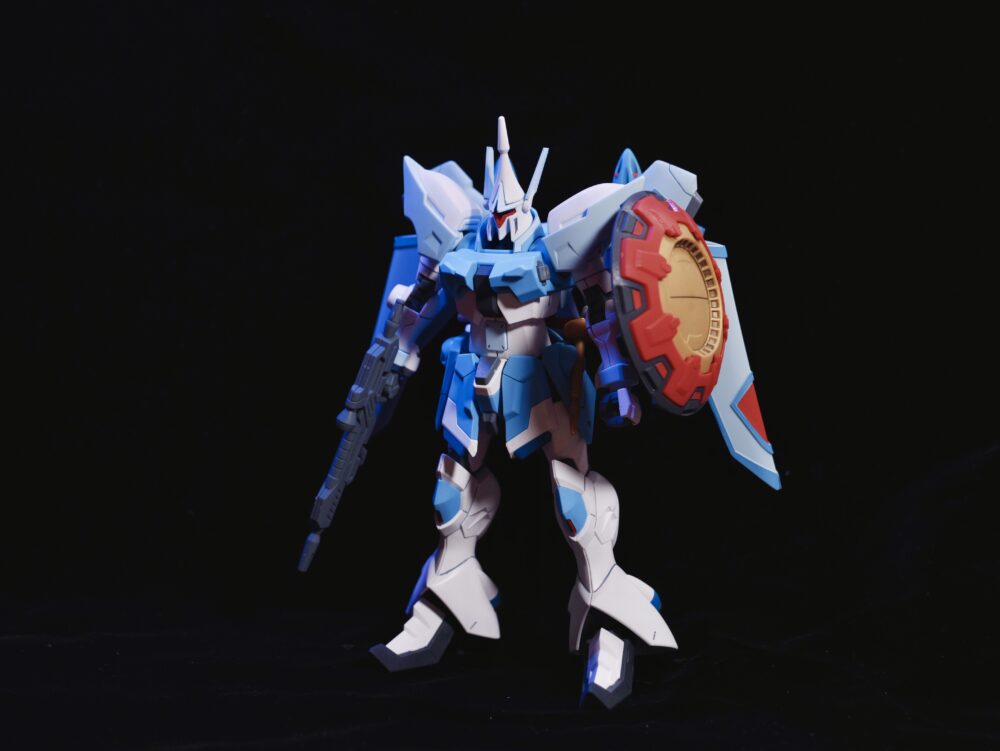
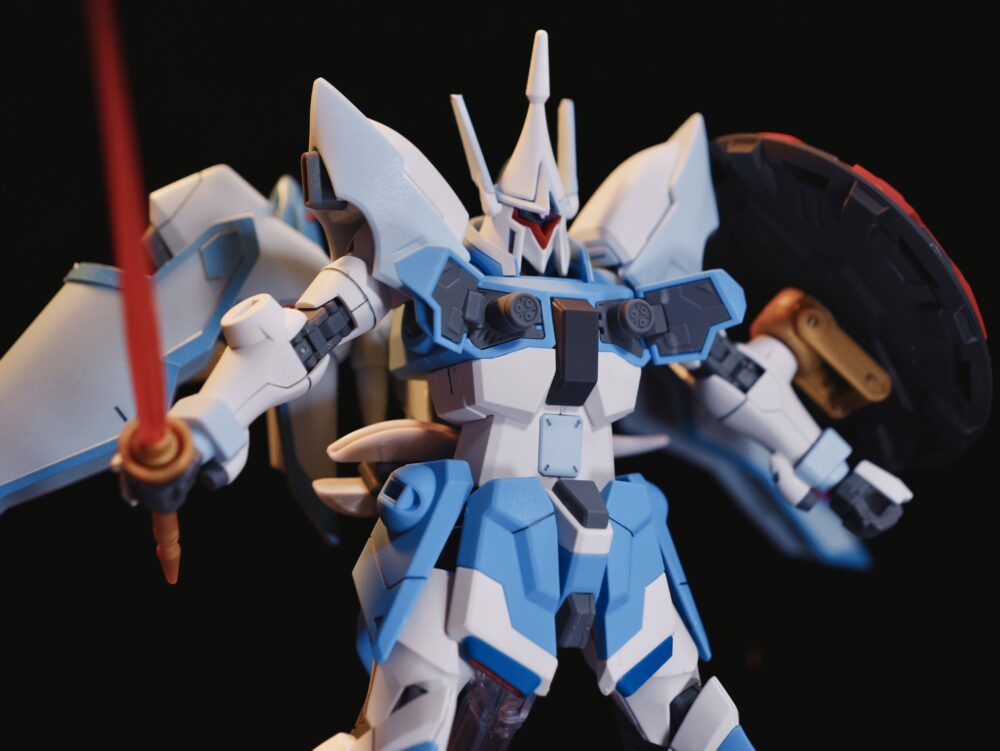
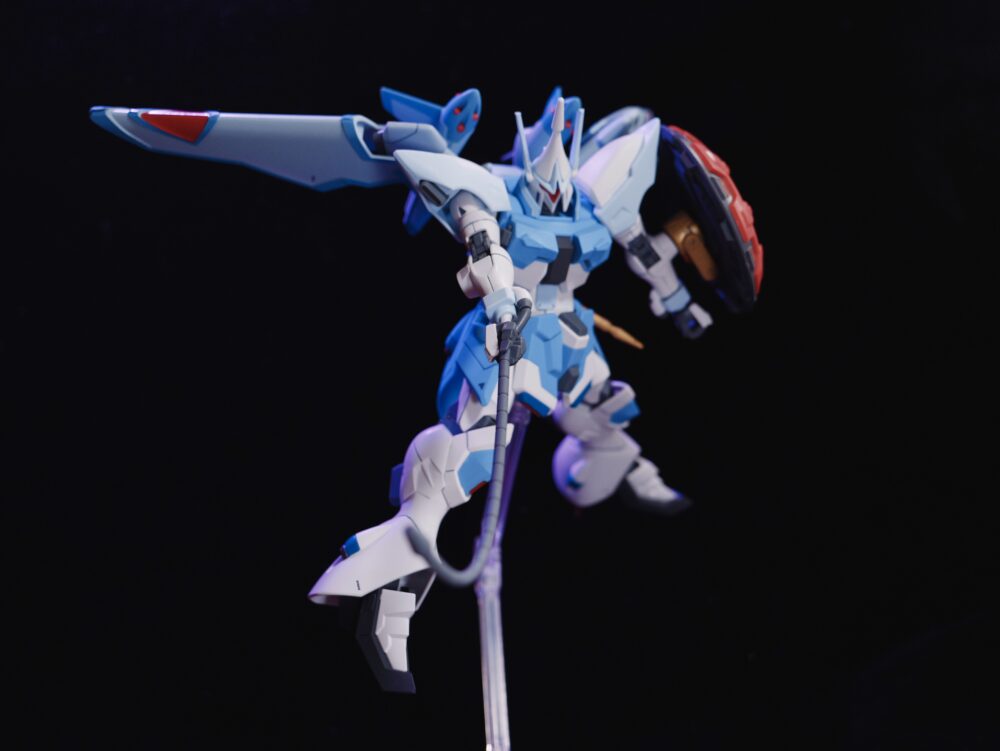
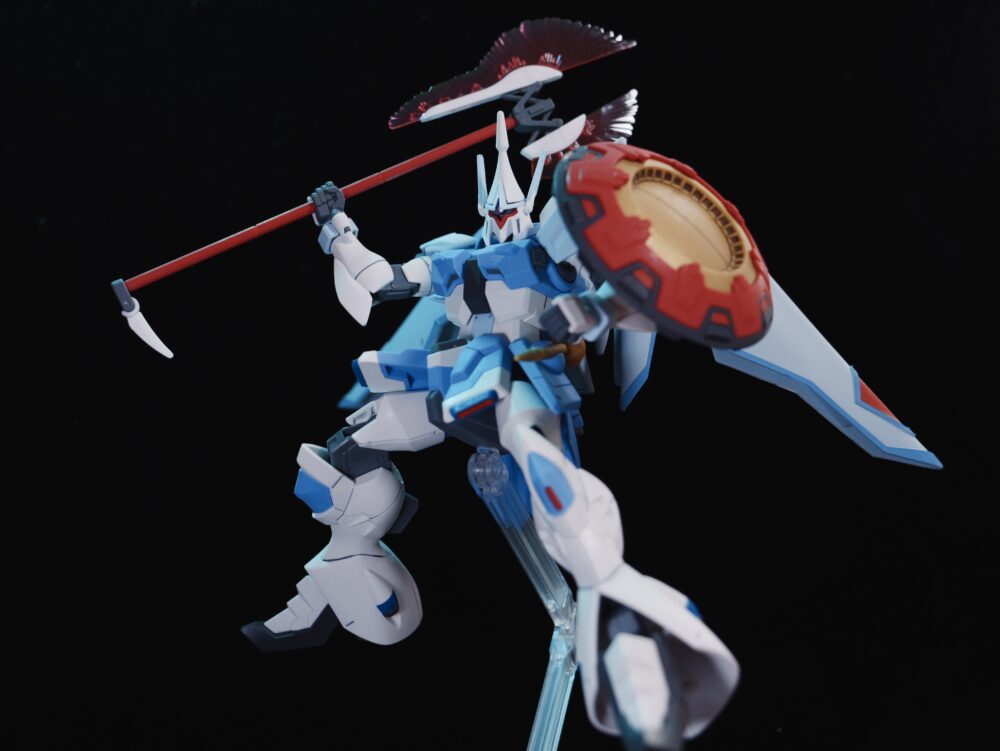
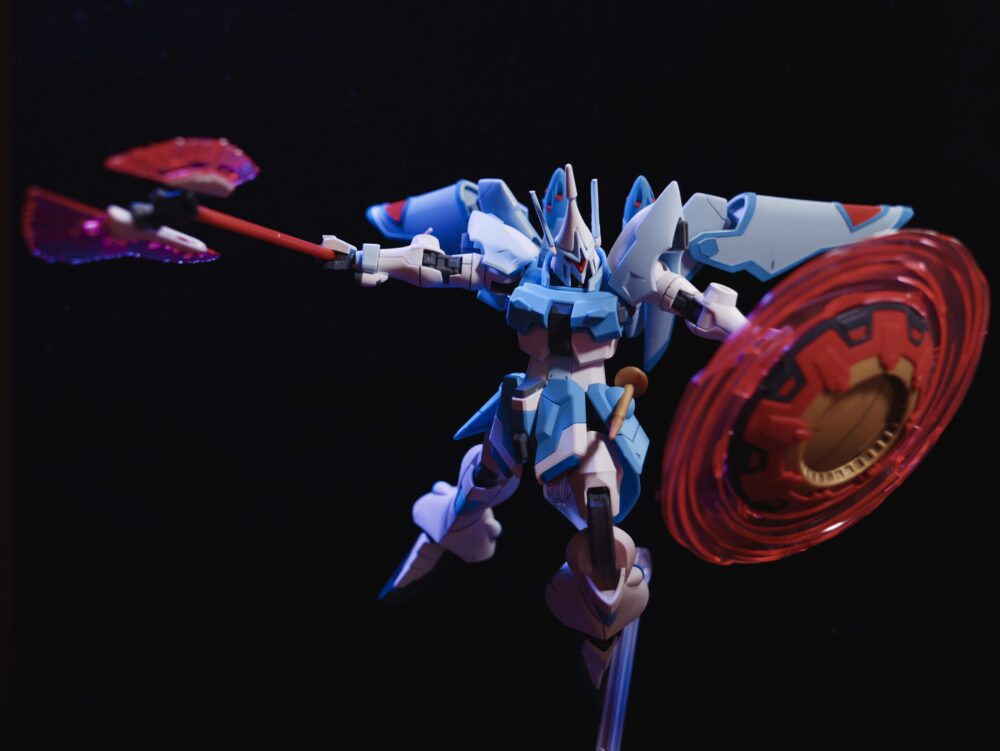
ギャンシュトロームとてもいいキットです!
まだまだSEEDFREEDOMのキットが続きそうです。
それでは良いガンプラライフを!