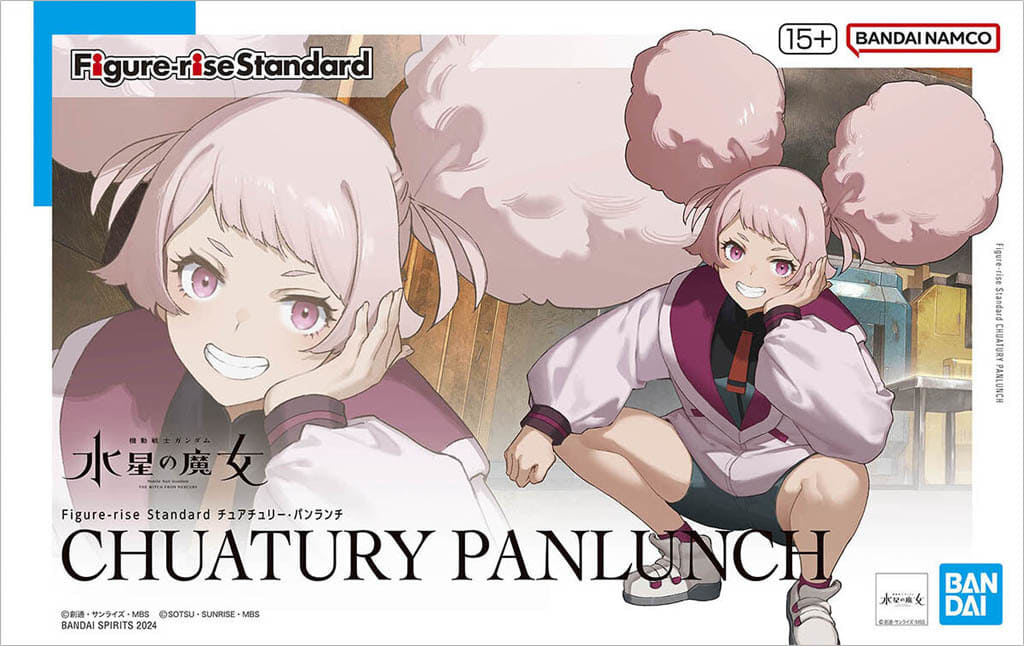
今回は、Figure-rise Standard チュアチュリー・パンランチの製作をしていきます。
機動戦士ガンダム水星の魔女に登場する髪型が特徴的なキャラクターです。
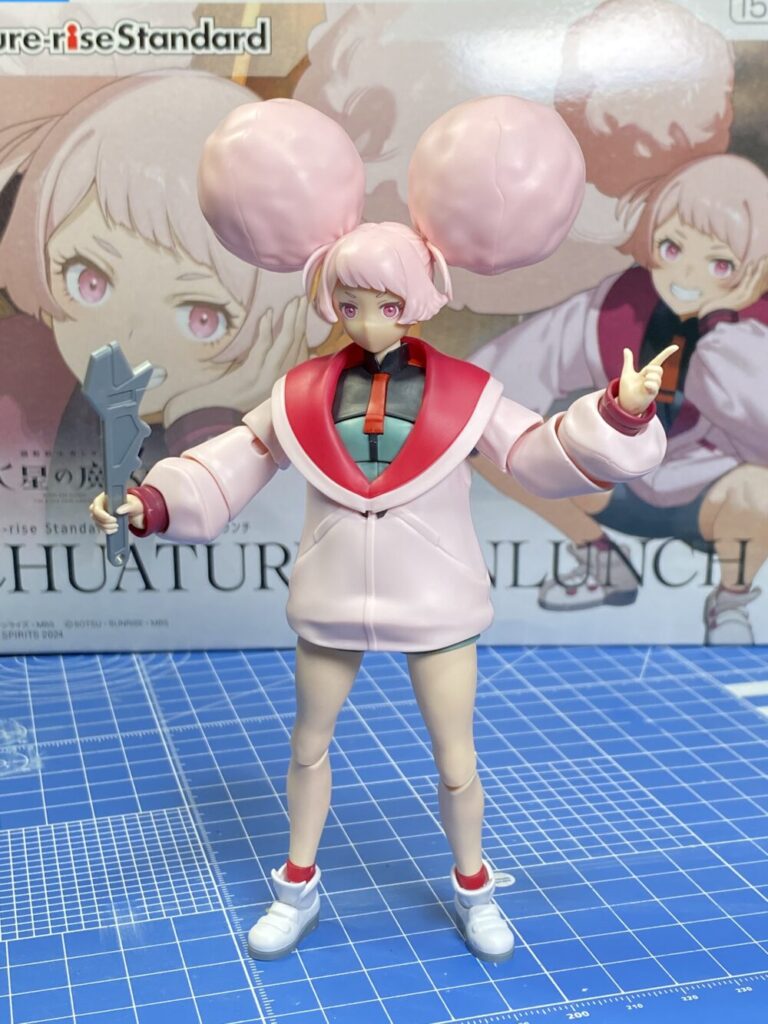
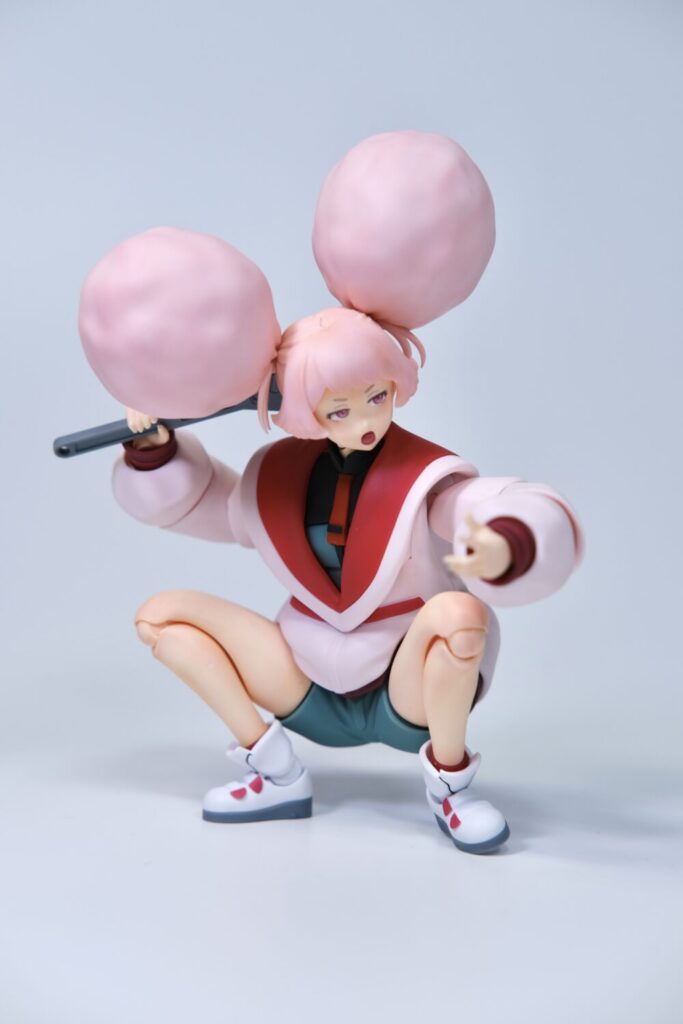
箱絵のようなポーズも再現できるようになっています。

ガンプラ以外のキットは初めて作ります
それでは作っていきましょう!
目次
仮組み
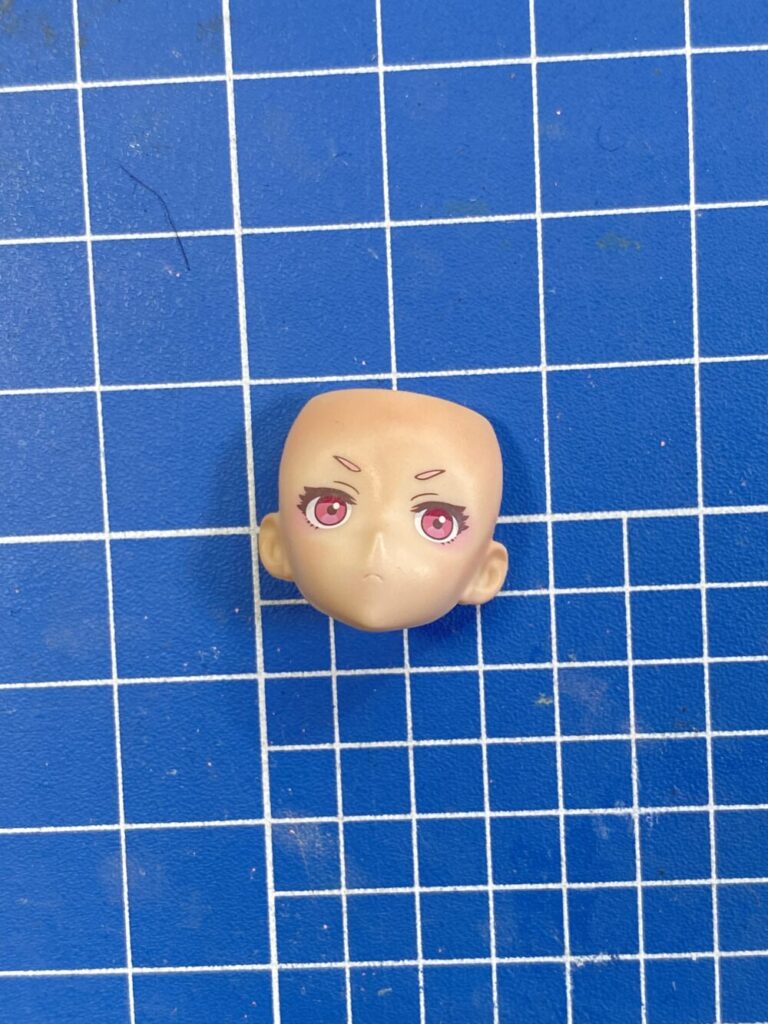
色分けはほぼ完璧です。細かい部分を少しシールで色分けします。
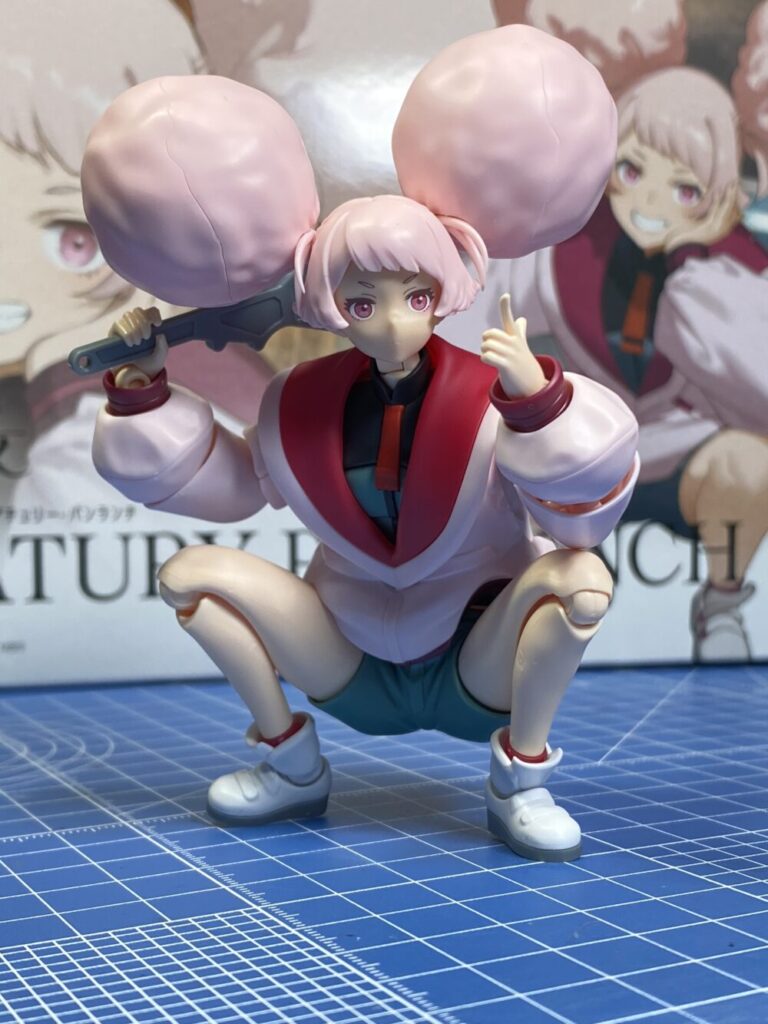
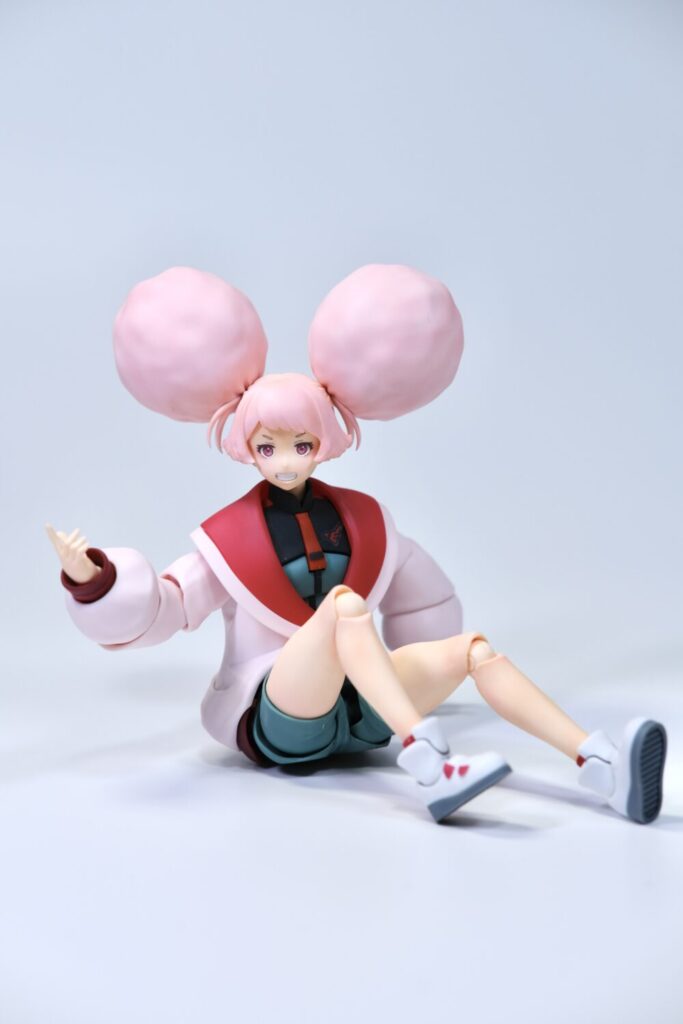
ヤンキー座りもできます!
気になる部分
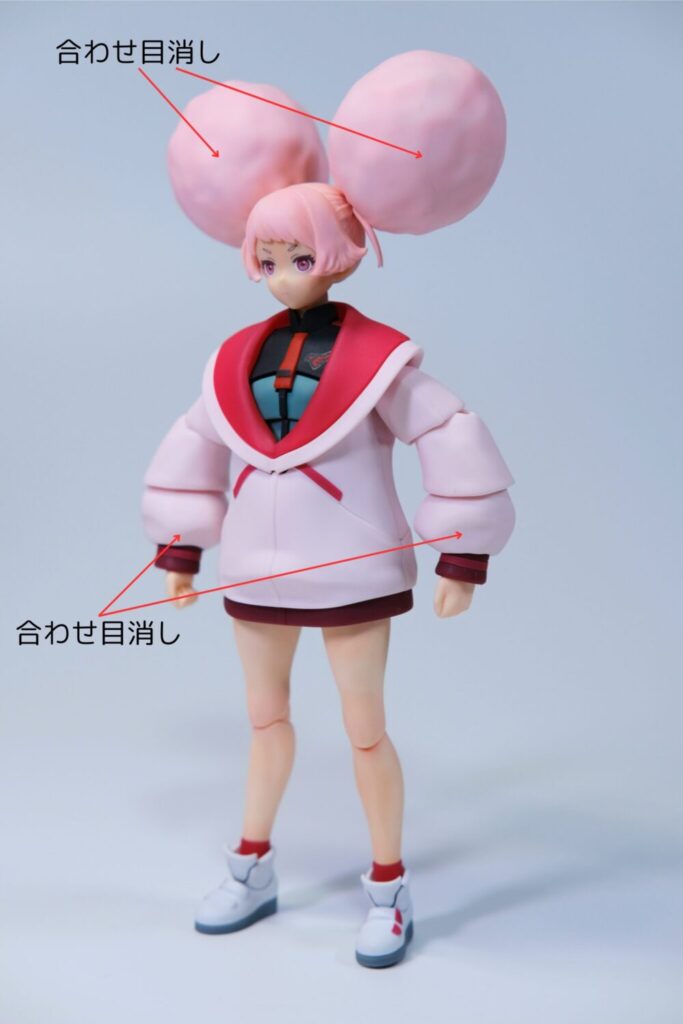
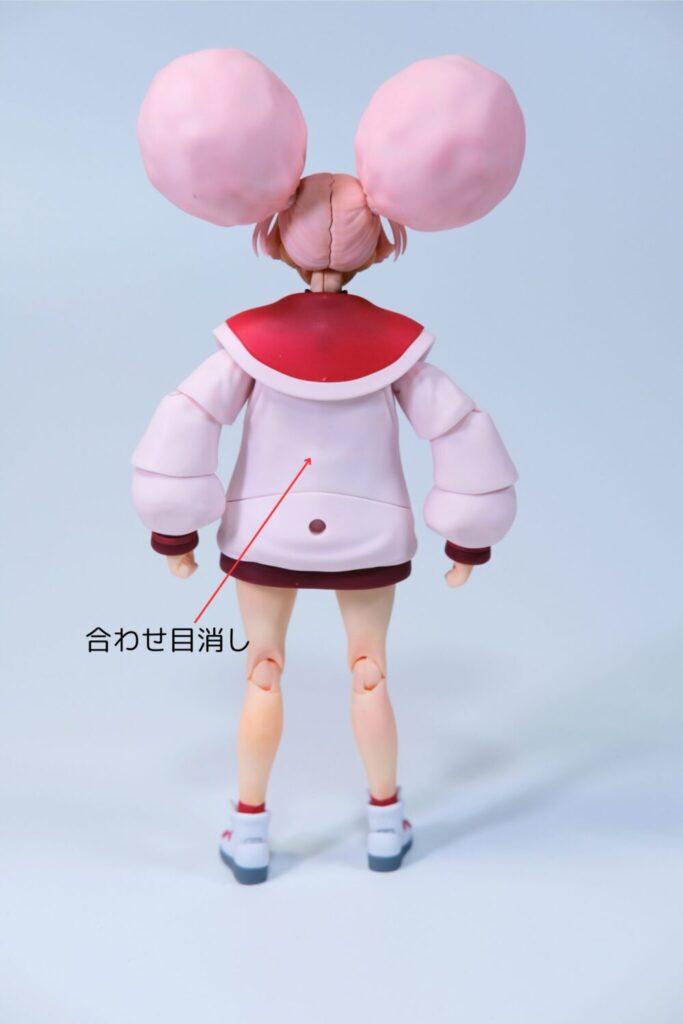
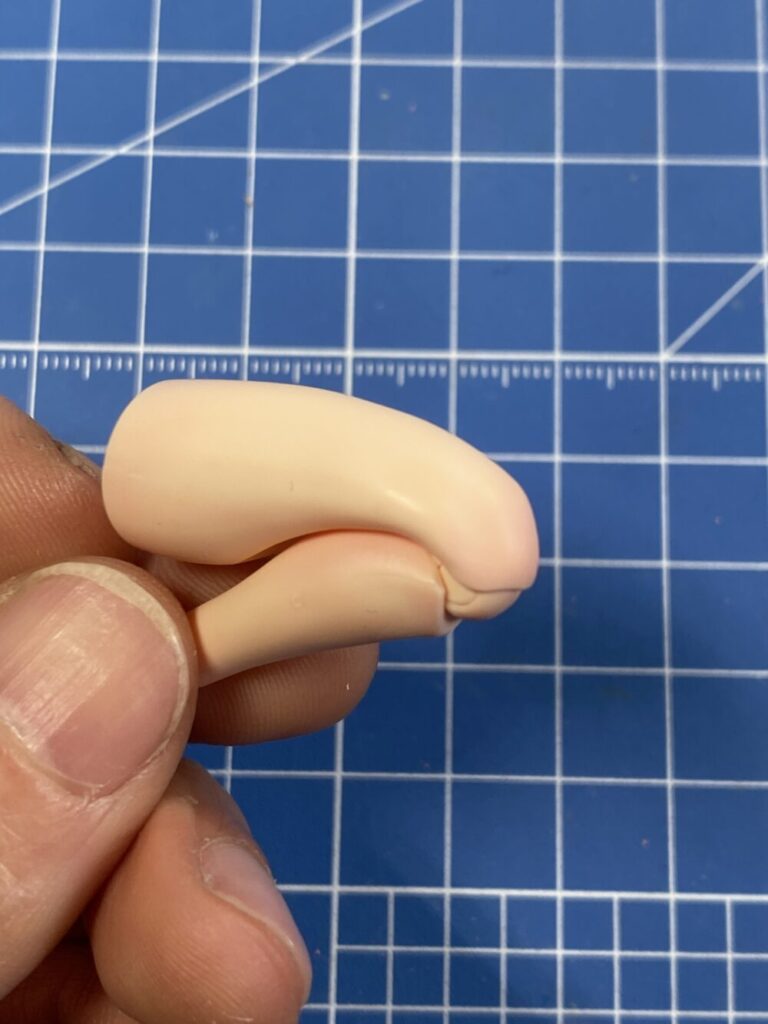
頭のポンポン?部分に合わせ目ができます。
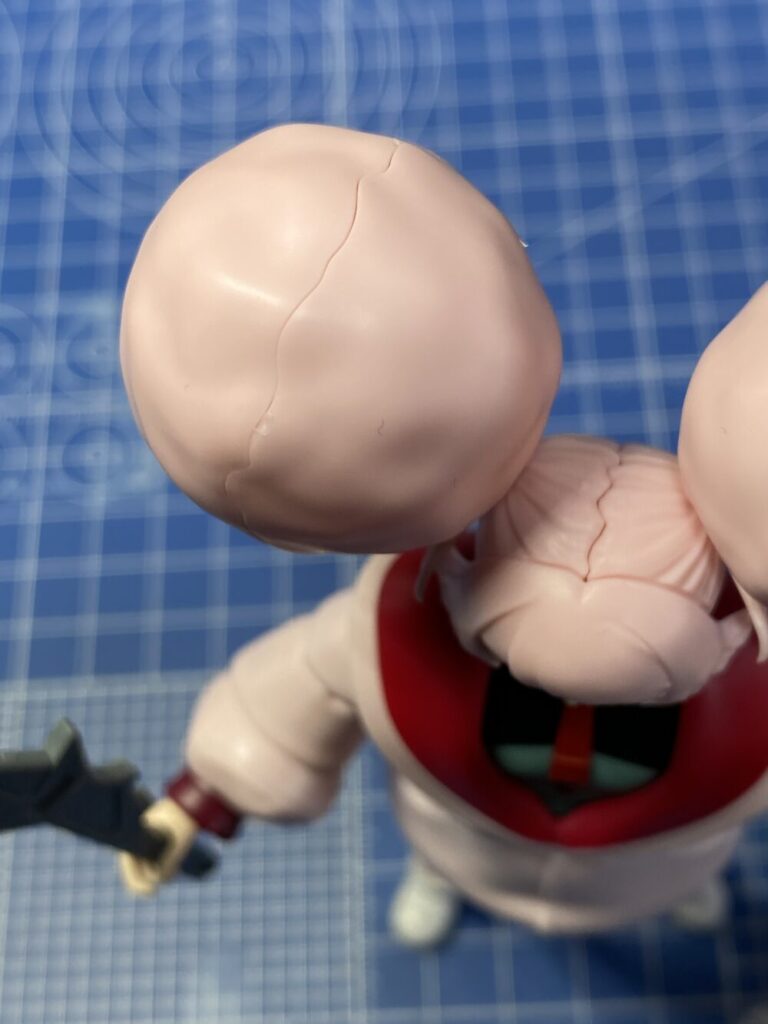
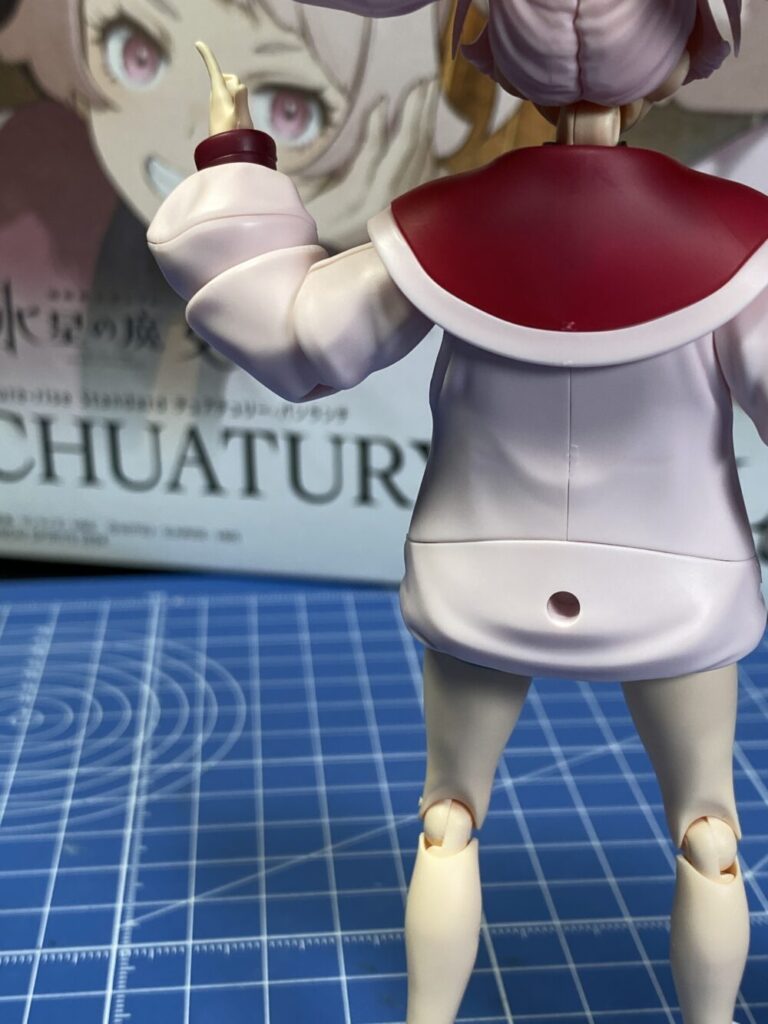
袖部と背中にも合わせ目があります。
完成品
合わせ目消しをしてウェザリングマスターで簡単塗装です。
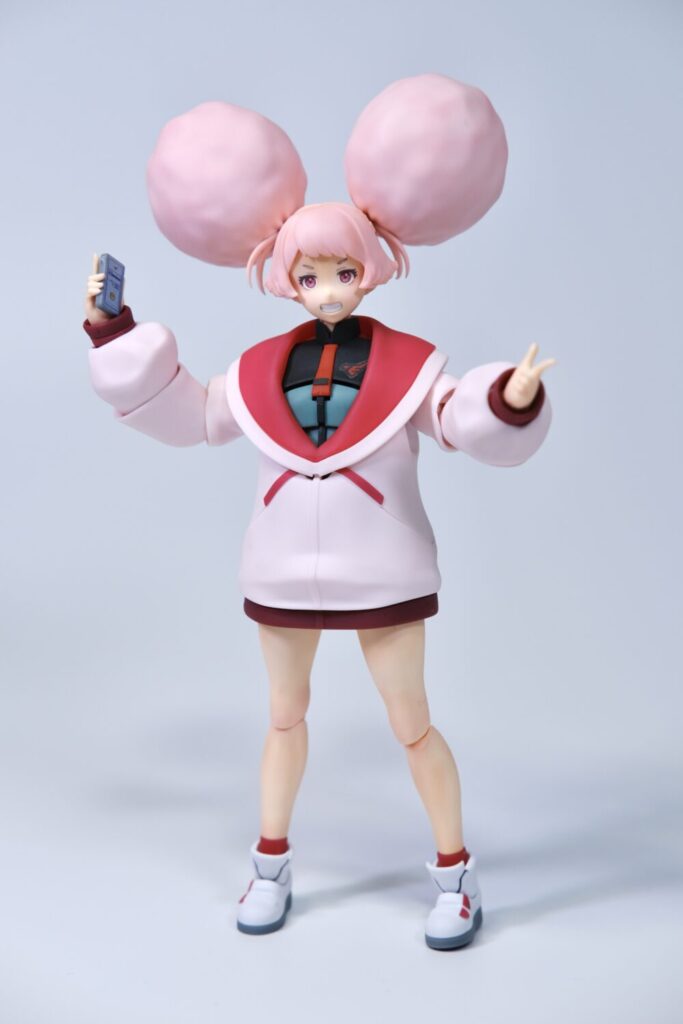
細部の色分けはシールを使用しています。靴にブラックでスミ入れです。
改修箇所
頭の部分の合わせ目は結構目立つので合わせ目消しをしたほうがいい感じに完成すると思います
合わせ目消しの方法はこちらの記事で詳しく↓
あわせて読みたい

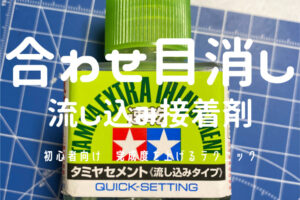
【初心者向け】 ガンプラの完成度をワンランク上げるテクニック 合わせ目消し編 【流し込み接着剤】
今回の完成度をワンランク上げるテクニックは合わせ目消しです。 方法はいろいろありますが、流し込み接着剤を使っての方法を紹介します。 この記事で解決できること 流…
簡単塗装
ウェザリングマスターG,Hで陰影ができるように塗装してみました。


¥2,280 (2024/03/09 15:53時点 | Amazon調べ)
無塗装や光沢塗装だとウェザリングマスターの粉が定着しなく、触ると簡単に色が落ちてしまいます
付属の筆で塗って綿棒やティッシュで拭いて色の濃さを調整しています。
髪がかかる部分など影になりそうな部分は暗い色をつかっています。

¥719 (2024/03/09 16:05時点 | Amazon調べ)
トップコート後に瞳にUVレジンをつけて光沢が出るようにしました。
今回は100円ショップのものです!
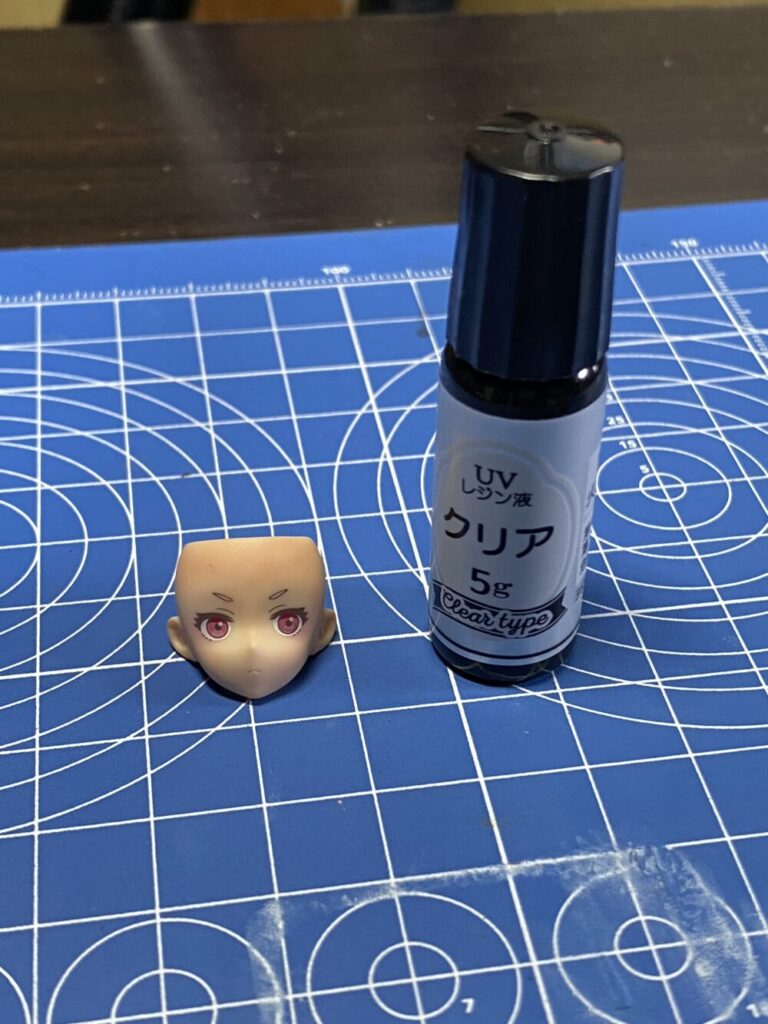
UVライトを当てれば数分で硬化します。

¥999 (2024/03/09 16:12時点 | Amazon調べ)
蛍光塗料も光らせることができるので一個持っておくといろいろ楽しめると思います!
まとめ
初めてガンプラ以外を作ってみましたが結構うまくいったと思います。
瞳を水転写式デカールで貼り付けるのが難しいです。慣れが必要だと思います。
タンポ印刷されている顔パーツと見比べながら作業しました
次は全塗装もやってみようと思います!

¥3,790 (2024/03/06 05:22時点 | Amazon調べ)