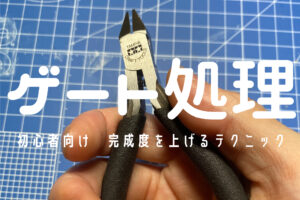
今回は、ガンプラの完成度上げるテクニックを初心者の方に向けて書いていこうと思います。
この記事で解決できること
- パーツの切り離し、ゲート処理の基本的な方法
- ゲート処理に必要な工具
ガンプラ製作を始めたばかりの方の中にはニッパーだけでゲート処理をしている方もいると思います。
今回は、そこから一手間加えるだけで見栄えが良くなる方法を紹介します。
今回紹介する方法だけでは完全に綺麗にはなりません。
ですが、基本的なテクニックなのでまずはここをおさえてできるようにしましょう!
目次
必要な工具
ニッパー

デザインナイフ

¥767 (2023/12/23 09:15時点 | Amazon調べ)

僕も使用しているおすすめの工具です!
あわせて読みたい


ガンプラ作りが格段に楽しくなる!手放せない愛用工具紹介 【工作用】
ガンプラ製作を楽しむために、どんな工具を使うべきか悩んでいませんか?初心者からベテランまで、多くのガンプラファンが直面するこの問題。今回僕がガンプラ作りをよ…
手順
❶ランナーからパーツの少し離れた所からを切り離す
❷残った部分をニッパーで切る
❸デザインナイフで削って表面を整える
パーツ切り離し
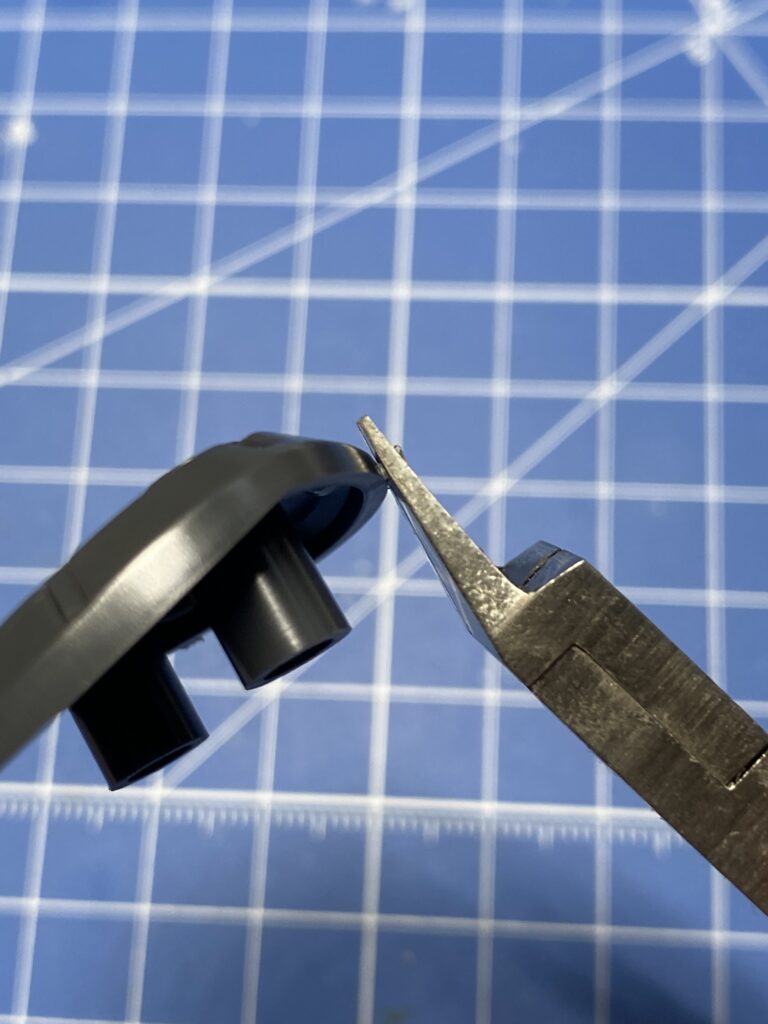
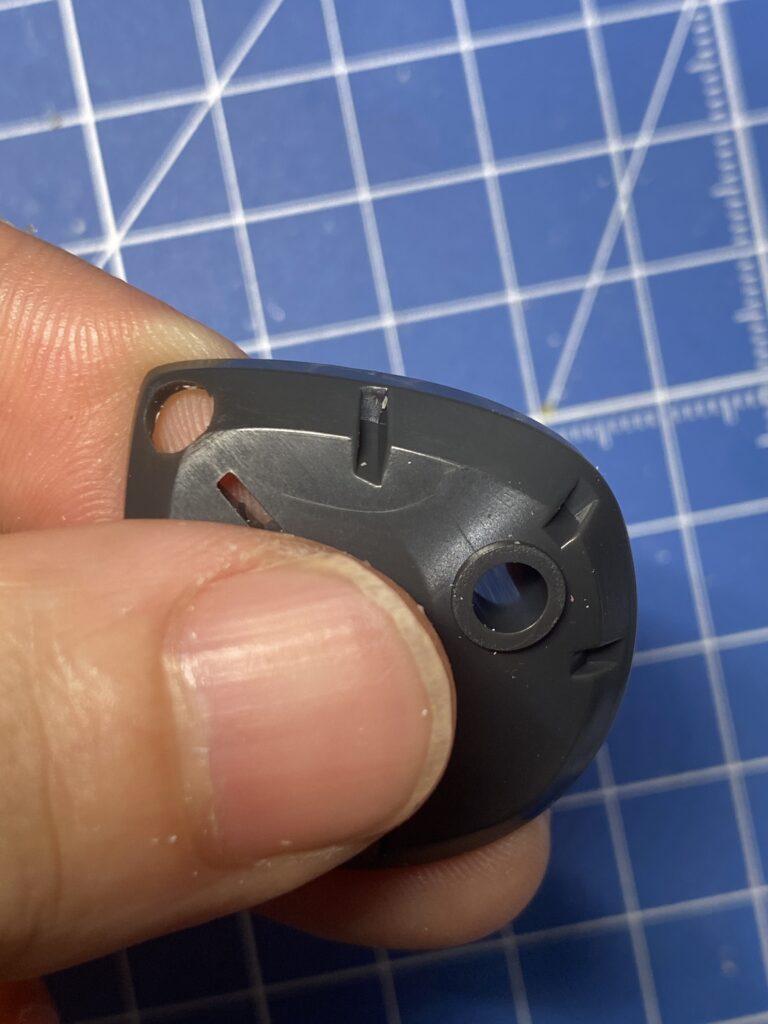
まずは、ランナーからパーツを切り離します。
この時、パーツから少し離して切り取ります。
ニッパーの刃をパーツ側に向けて切りましょう。
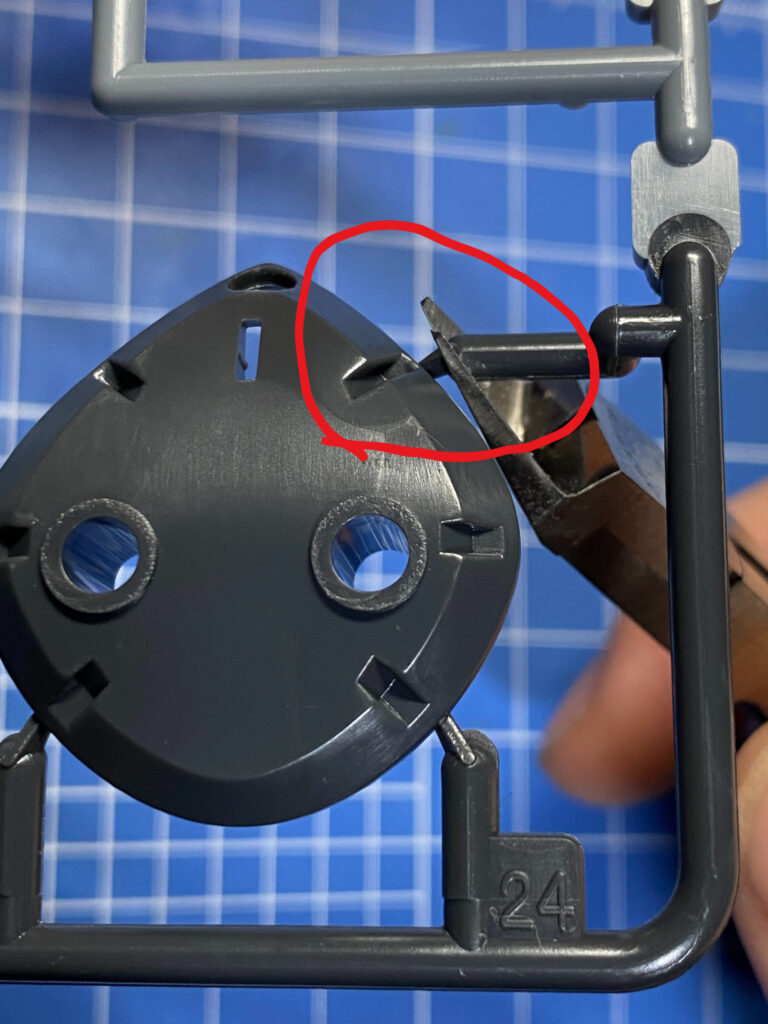
場合によると思いますが、ランナーの下からニッパーを入れるとやりやすいです。
こんな感じで少し残します。
- パーツから少し離して切り取る
- ニッパーの刃をパーツ側に向けて切り取る
- ランナーの下からニッパーを入れて切り取る(切り取る場所が見えやすい位置で)
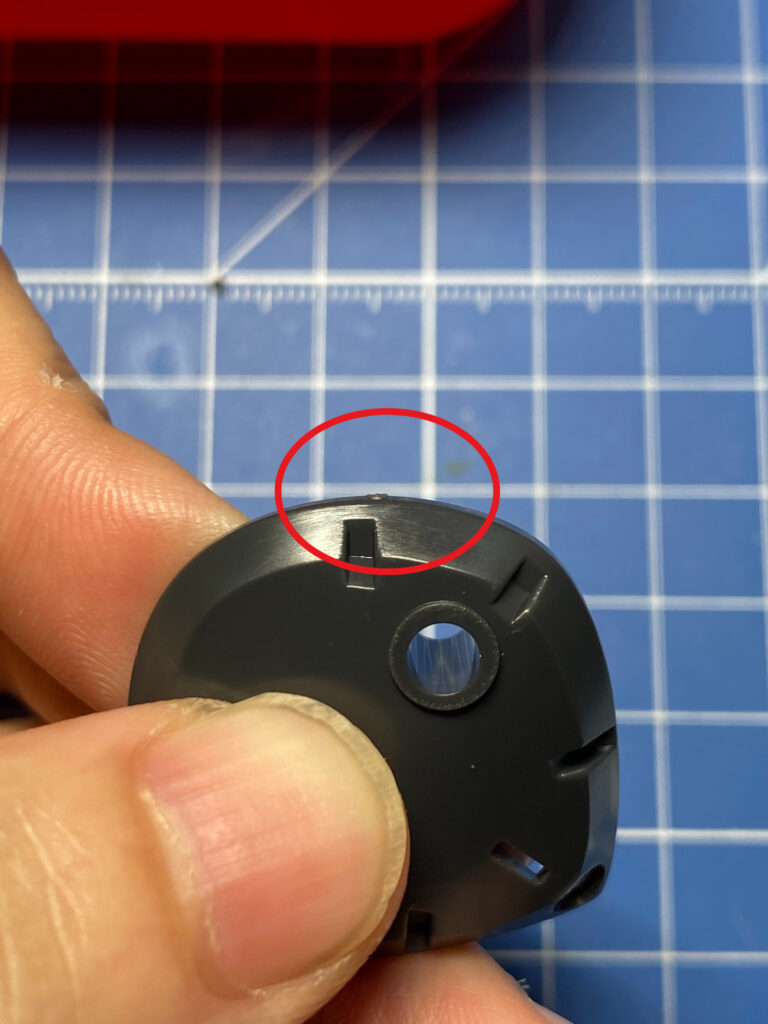
ゲート処理
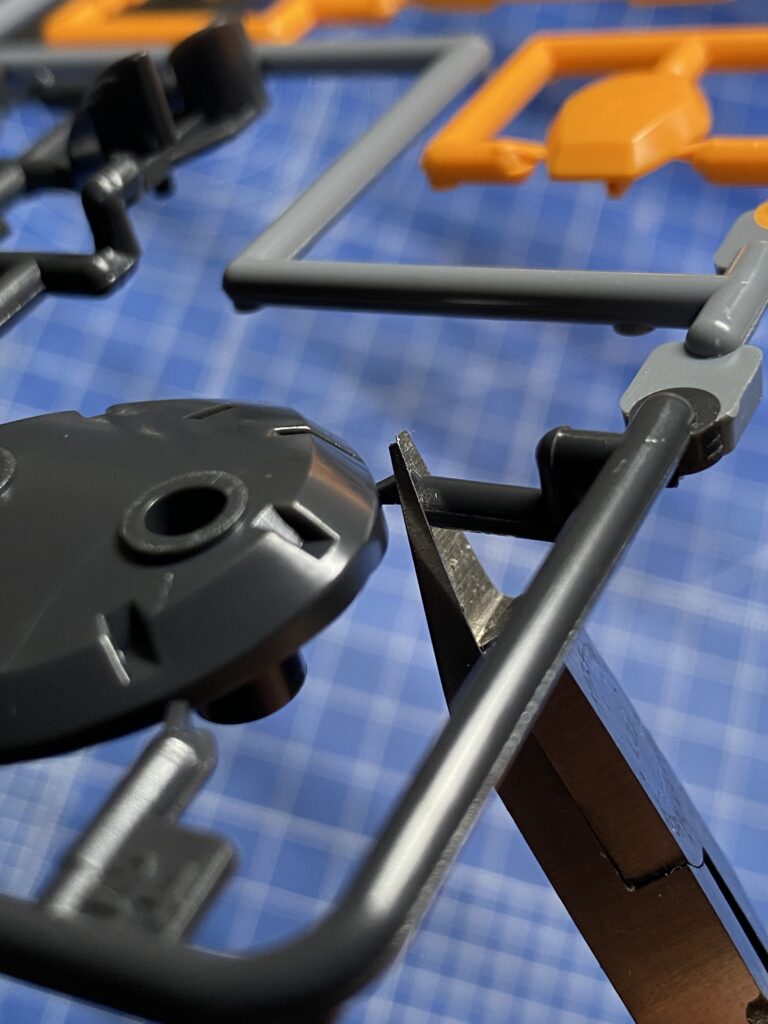
まず残った部分をニッパーで切り落とします。
2回に分けて切ることでパーツの白化を抑えることができます。
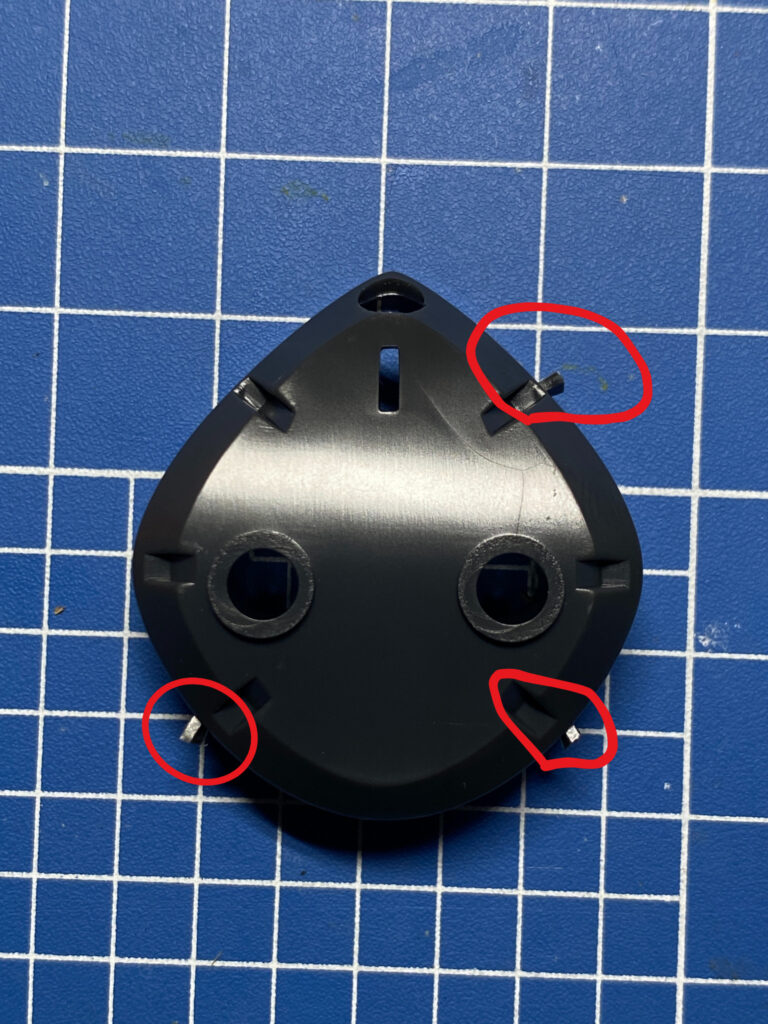
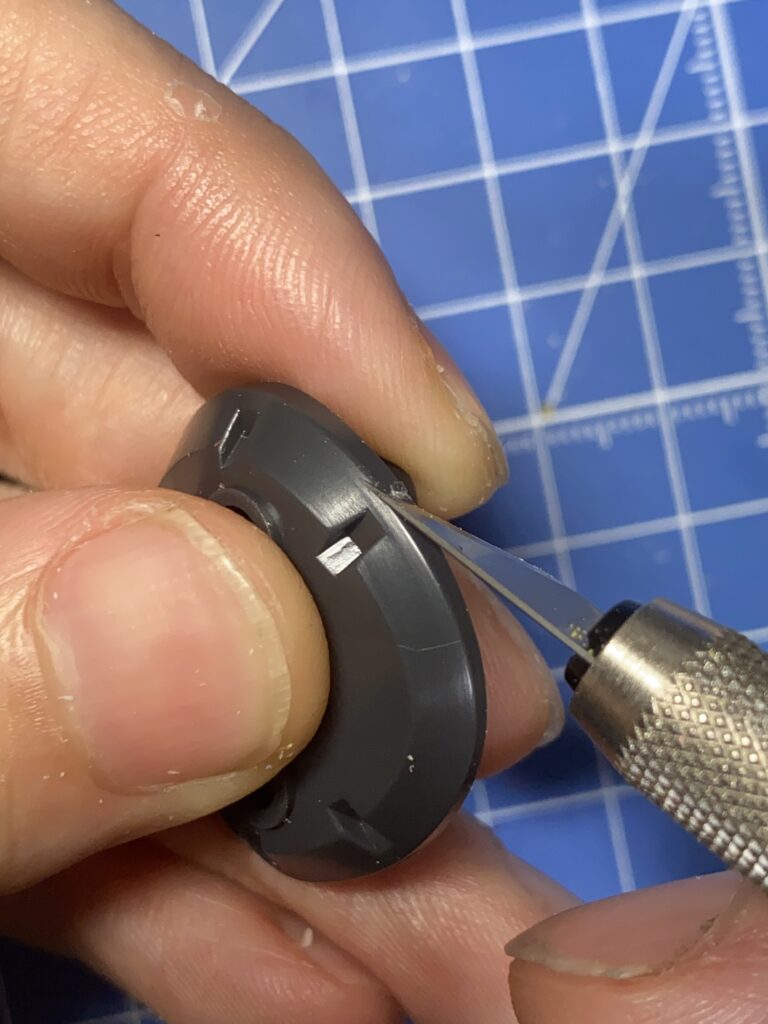
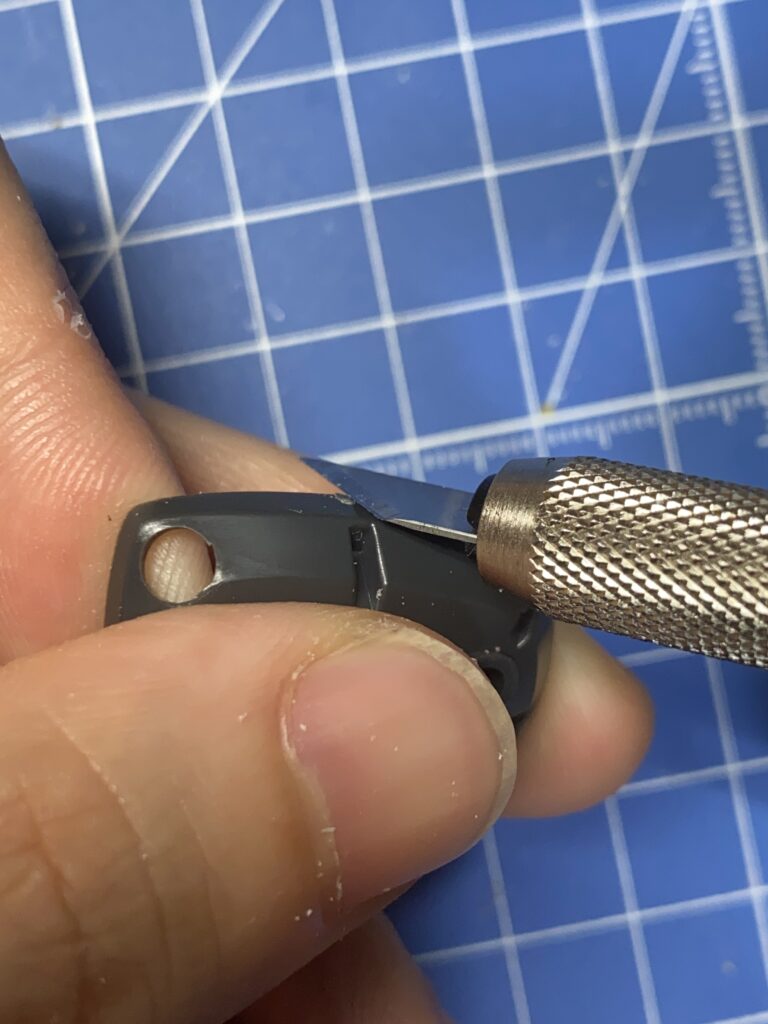
少し残っている部分をデザインナイフで切り取ります。
パーツの面に沿って削っていき表面を整えます。
跡が少し見えますが‥

横から見ると目立たなくなっています。
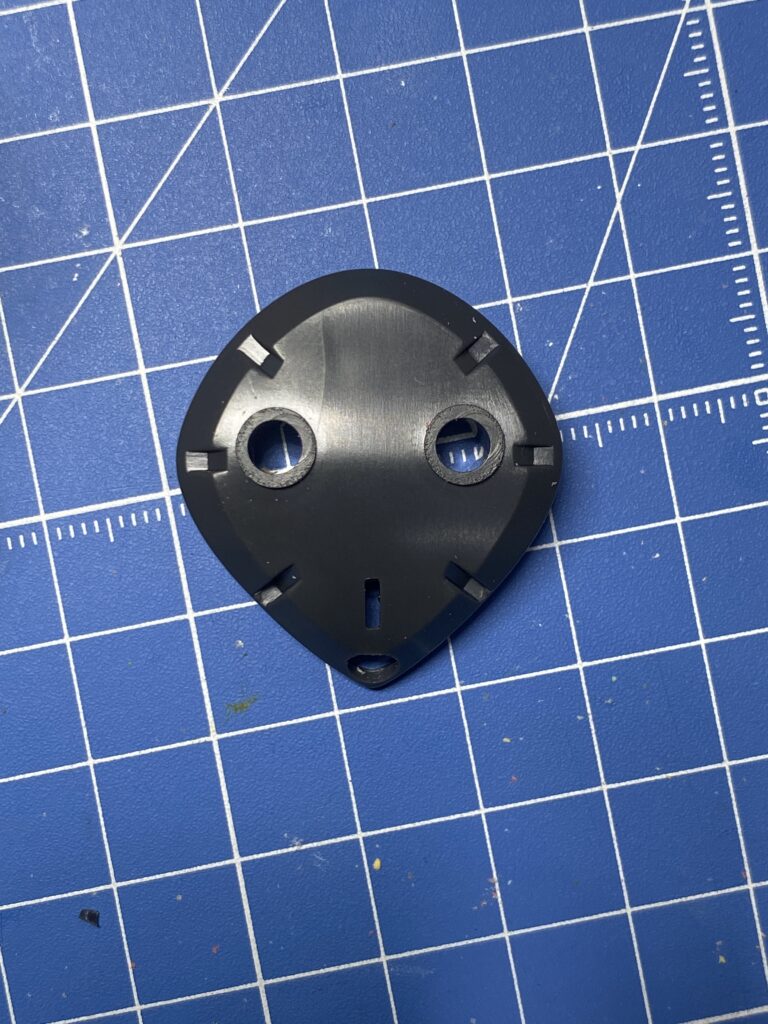
全ての場所を綺麗にして完成です。
- パーツをえぐってしまわないように少しずつ削る
まとめ ガンプラの完成度を上げるゲート処理
このように一手間加えるだけでかなり見栄えがよくなります。
ポイントをまとめると
- パーツから少し離して切り取る
- ニッパーの刃をパーツ側に向けて切り取る
- ランナーの下からニッパーを入れて切り取る(切り取る場所が見えやすい位置で)
- パーツをえぐってしまわないように少しずつ削る
- 慌てずゆっくり作業をする
何回かやってみればすぐにサクサクと進めれるようになると思います。
基本的な作業なのでまずはこれをマスターしよう!
今度は、さらに綺麗に見栄えよくするための方法も紹介しようと思います。
他のいろいろなテクニックもこれからどんどん紹介していく予定です。
それでは、良いガンプラライフを!