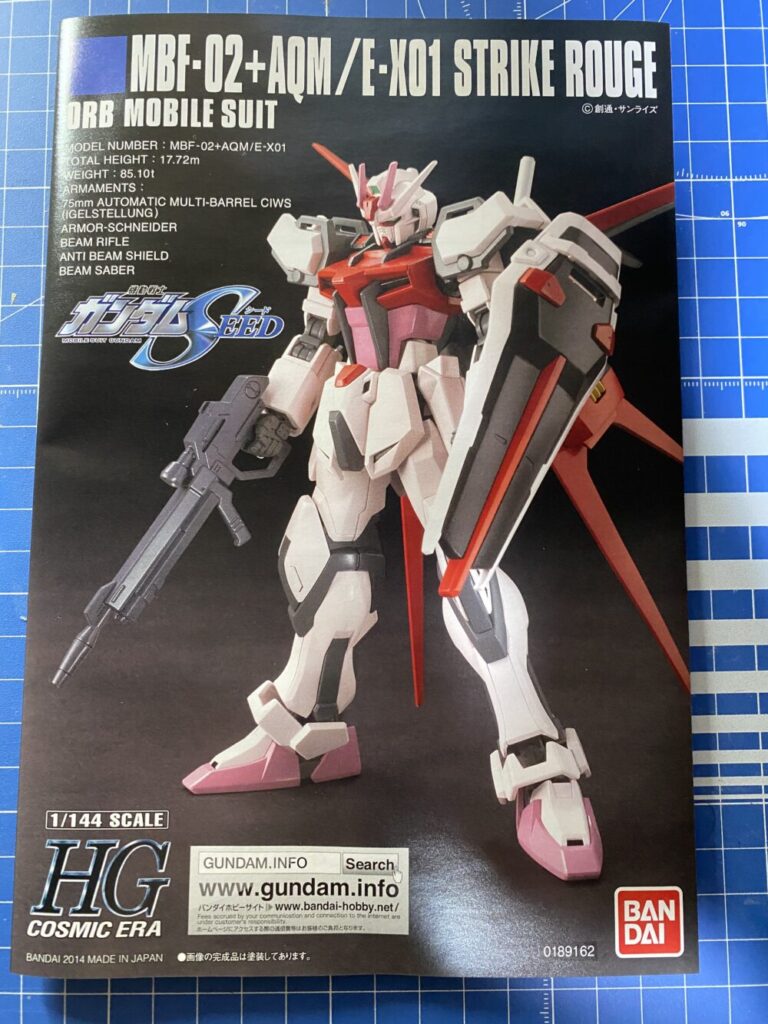
今回は、HGCE ストライクルージュの製作をしていきます。
機動戦士ガンダムSEEDで登場しカガリ・ユラ・アスハの搭乗機です。続編のSEED DISTNYにも登場します。
ピンク色が特徴的な機体です。


それでは作っていきましょう!
開封
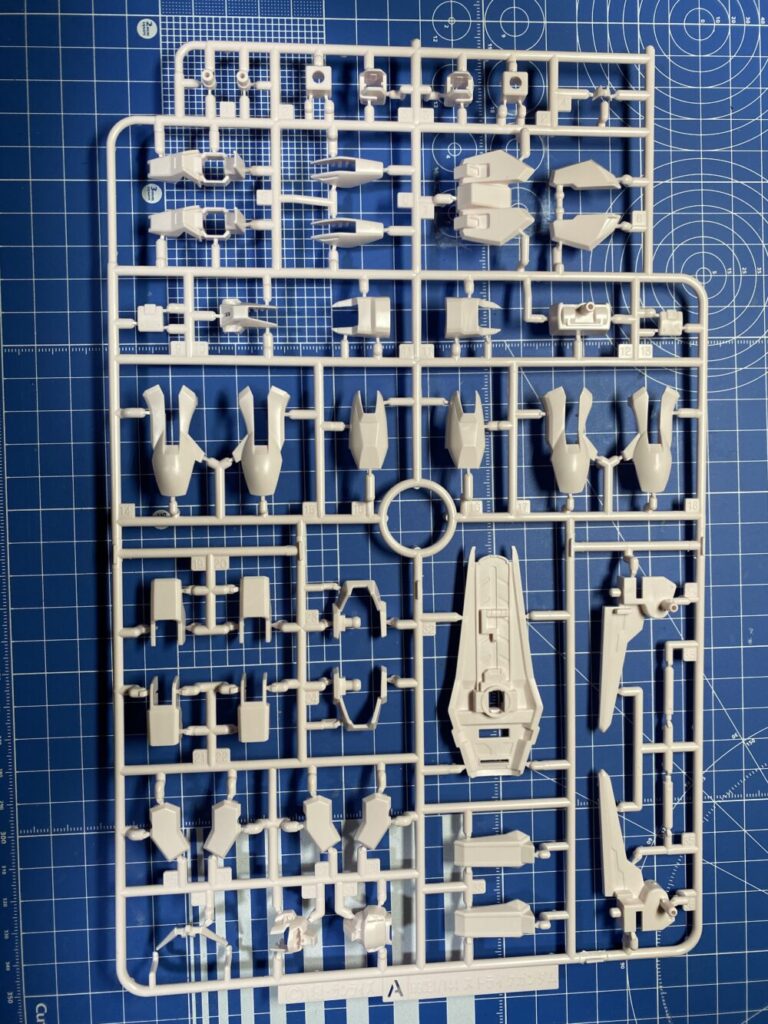
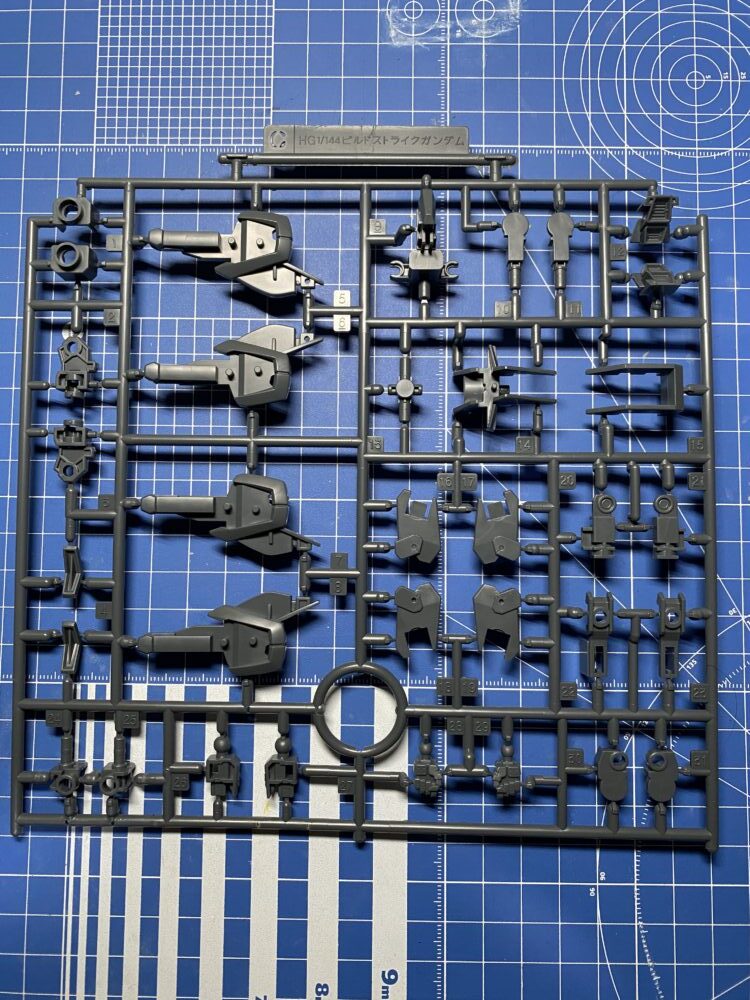
Aパーツ 写真ではわかりにくいですが薄いピンク色になってます。
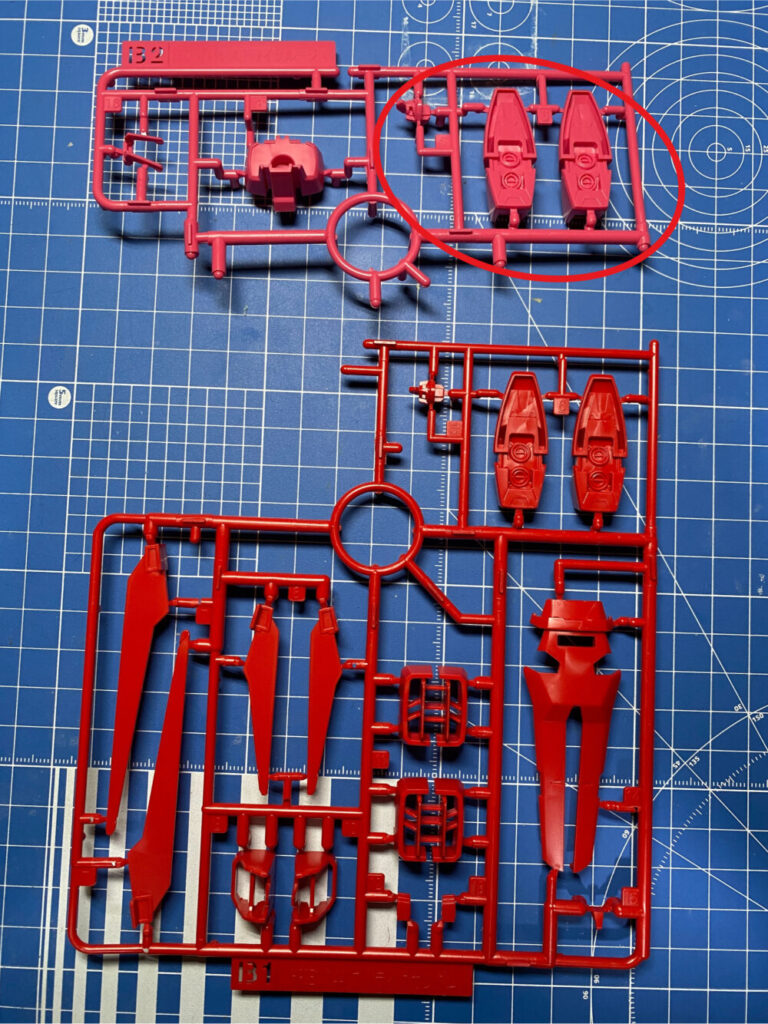
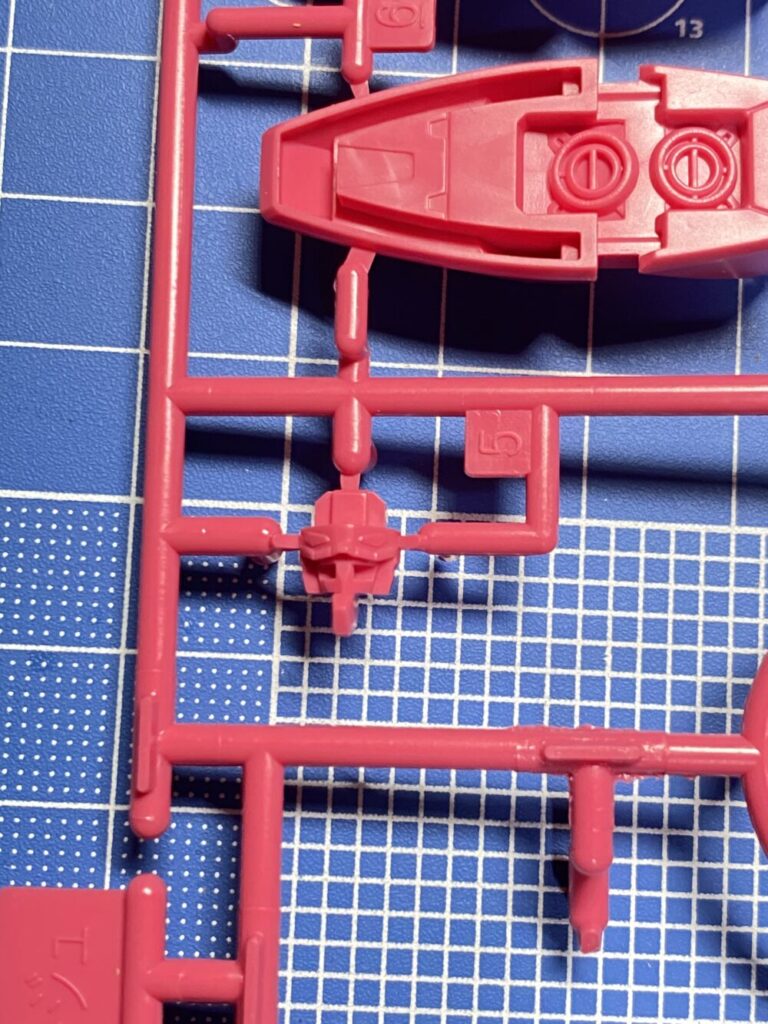
Bパーツ 足のパーツと顔のパーツが2種類ありますが、使うのはB2のパーツです
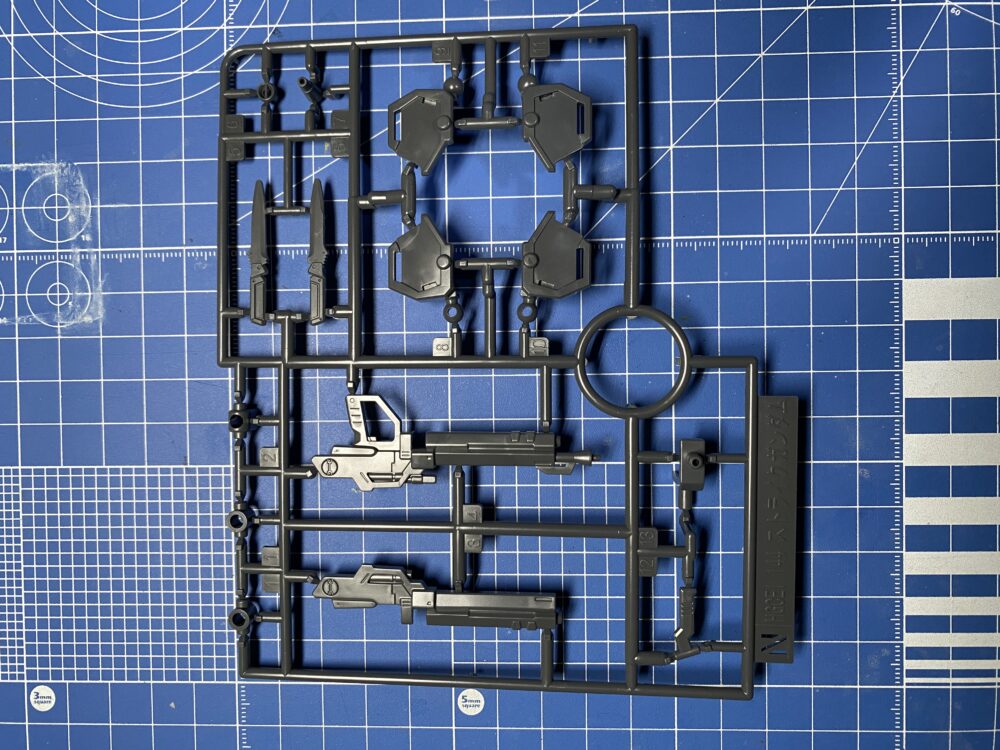
Cパーツ 内部フレーム部のパーツです。
G、Mパーツ シールドのパーツが2つありますが、M2のほうを使います。
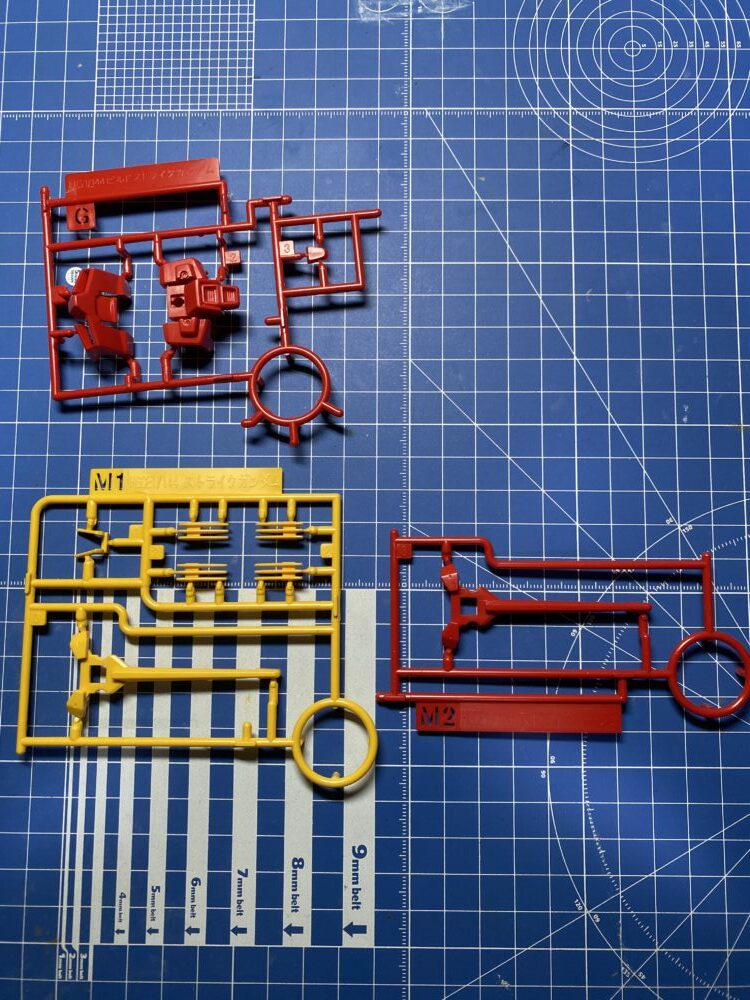
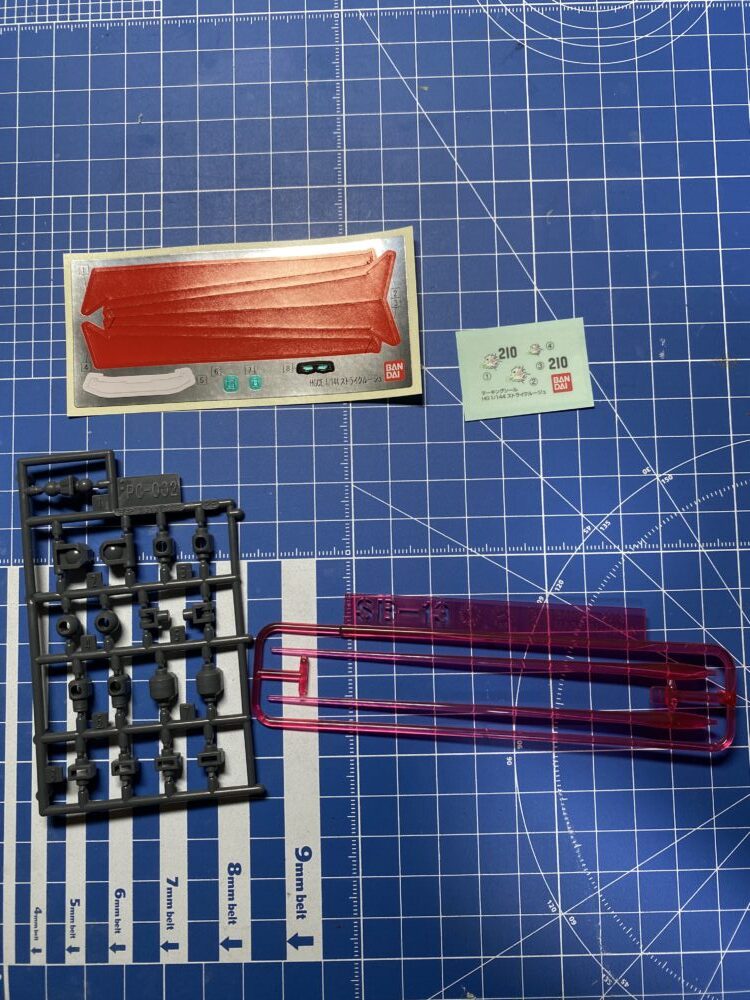
Nパーツ
カガリのパーソナルマークのマーキングシールがあります。
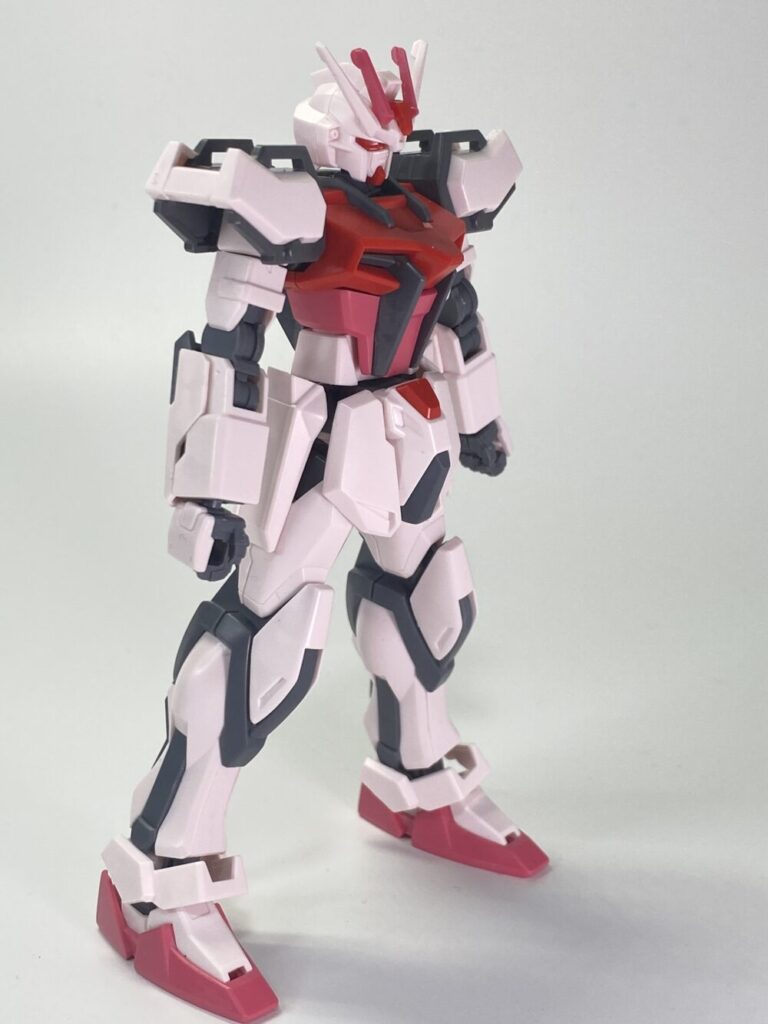
仮組み
しっかり色分けされていて素組みでもかなりいい感じです。
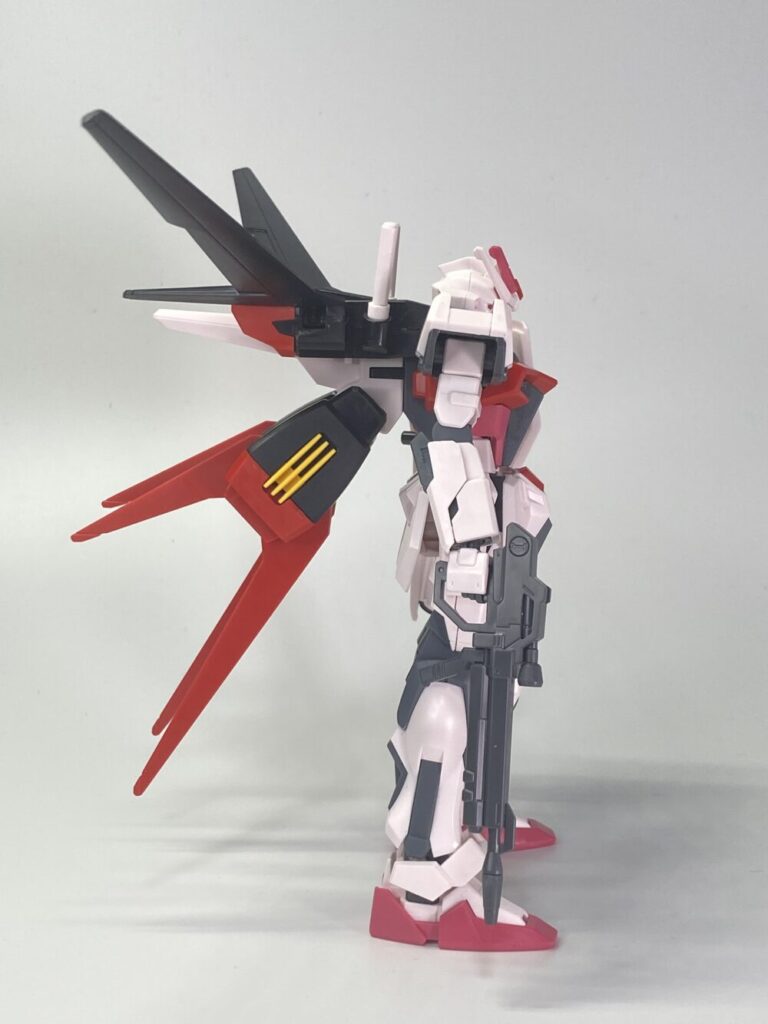
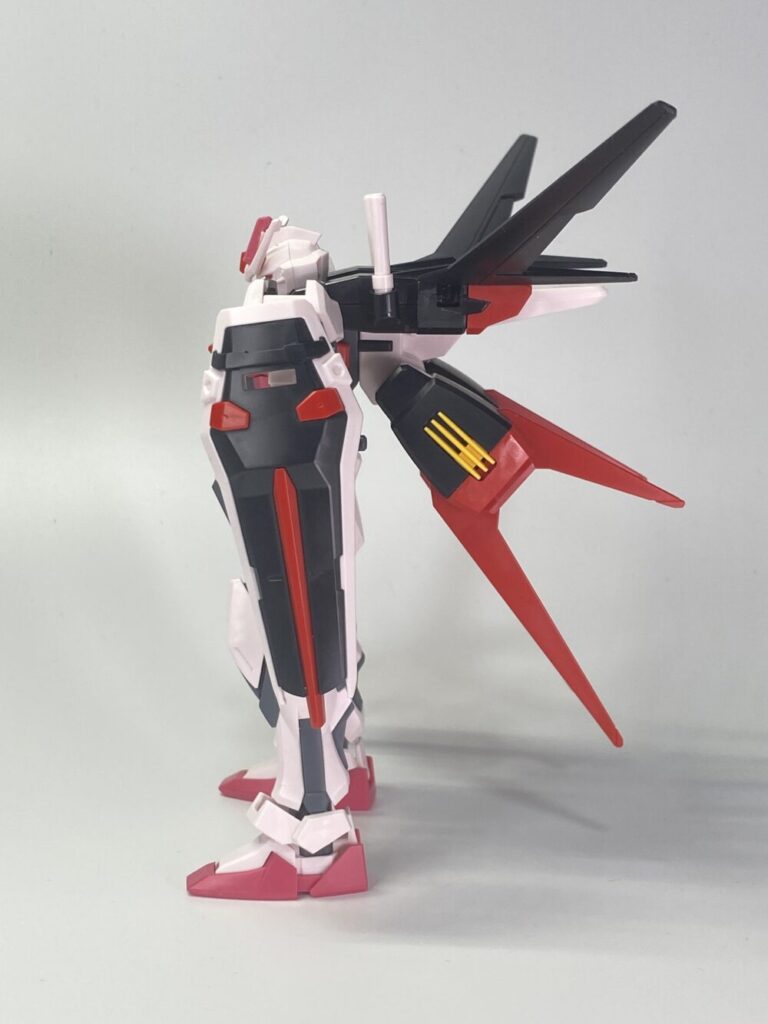
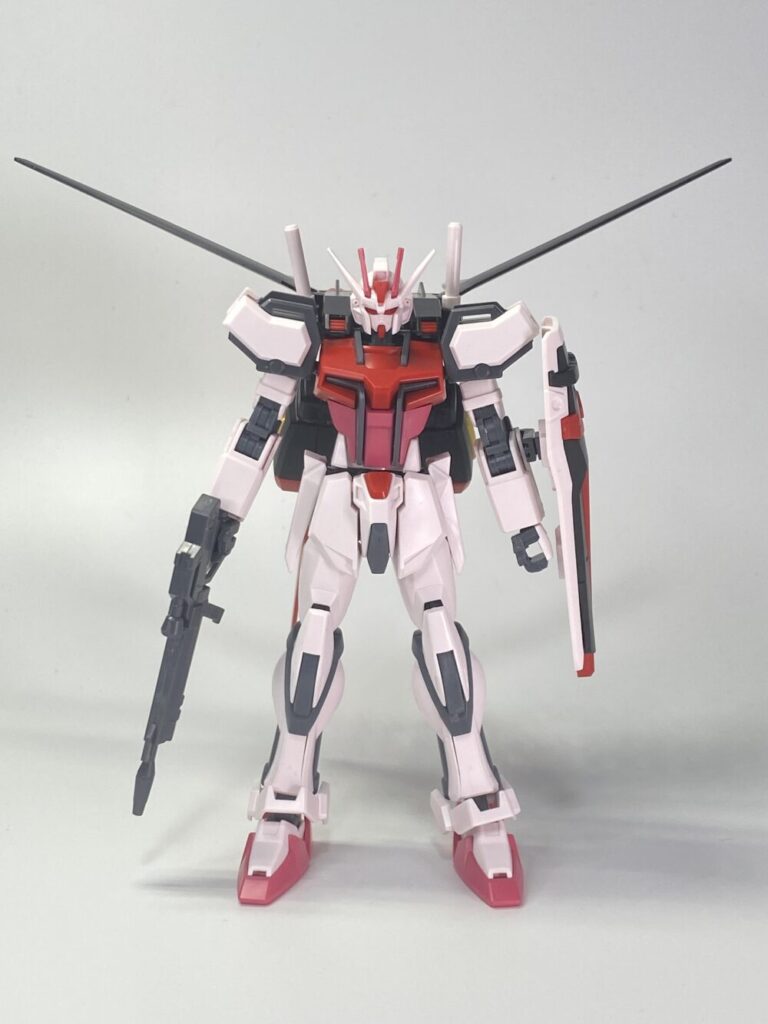
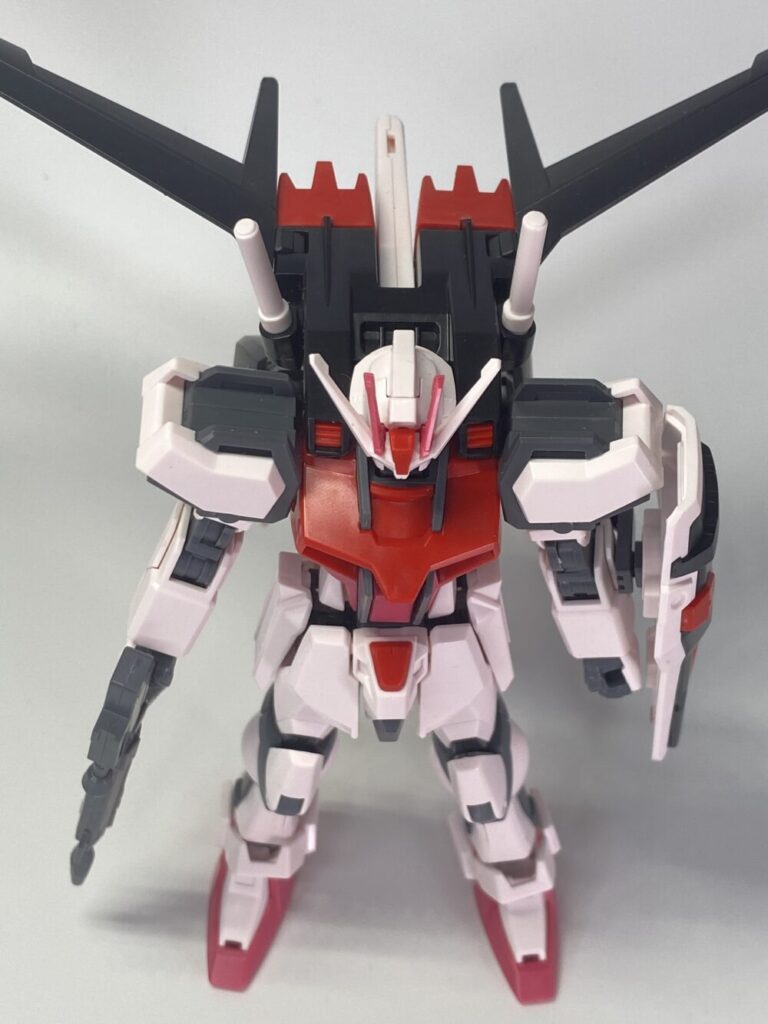
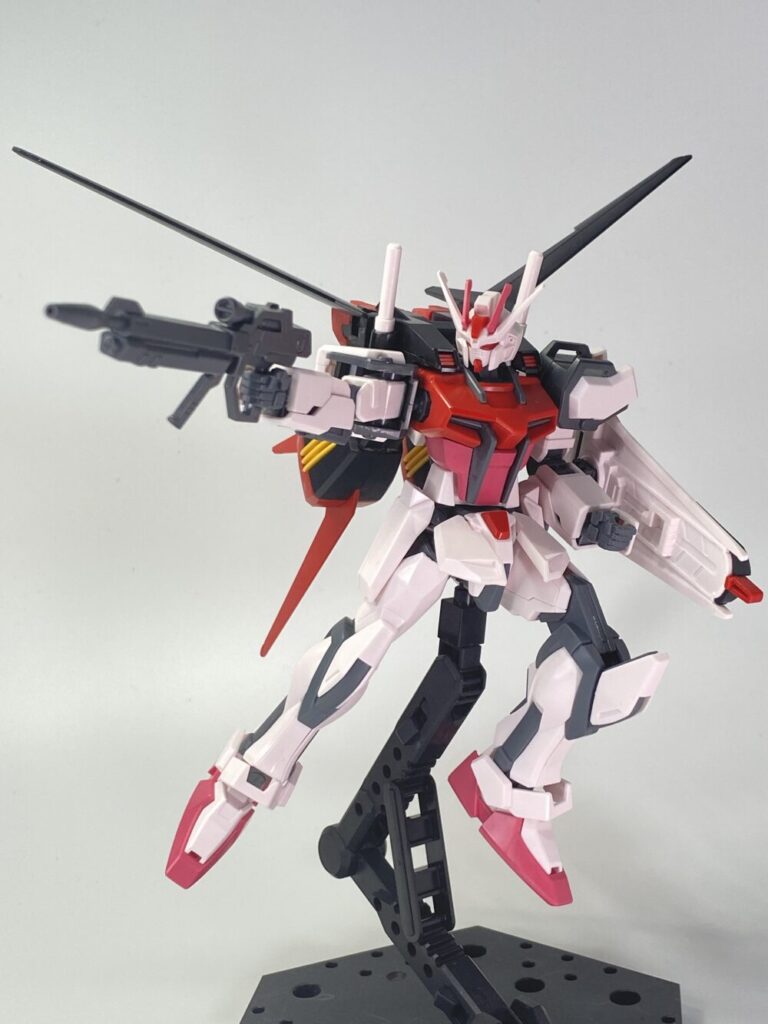
ポージングもしっかり決まります。
気になる部分
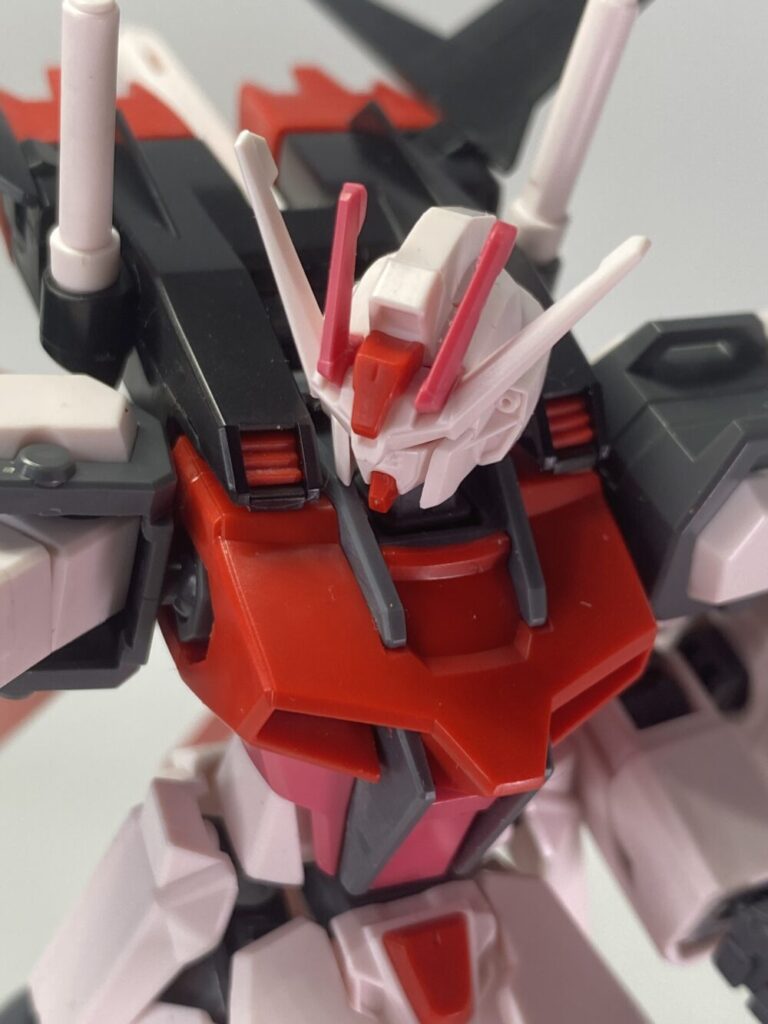
アンテナ
アンテナはいつも通り安全対策がされているのでシャープ化させるほうがいいですね。
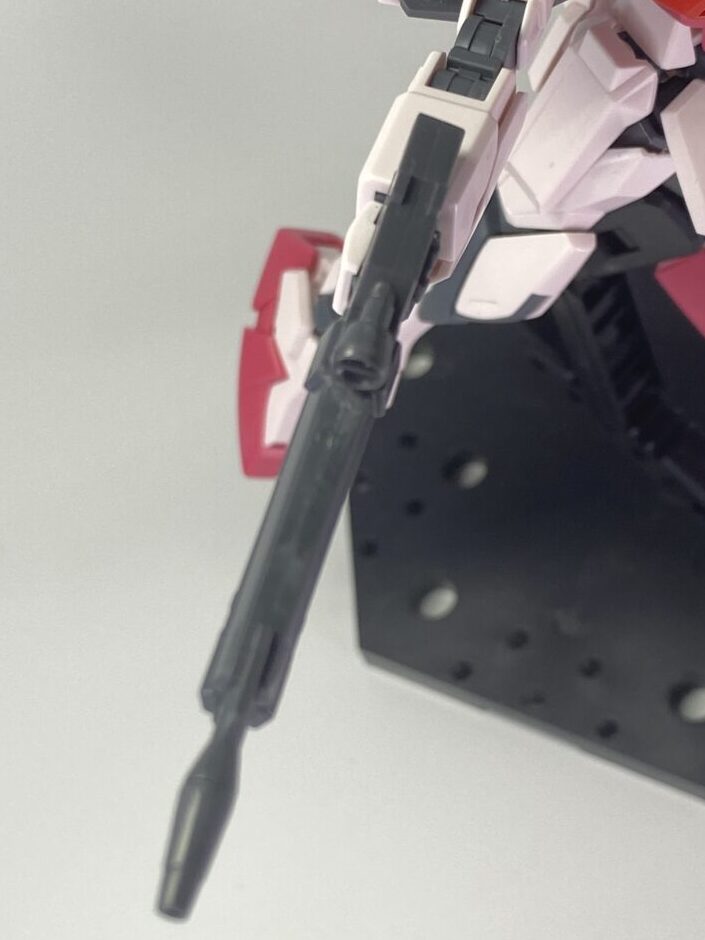
合わせ目
ビームライフルと脚部の膝部分に合わせ目がしっかり出ます。
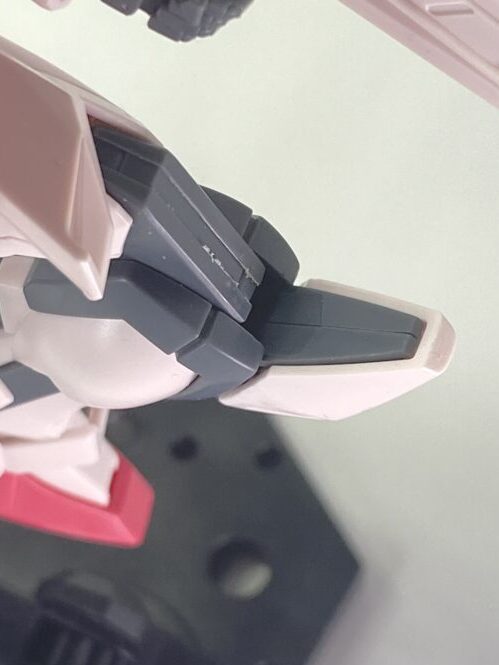
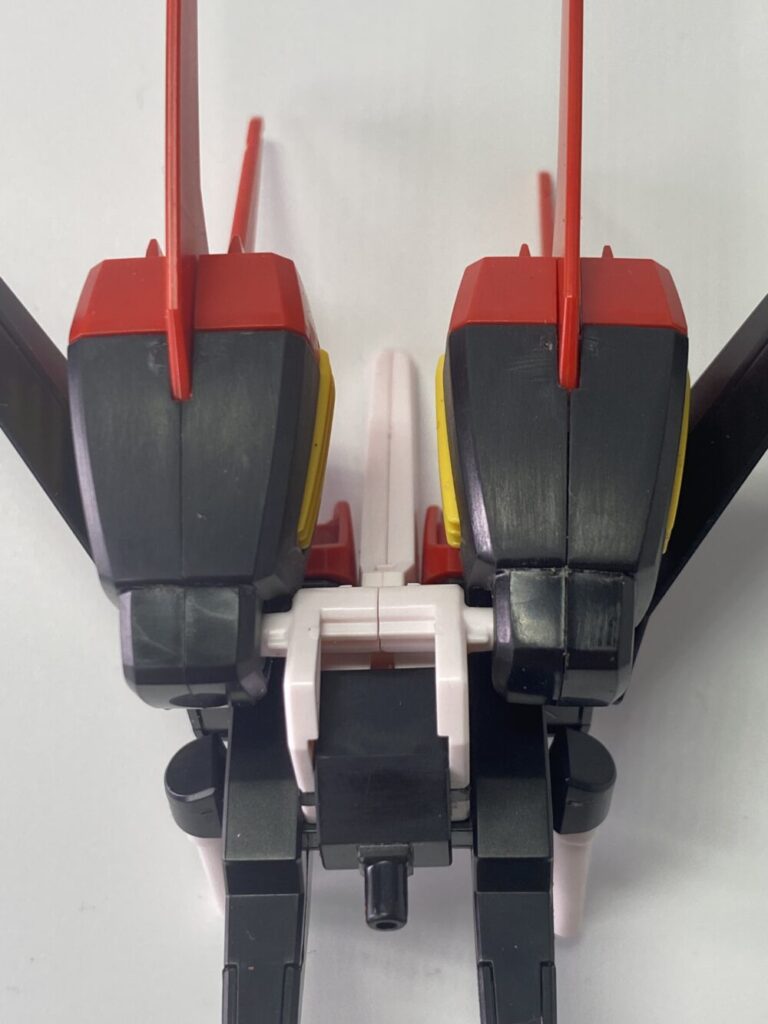
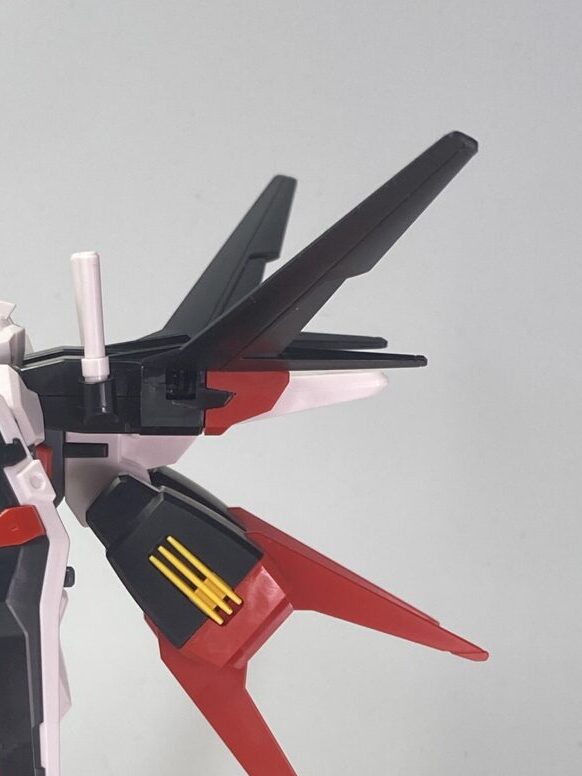
ストライカーパックにも合わせ目の目立つ箇所があります。
ここは羽のパーツを入れてから組み立てるので合わせ目を消すには後ハメ加工をしないといけませんね。
特に目立つ合わせ目はこのくらいですね!
肉抜き穴
足裏にはやっぱり肉抜き穴があります。
気になる人は埋めた方がいいかもです。
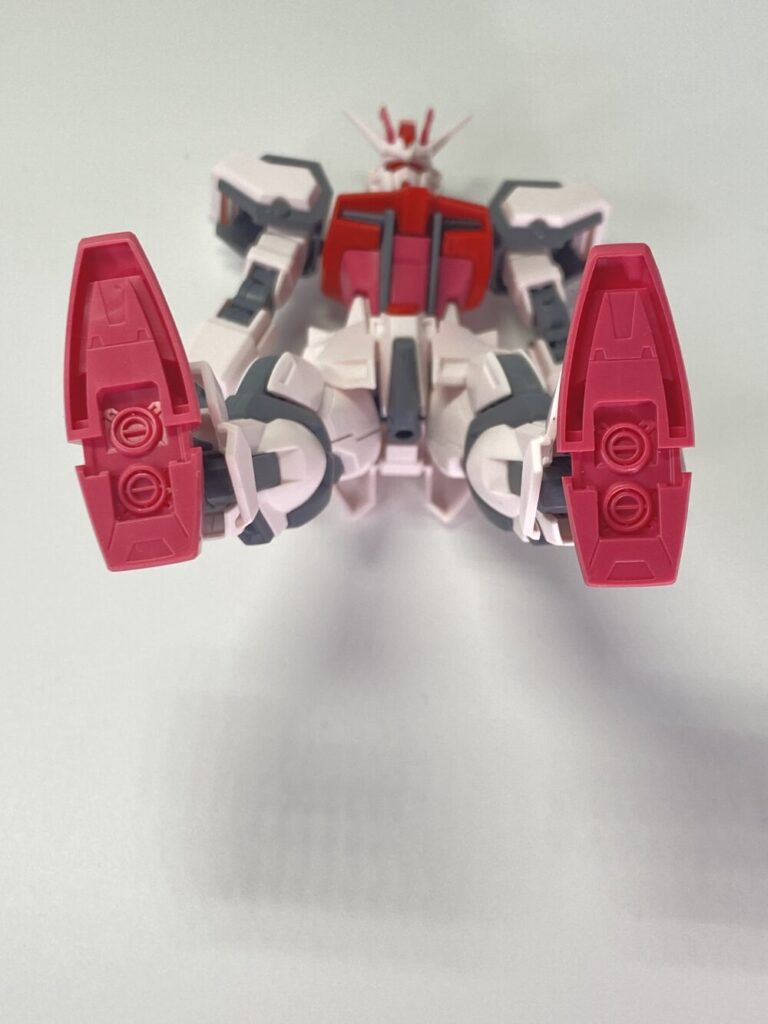
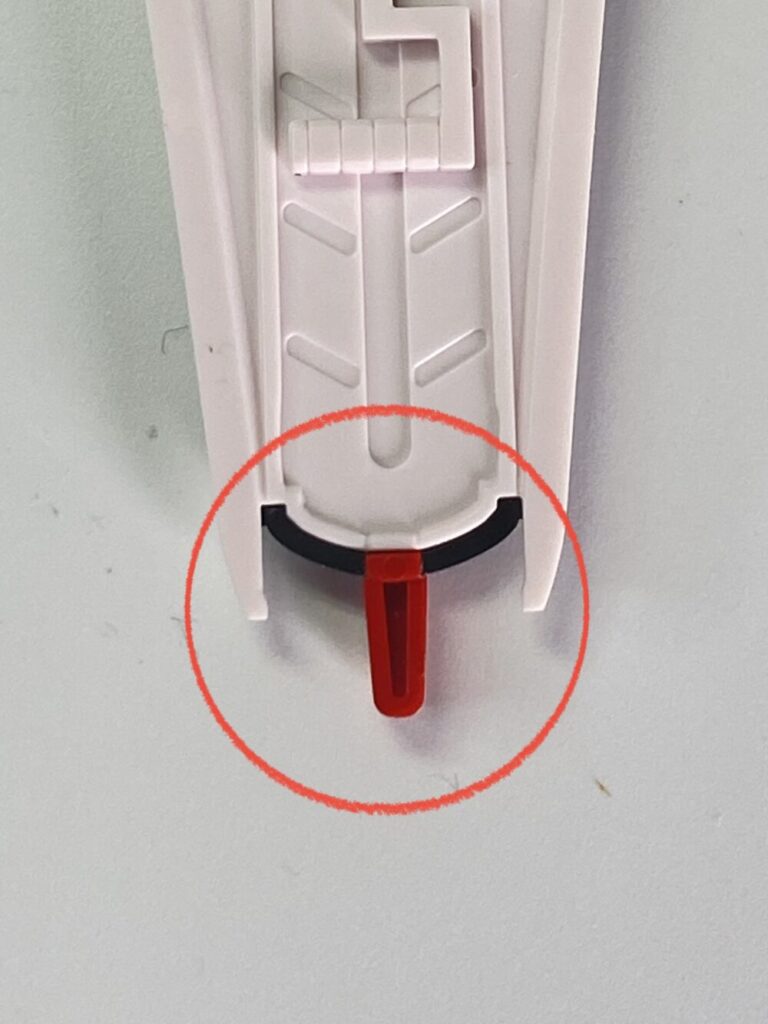
首の裏側とシールドの先の裏にも肉抜き穴はあります。
目立たない部分ですが埋めておくとさらに見栄えが良くなると思います。
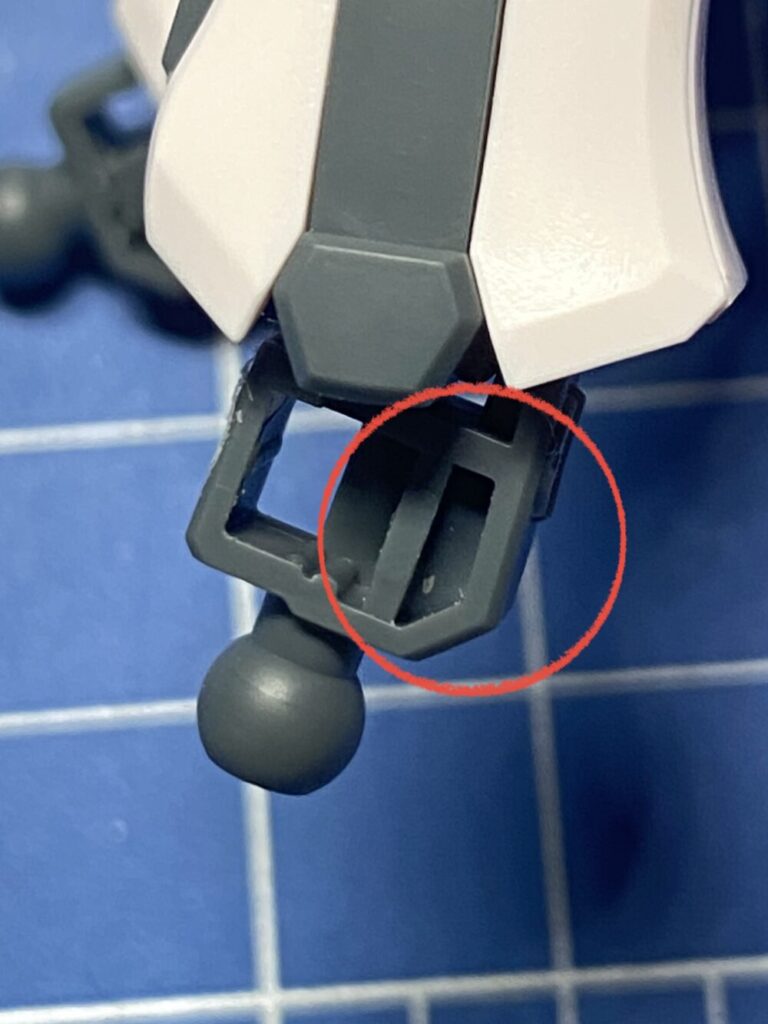
ほとんど見えない部分ですが、足首のところにも肉抜き穴があります。
色分け
ストライカーパックの羽部はシールで色分けなので塗装派の方は注意が必要です。
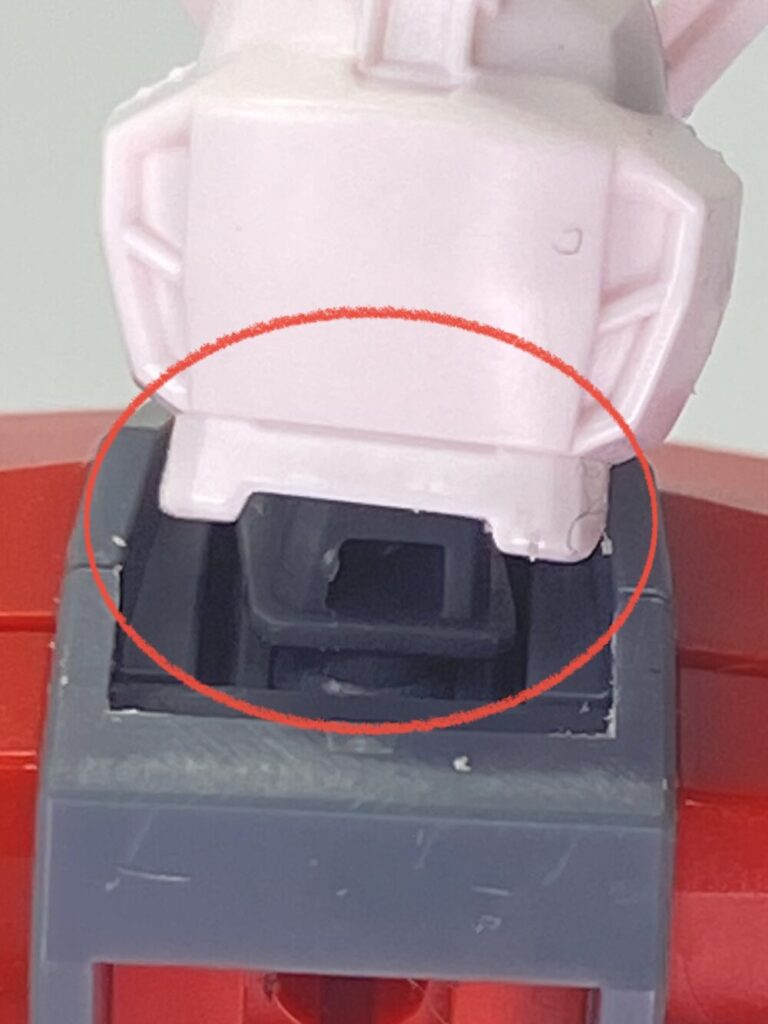
頭部バルカンなどの細部は色分けができていないので、色分けするには塗装が必要です。
カメラ部やデュアルアイ部はシールがあります。
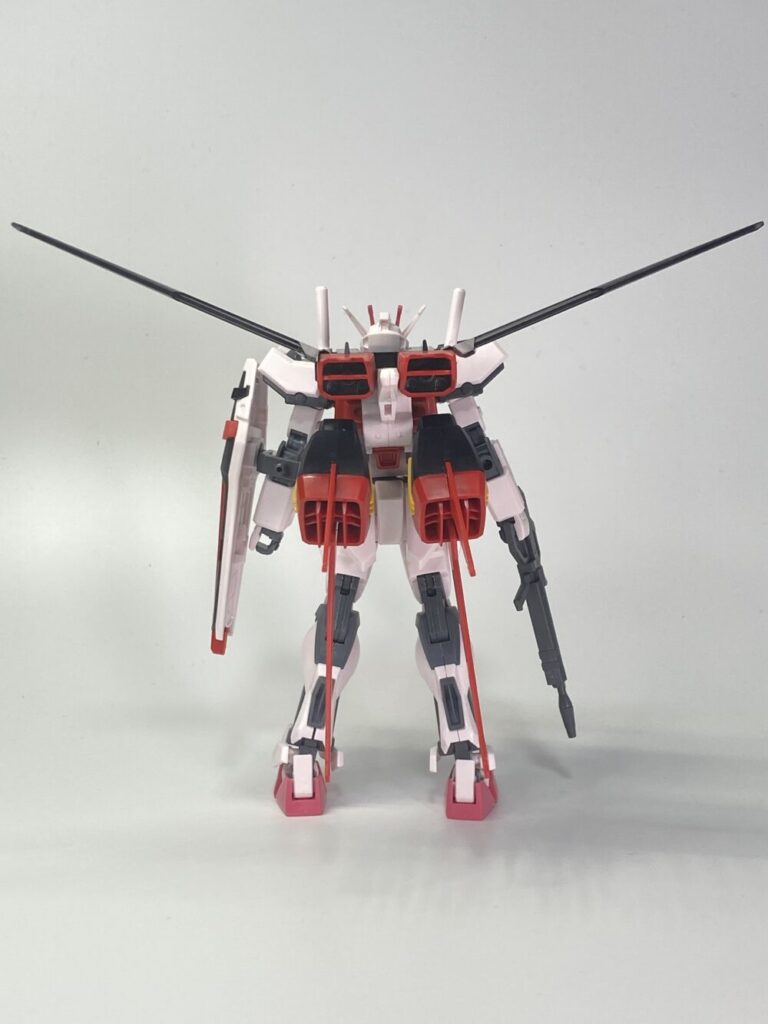
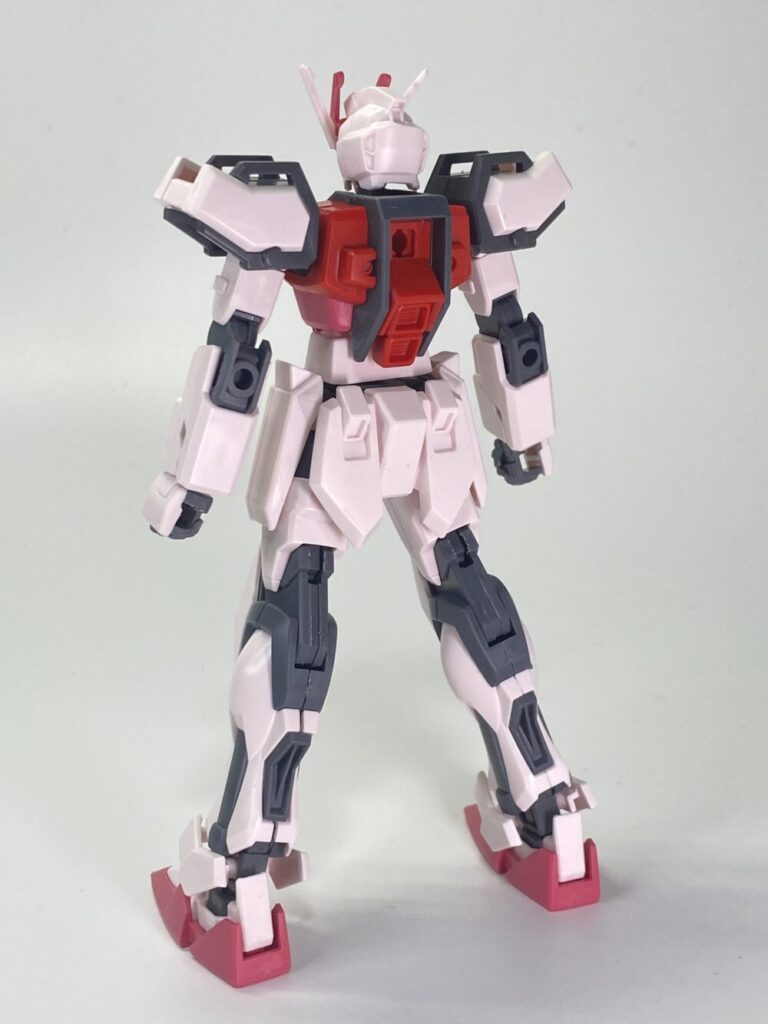
背面部も同様に細部が色分けできていないので、色分けするとさらにいい感じになると思います。
次回 改造編
次回はモールド彫り直しや合わせ目消しなどの改造をしていきます。

肉抜き穴も埋める予定です。
それでは良いガンプラライフを!